M3: 3D Printing Parametric Furniture Designs
Task 1: Creating Parametric Table or Chair Designs
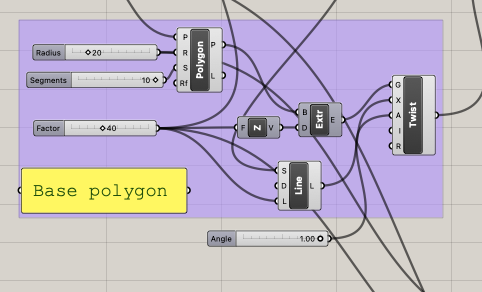
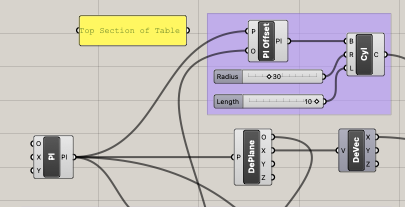
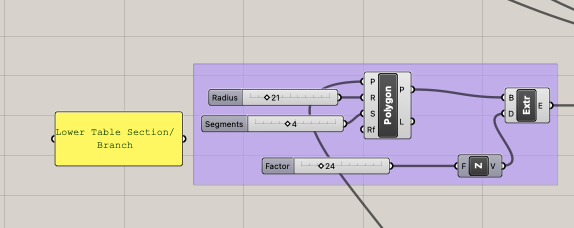
For this assignment, I decided that I wanted to create a set of tables that were inspired by branching trees. To simplify the design, I decided the table would have a set base object (a trunk), with a major leaf canopy and then one branch with a lower set of “leaves”. Originally, I used a cylinder design for the base and realized that the design was too simple and could not have a twist variation. So instead, I created an extruded polygon in Grasshopper that I could manipulate with the Twist element to more closely resemble how trees might look when varied. For the top set of “leaves”, I used a flattened cylinder of varying heights while the lower set is a polygon that can be manipulated in terms of number of sides and size. One of the more difficult tasks was trying to connect the lower arm of the table to the main base, I used a pipe element that would link between offset plane elements to get the desired effect.
The Grasshopper code is available here.
Grasshopper Snapshots
Table Base/Trunk
Top of Table
Lower branch/table section
Variations in Rhino3D
Variation 1
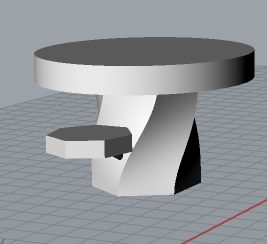
Variation 2
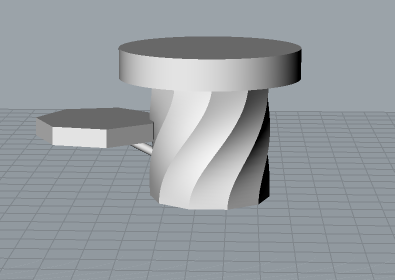
Variation 3
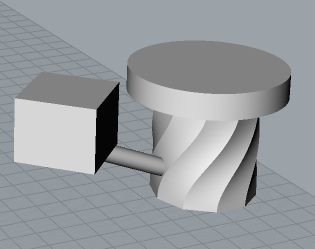
Task 2: 3D Printing the Designs
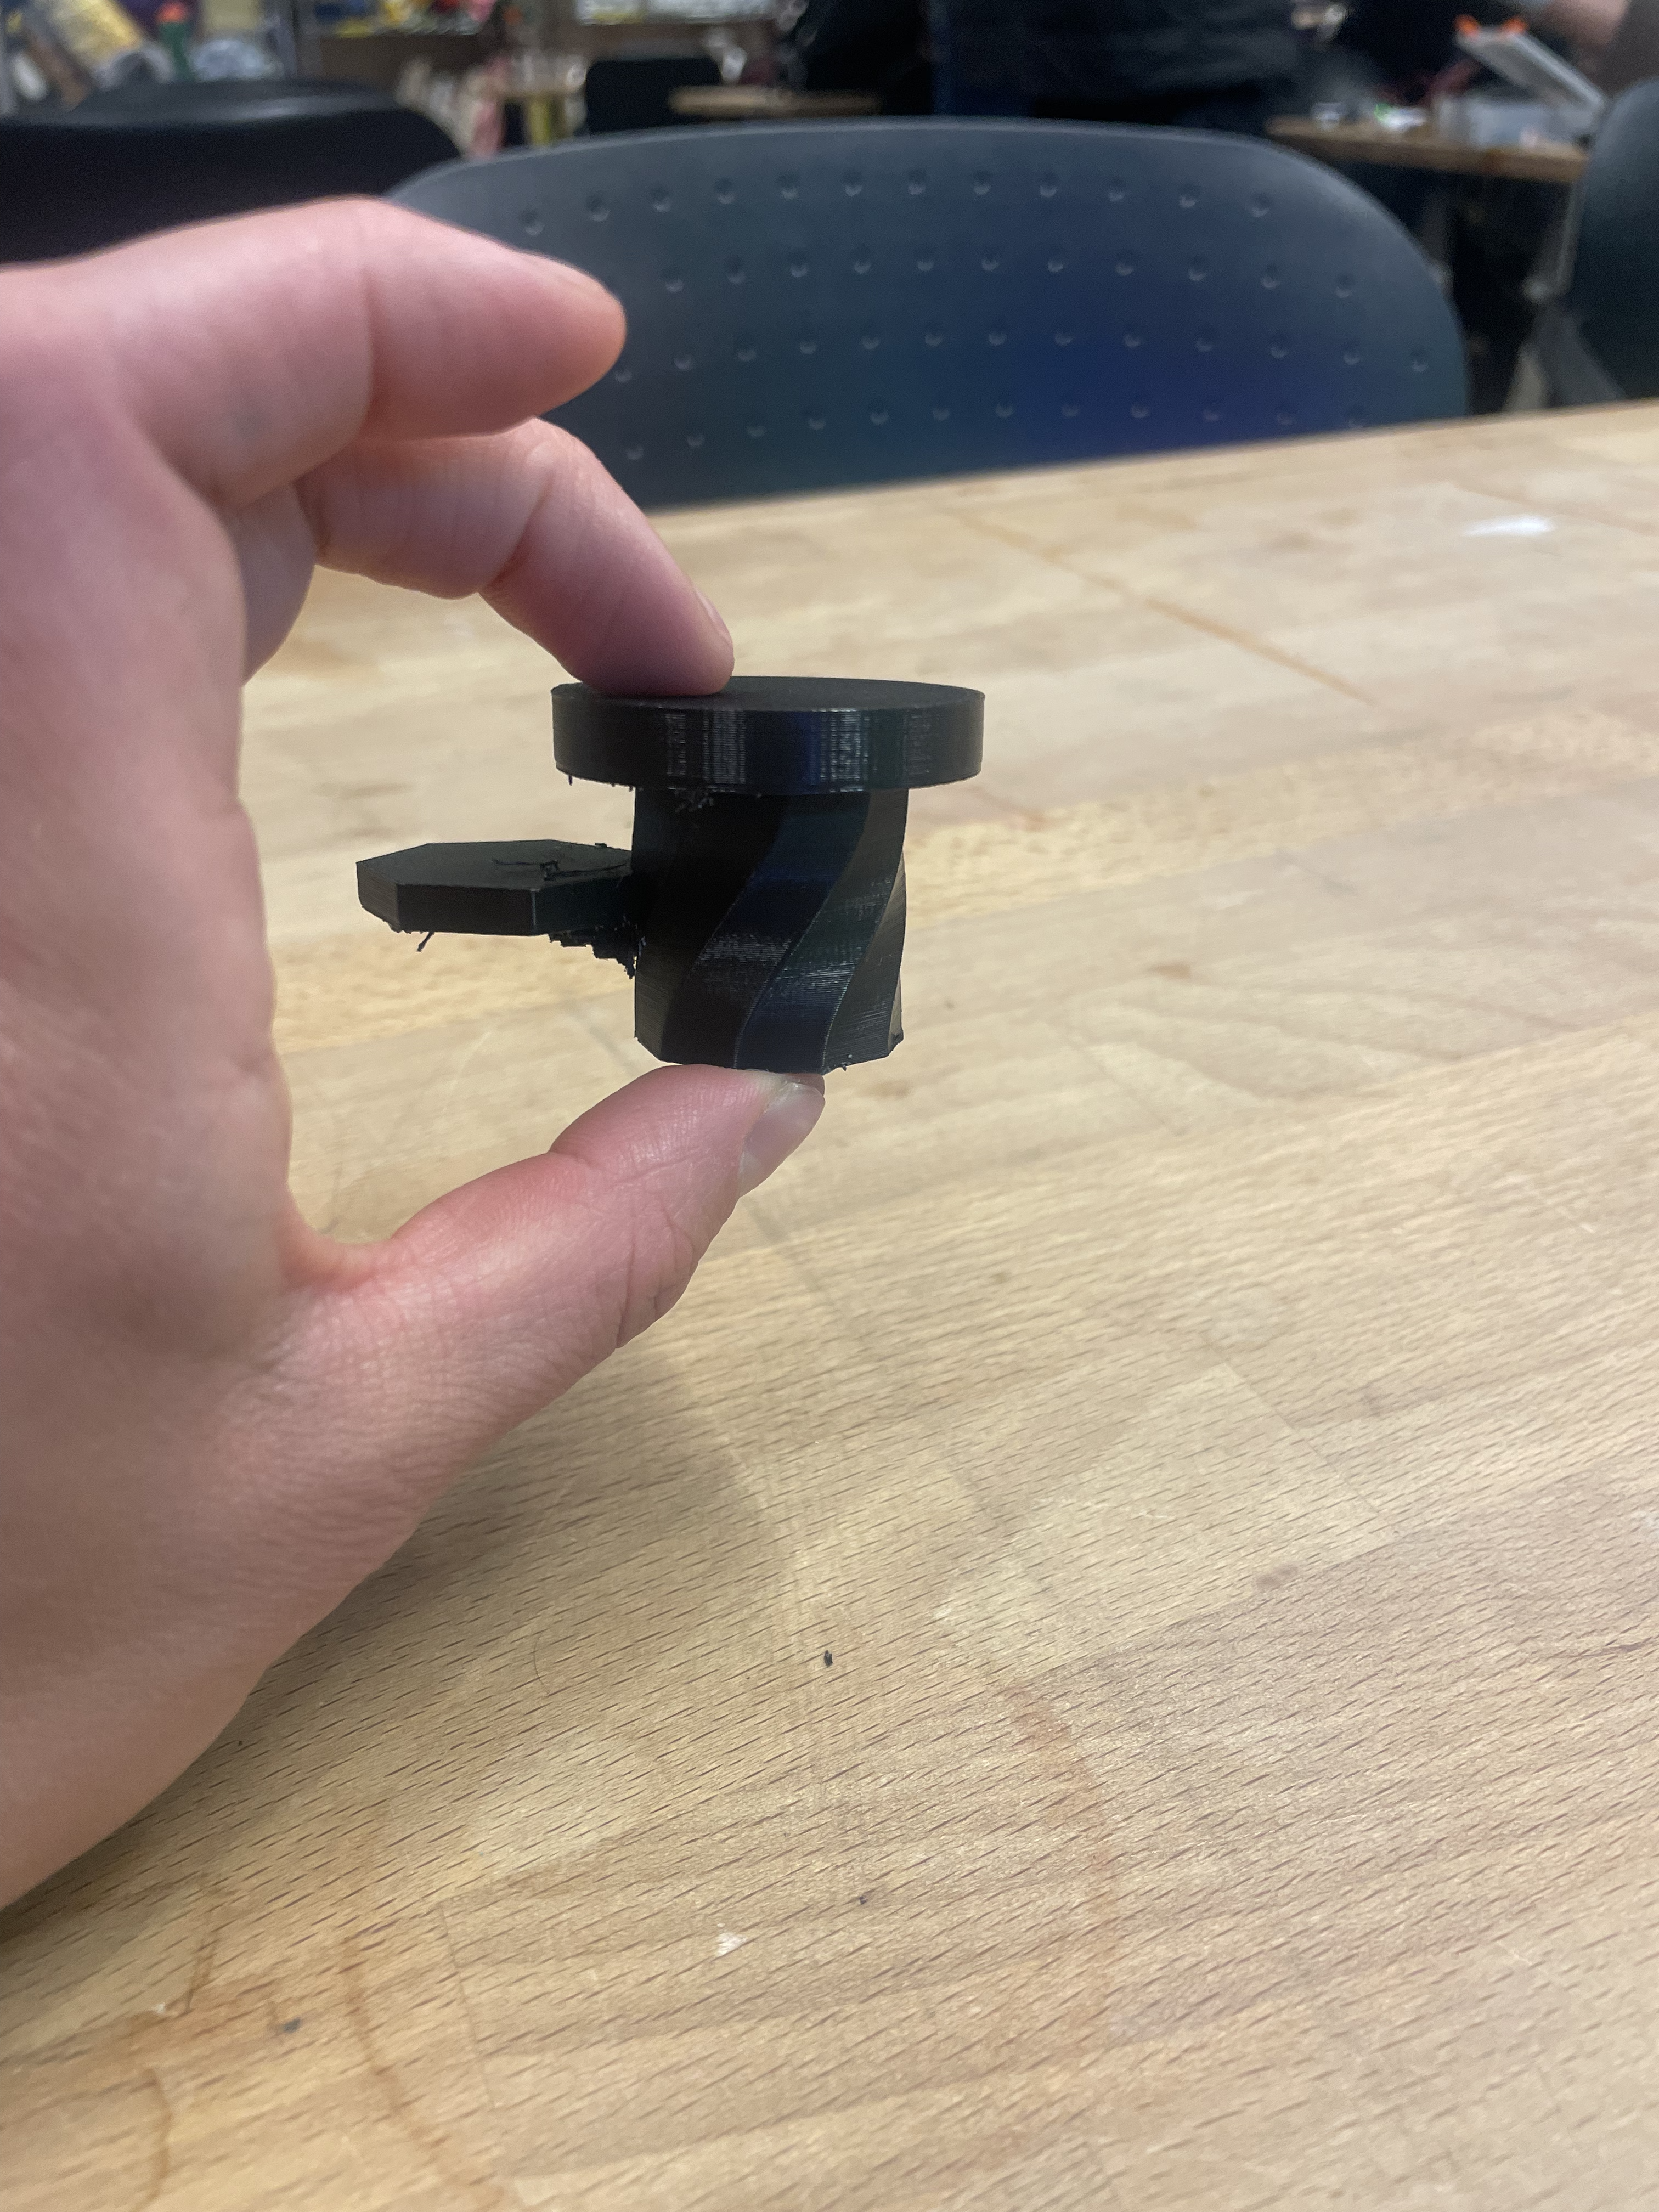
For printing out my designs - I exported variations 1 and 2 as STL files which were then imported into PrusaSlicer using the default layer size of 0.1mm. One of the variations was printed using the PrusaMK3S+ and the other was using the Prusa Mini due to printer availability. In both cases, I am using the PLA material provided by default with an infill setting of 10%. Additionally, to fabricate the structures as they are I had to use the support everywhere setting to generate additional support material. This allowed me to create the branching effect. Removing the excess material turned out to be more difficult than anticiapted, and I nearly broke the fragile pipe sections in the process. I was impressed by how smooth the base and tops of the table came out and how the twist looks when printed. Variation 1 took 2.5 hours to print whereas Variation 2 took 2 hours.
Originally with the branch issues, I was hoping that if I kept the angle below 45 degrees I could print without support material - but I would have still required support material to support the top of the table. In retrospect, printing upside down might have saved a fair amount of material so this is something I would consider for future projects.
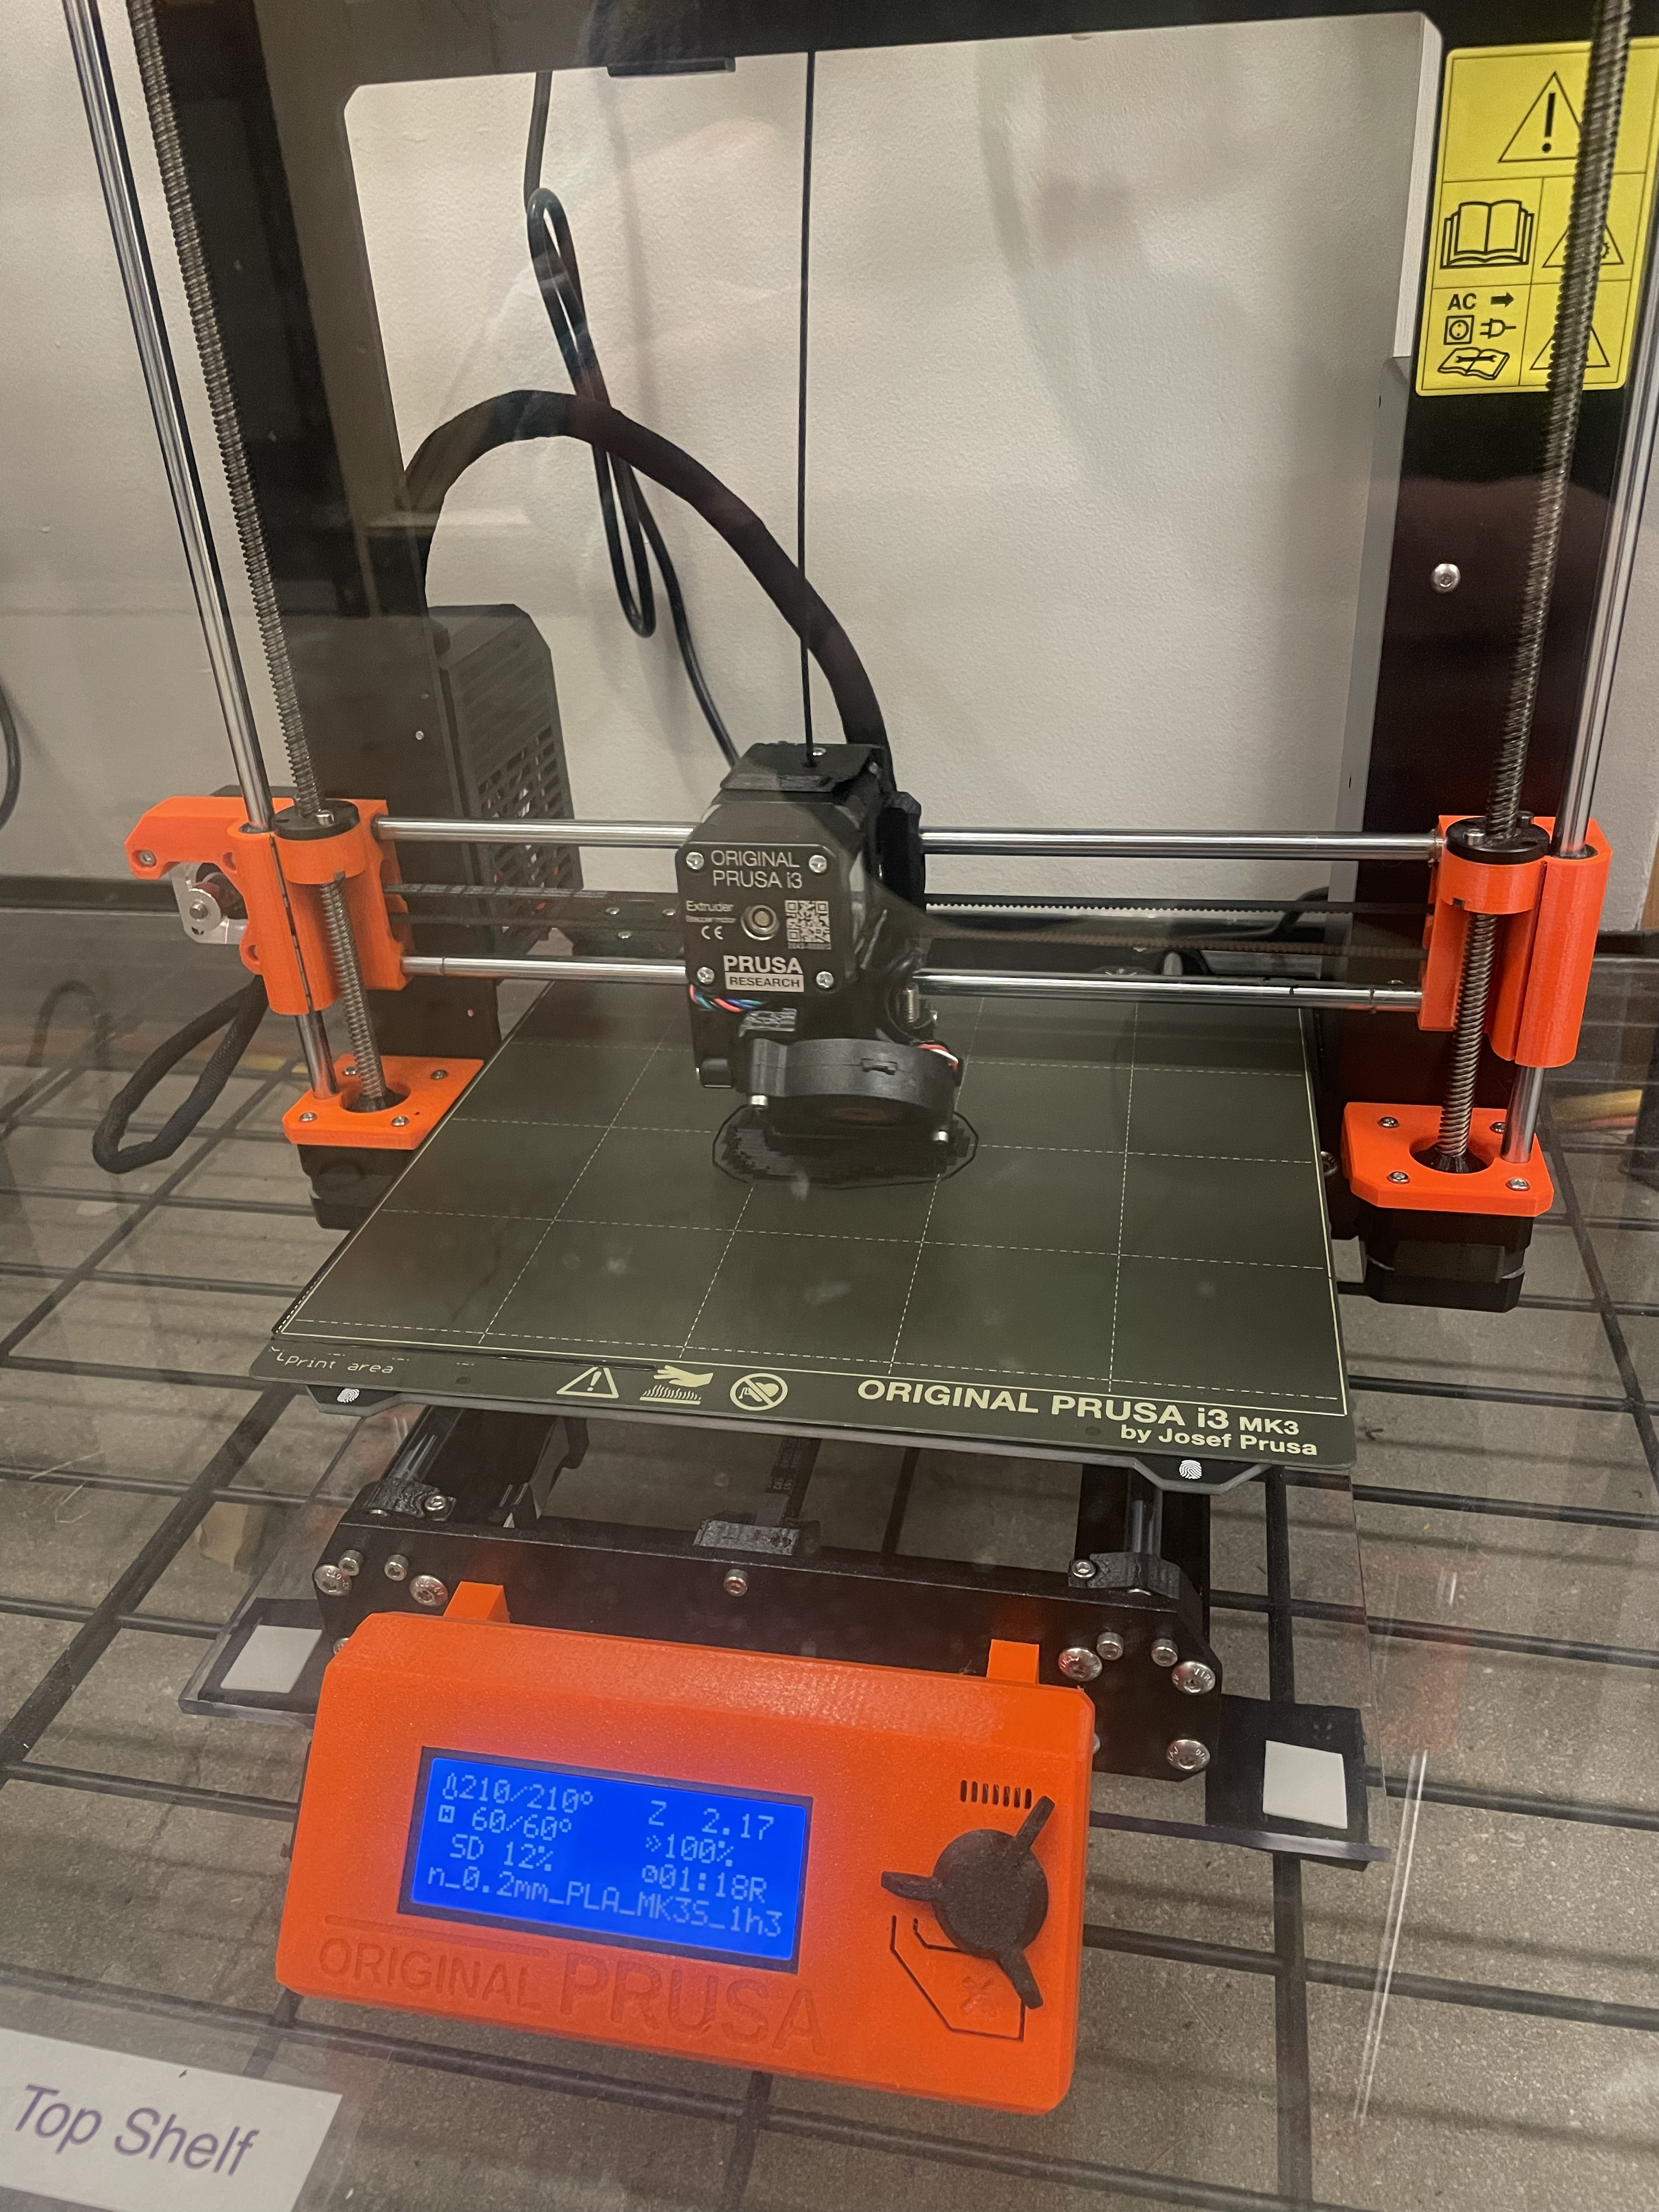
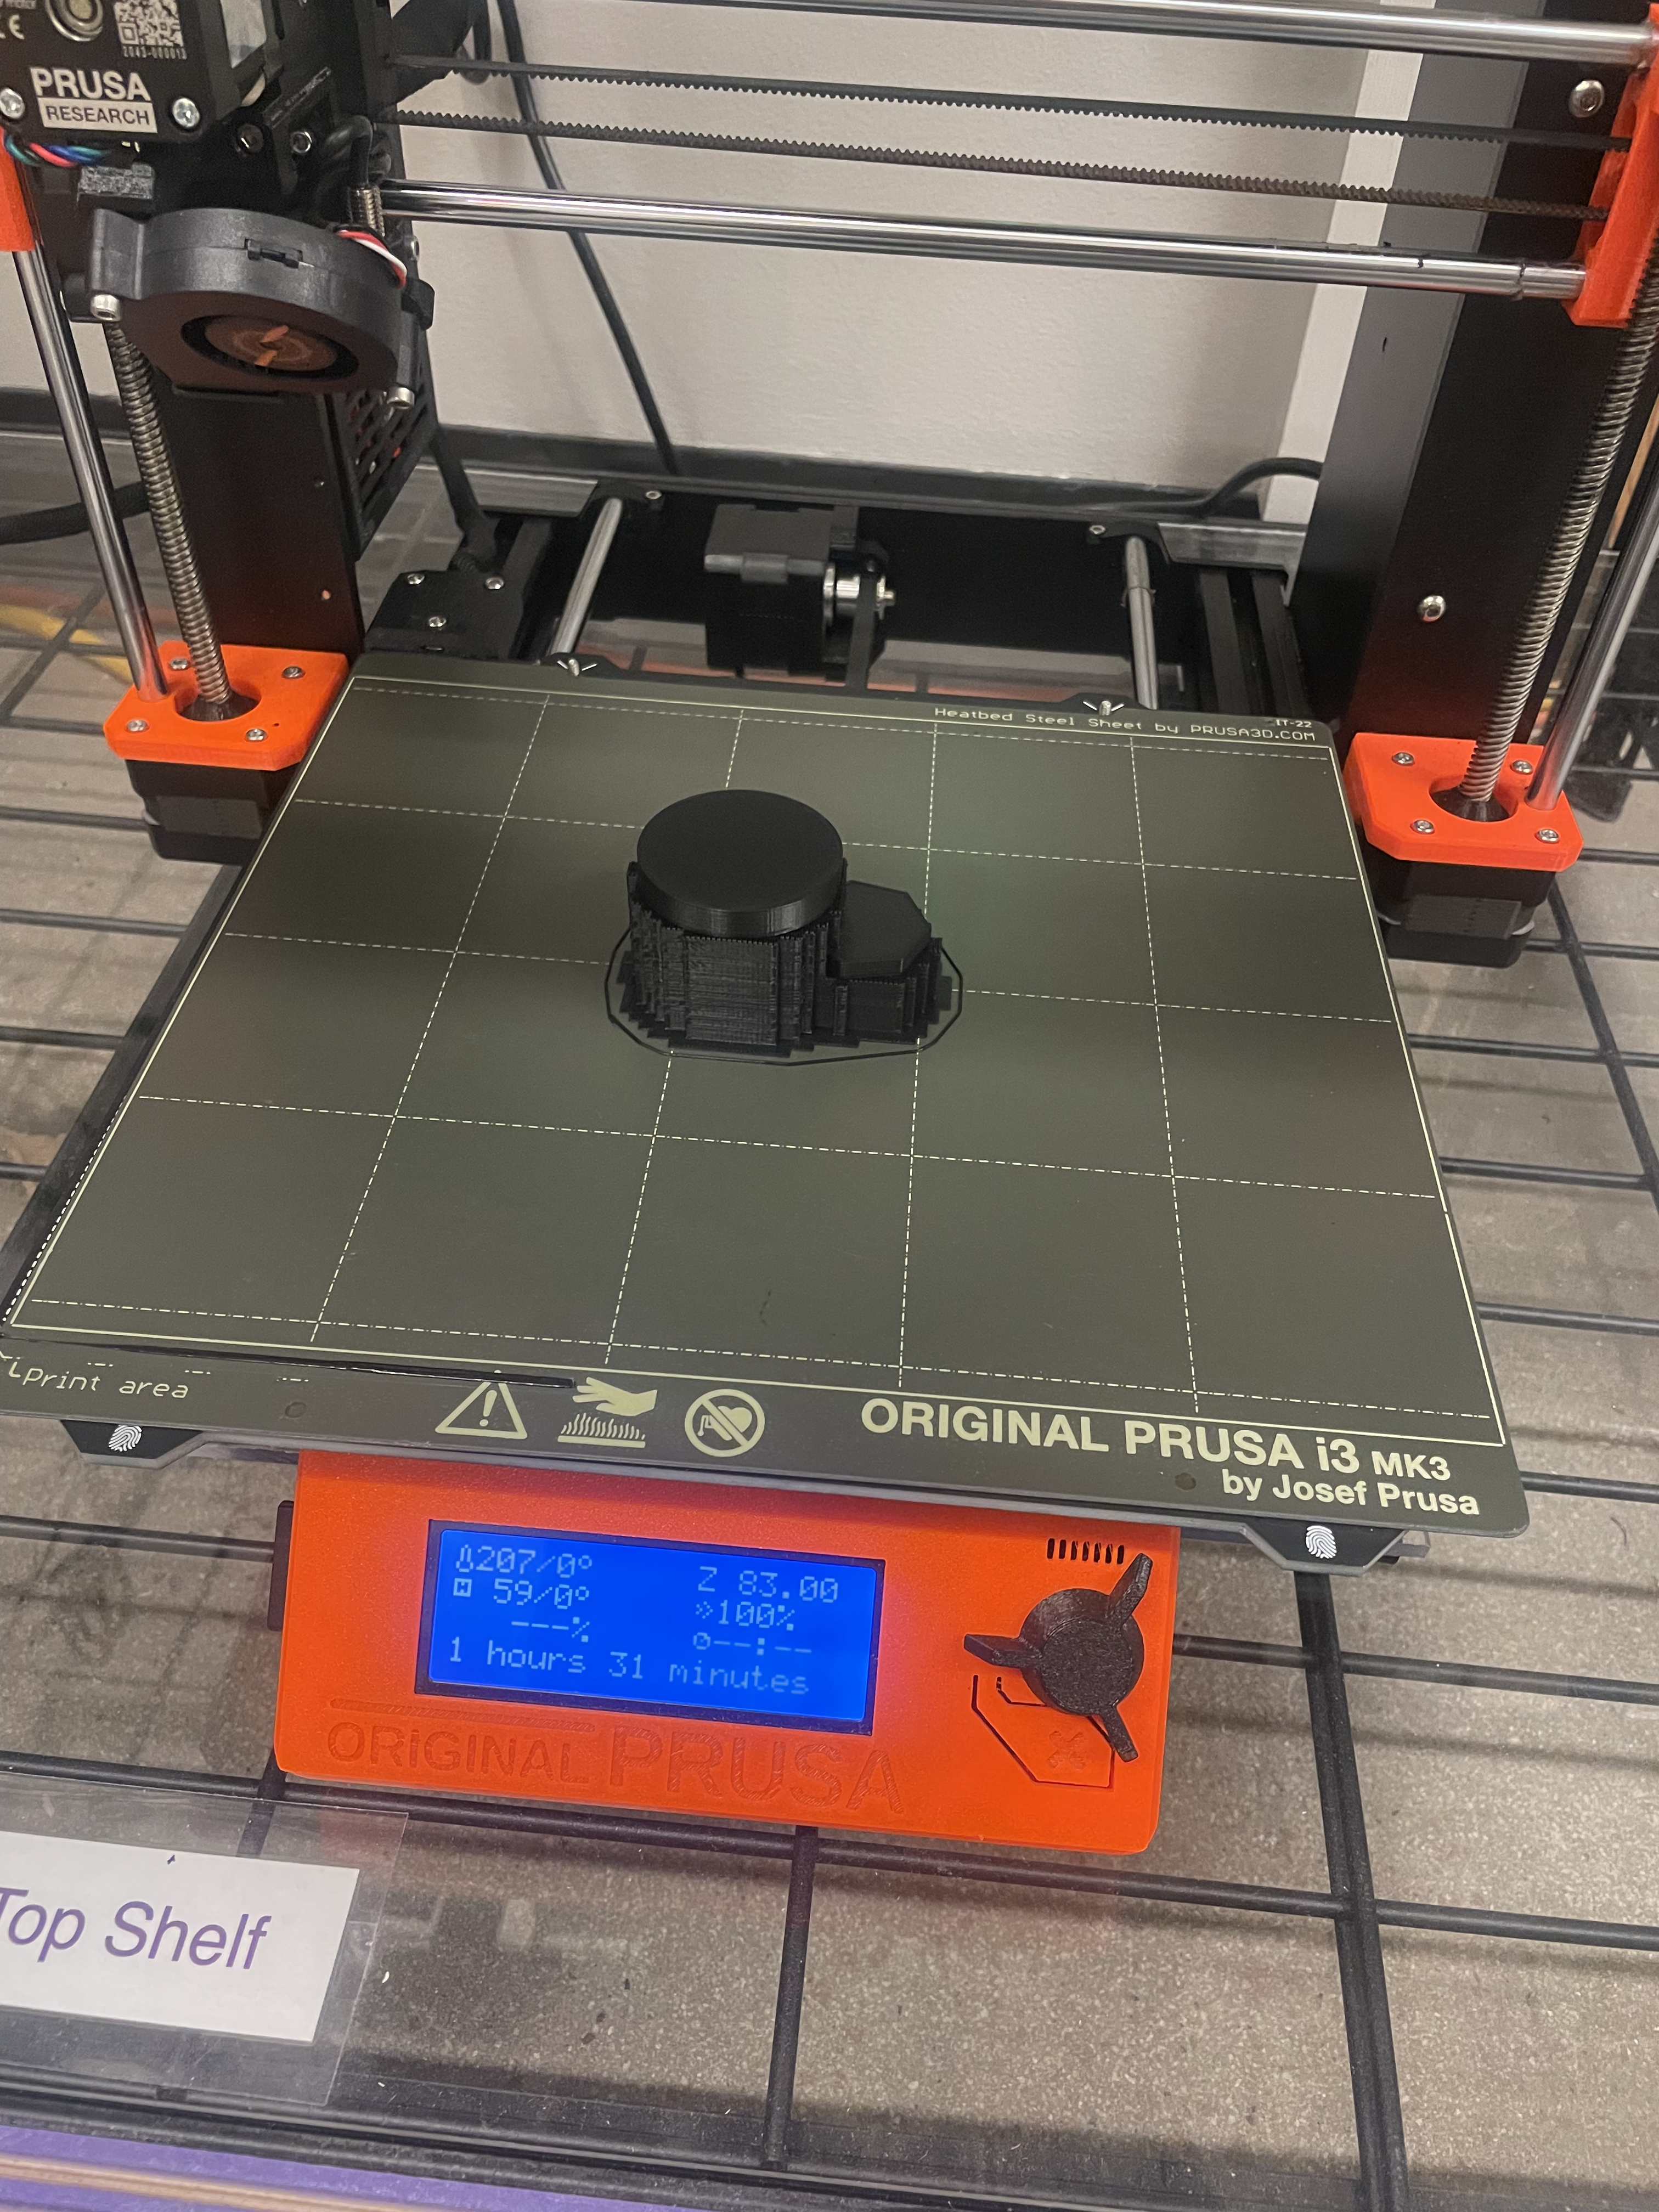
Variation 1
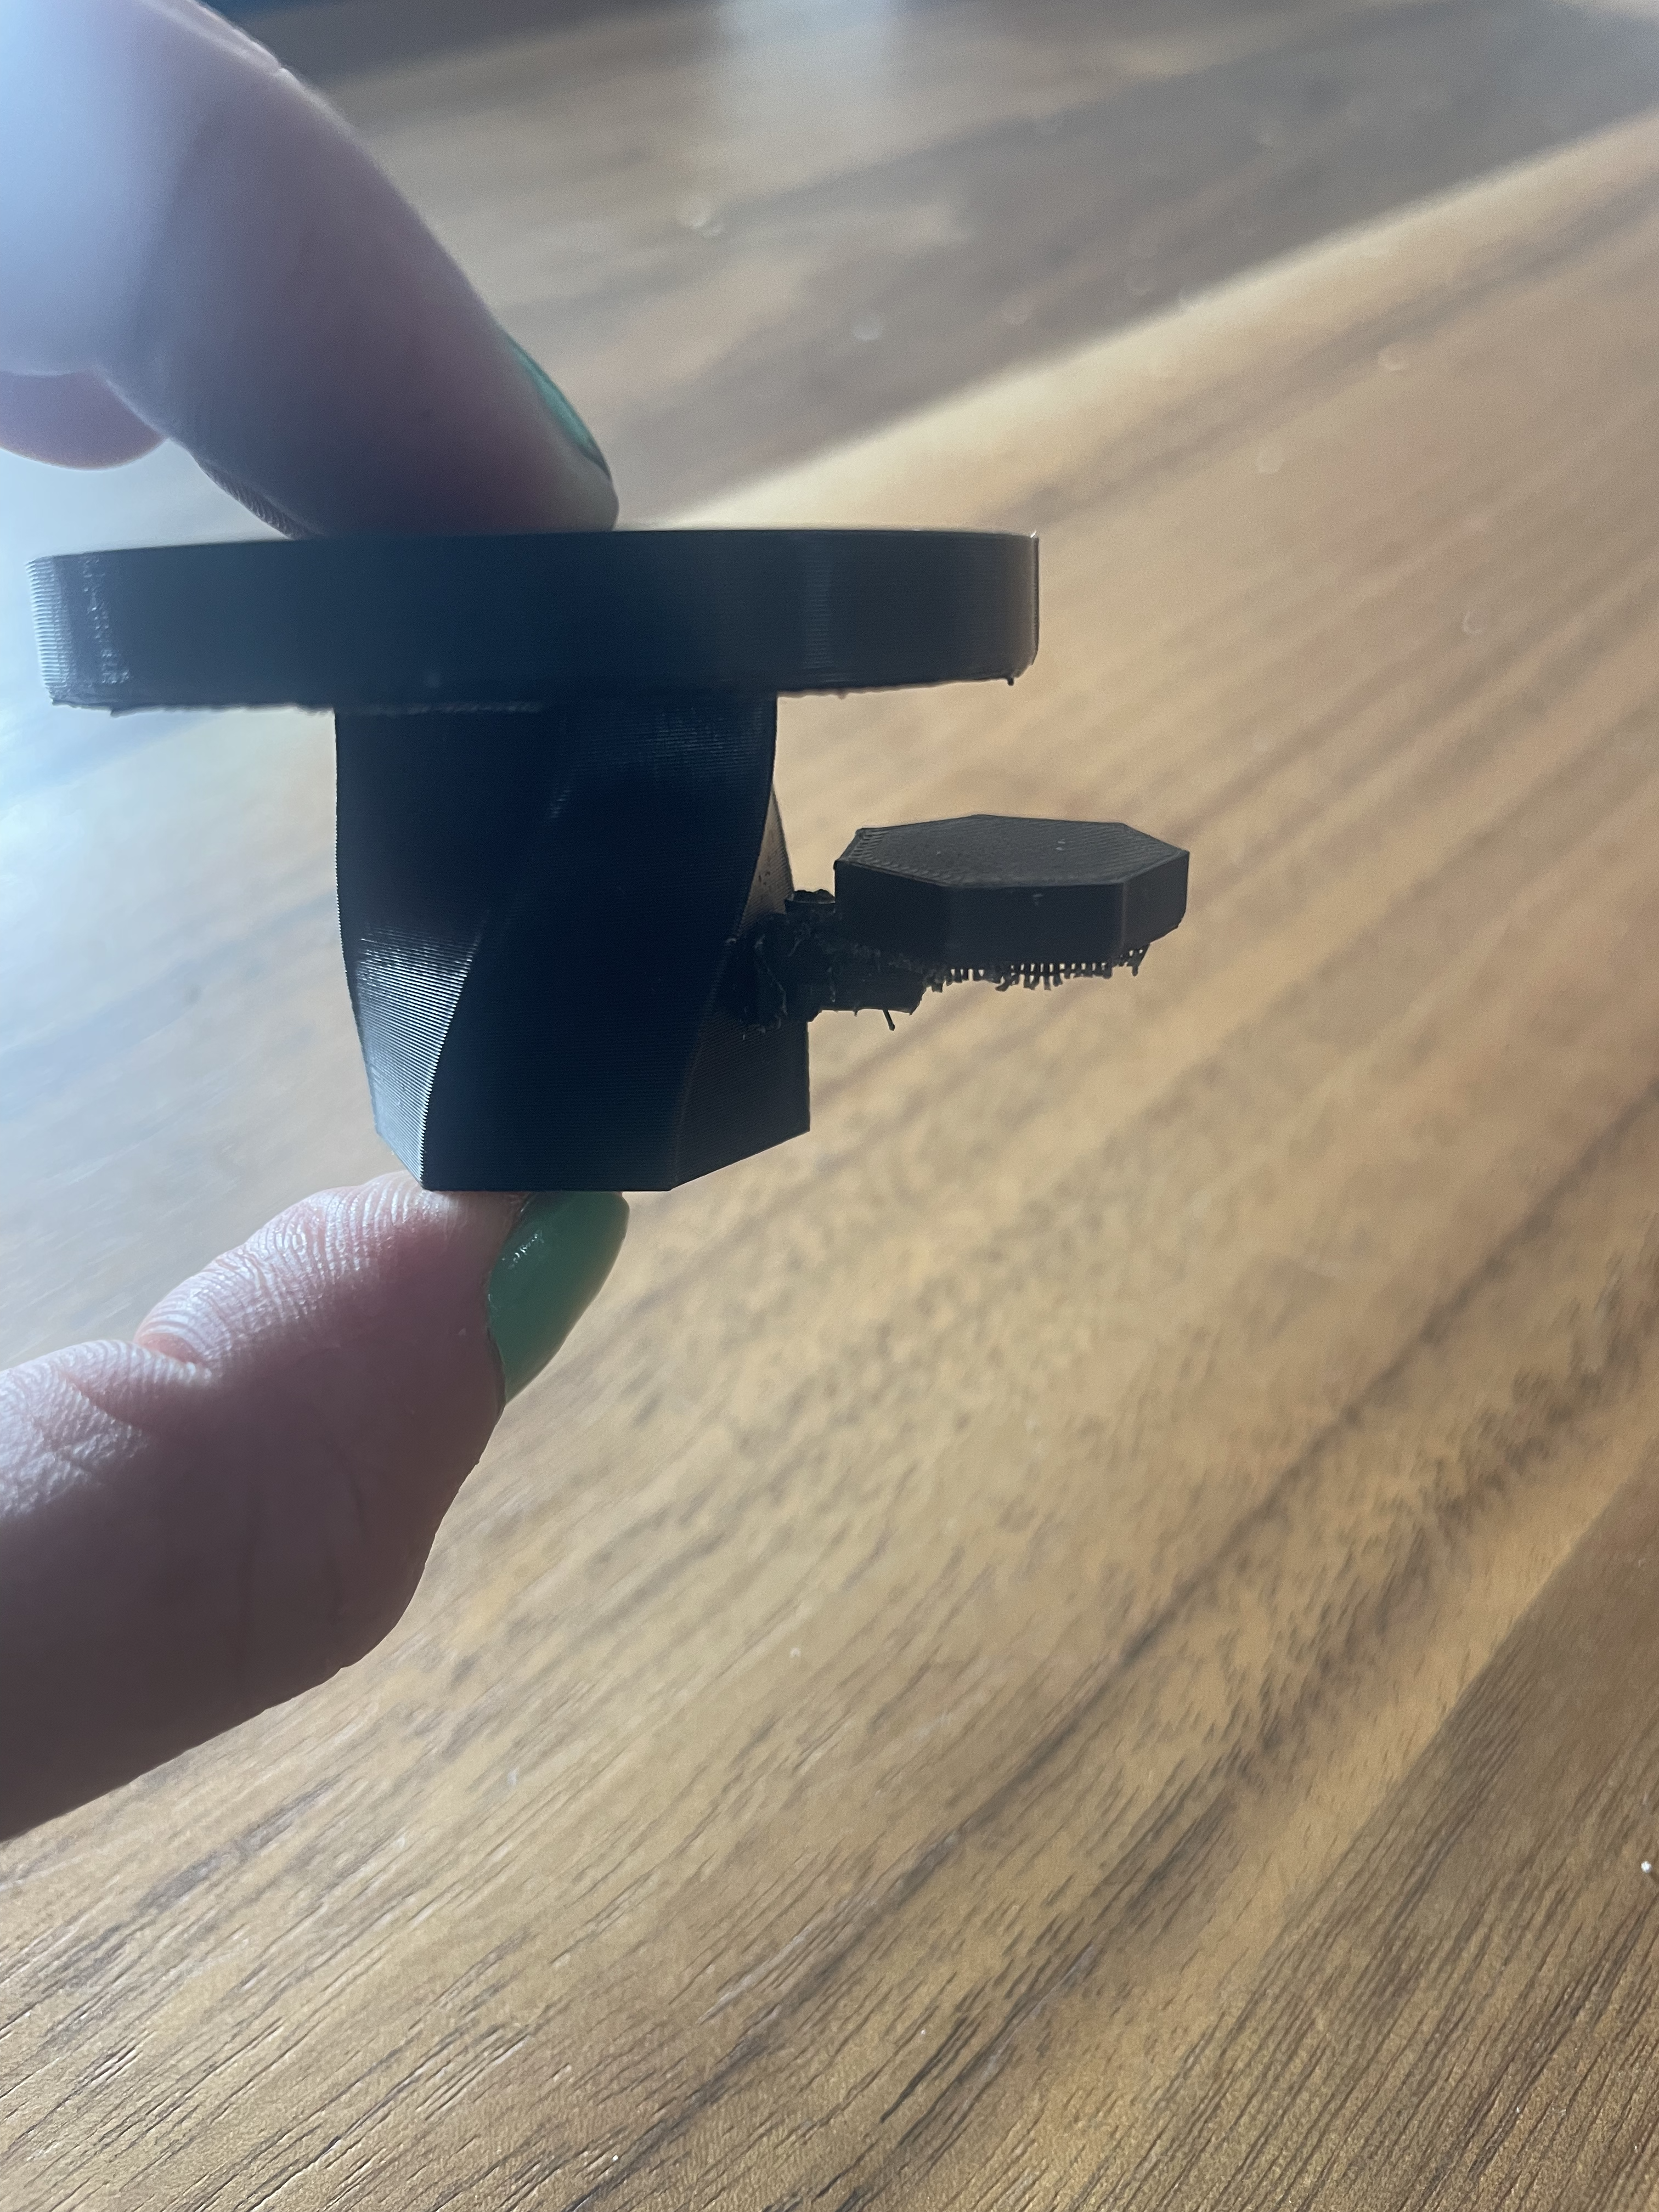
Variation 2
