L2: 3D Parametric Design
Task 1: Parametric 3D Designs
For this set of designs, I played with creating a 3D shape that featured a base with a variable external shape with a cutout of varying shapes and sizes. The top of the form can also be varied in size and number of sides.
The code for this part of the task is available here.
Adjustable Parameters:
Base Internal Shape
- Cutout Base Radius - manipulates the size of the bottom of the cutout shape
- Cutout Base Segment - manipulates the number of sides the bottom of the cutout has (i.e 6 = hexagon)
- Cutout Base Fillet Radius - Manipulates the rounding of the cutout base inside corners
Top
- Object Height - Manipulates the height (size in the Z plane) of the object produced
- Top Width - Manipulates the top opening width
- Top Segments - manipulates the number of sides the top opening has
- Fillet radius - manipulates the rounding of the top opening corners
Base External Shape
- Radius - Manipulates the size of the external base shape
- Segments - manipulates the number of sides of the external base shape
- Fillet Radius - manipulates the rounding of the base external shape corners
Twist
- Angle - The angle of the twist used
Variations
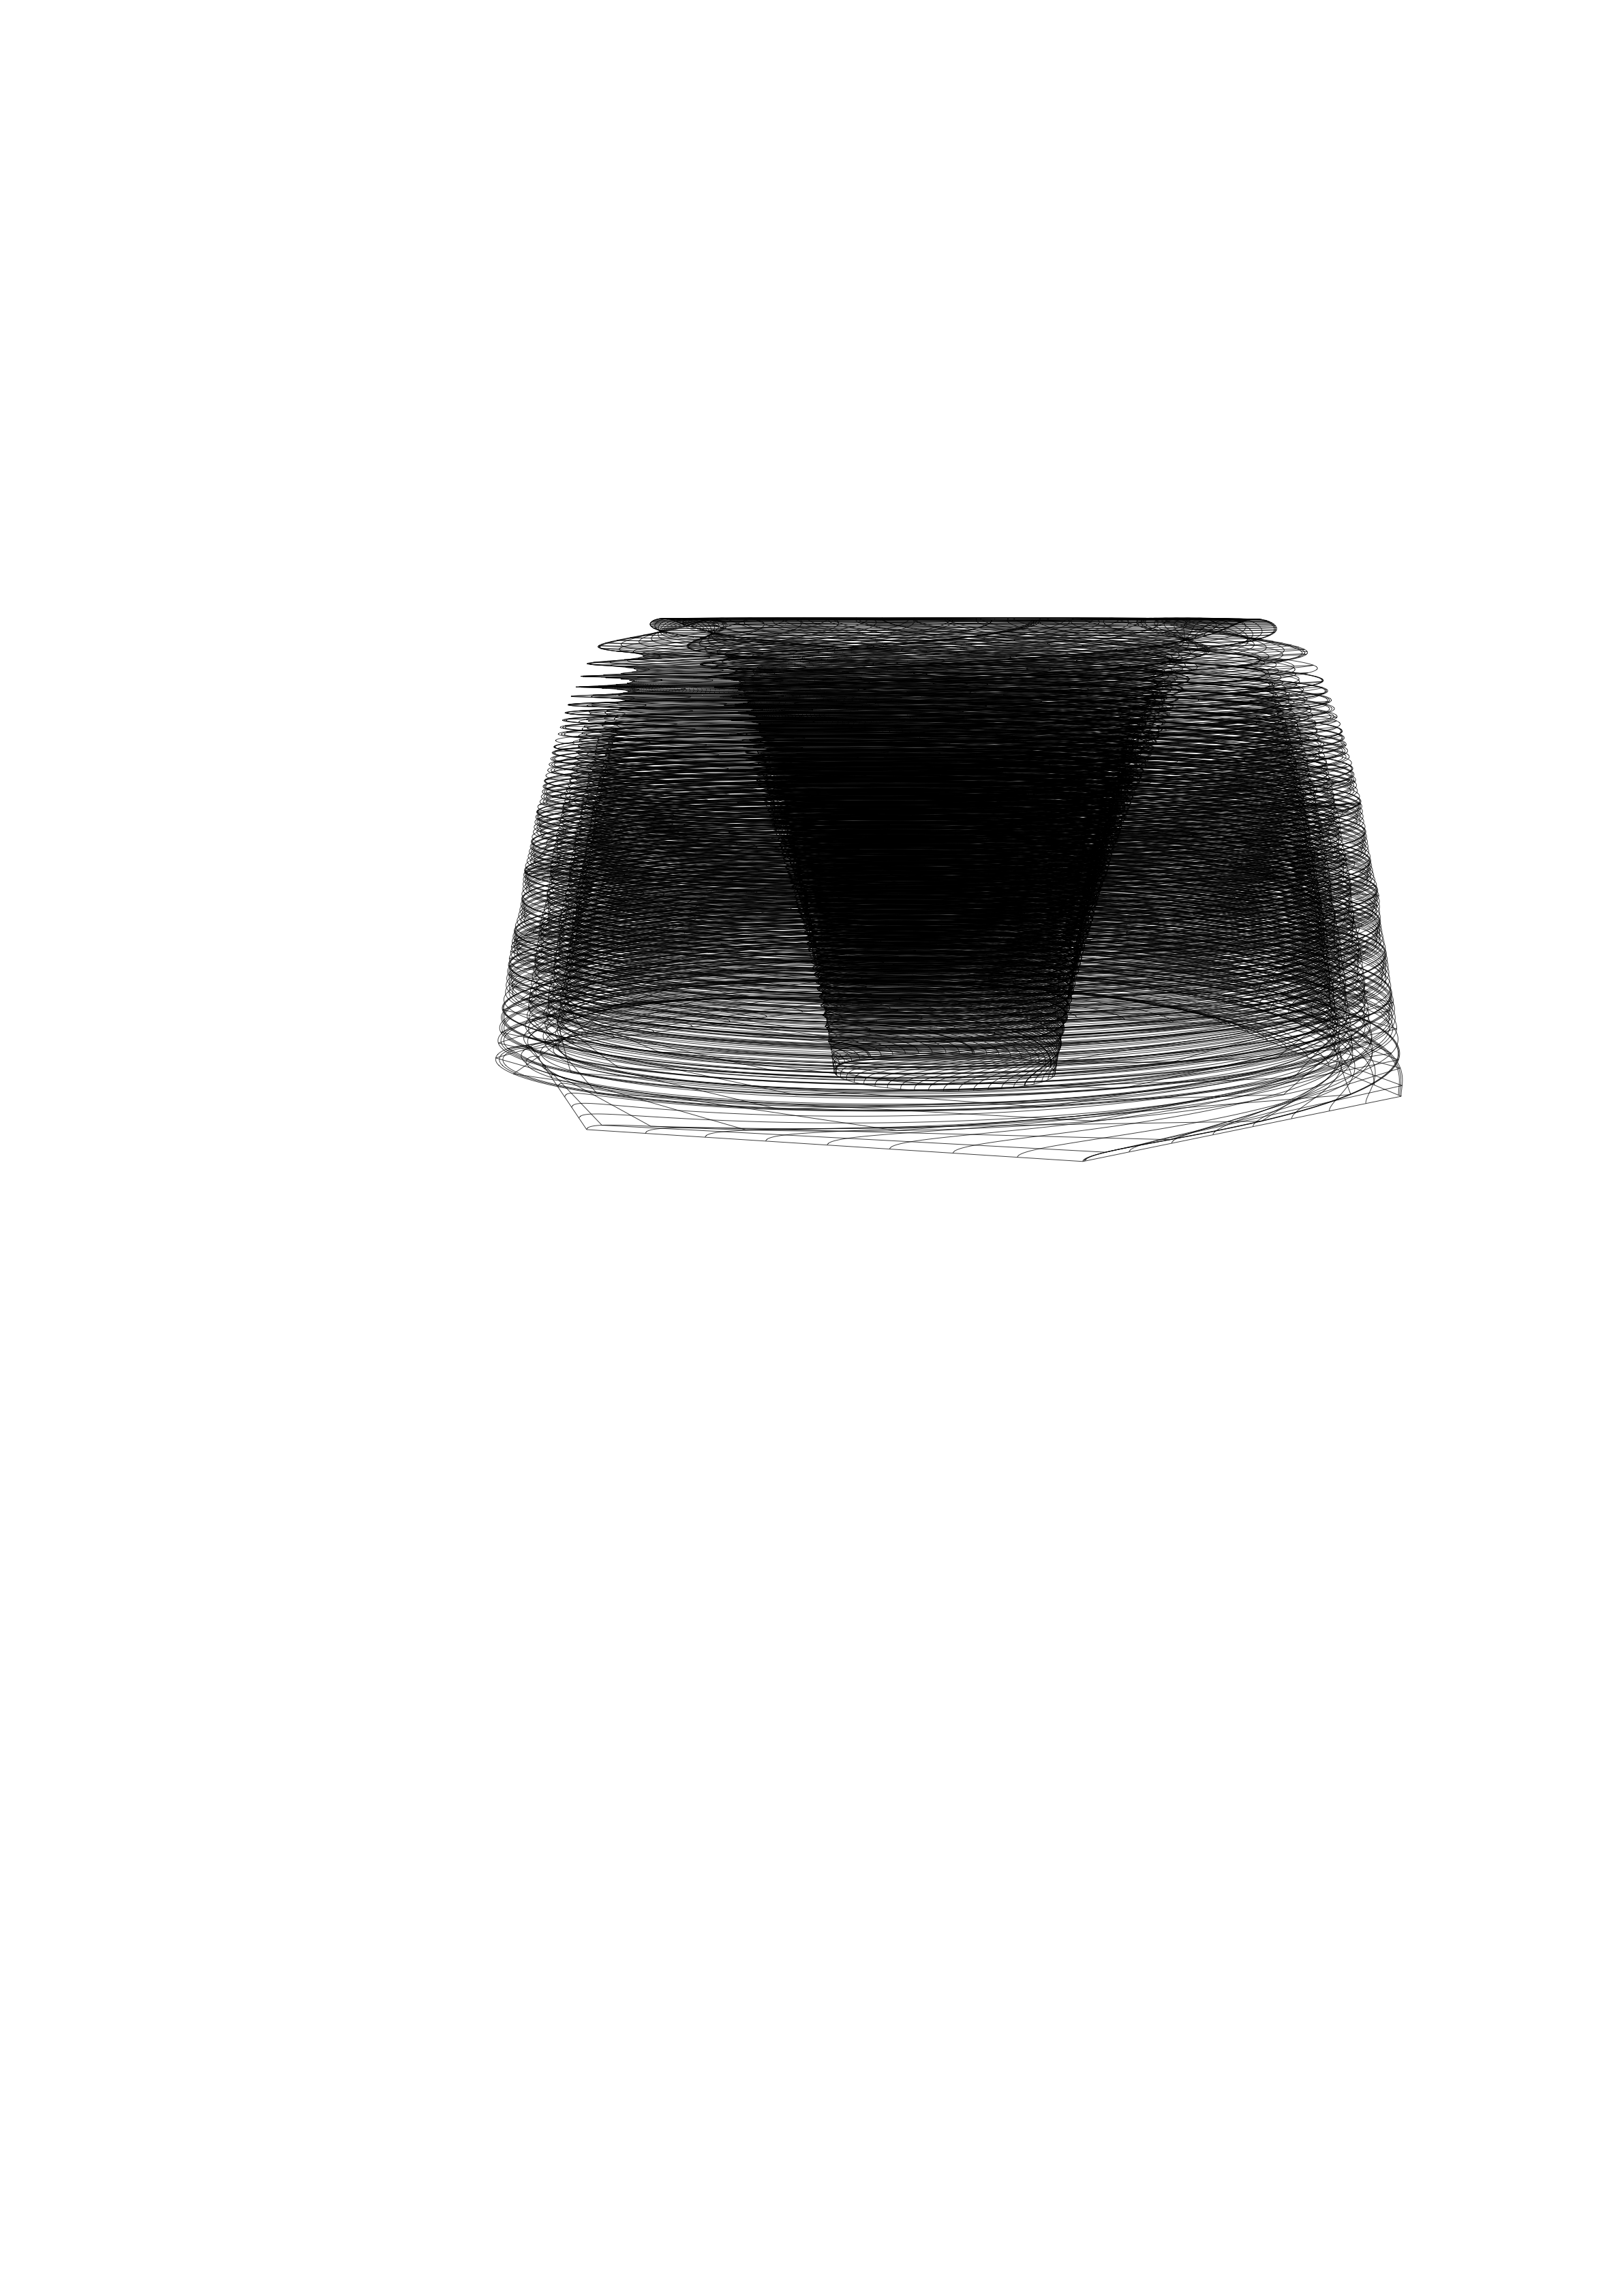
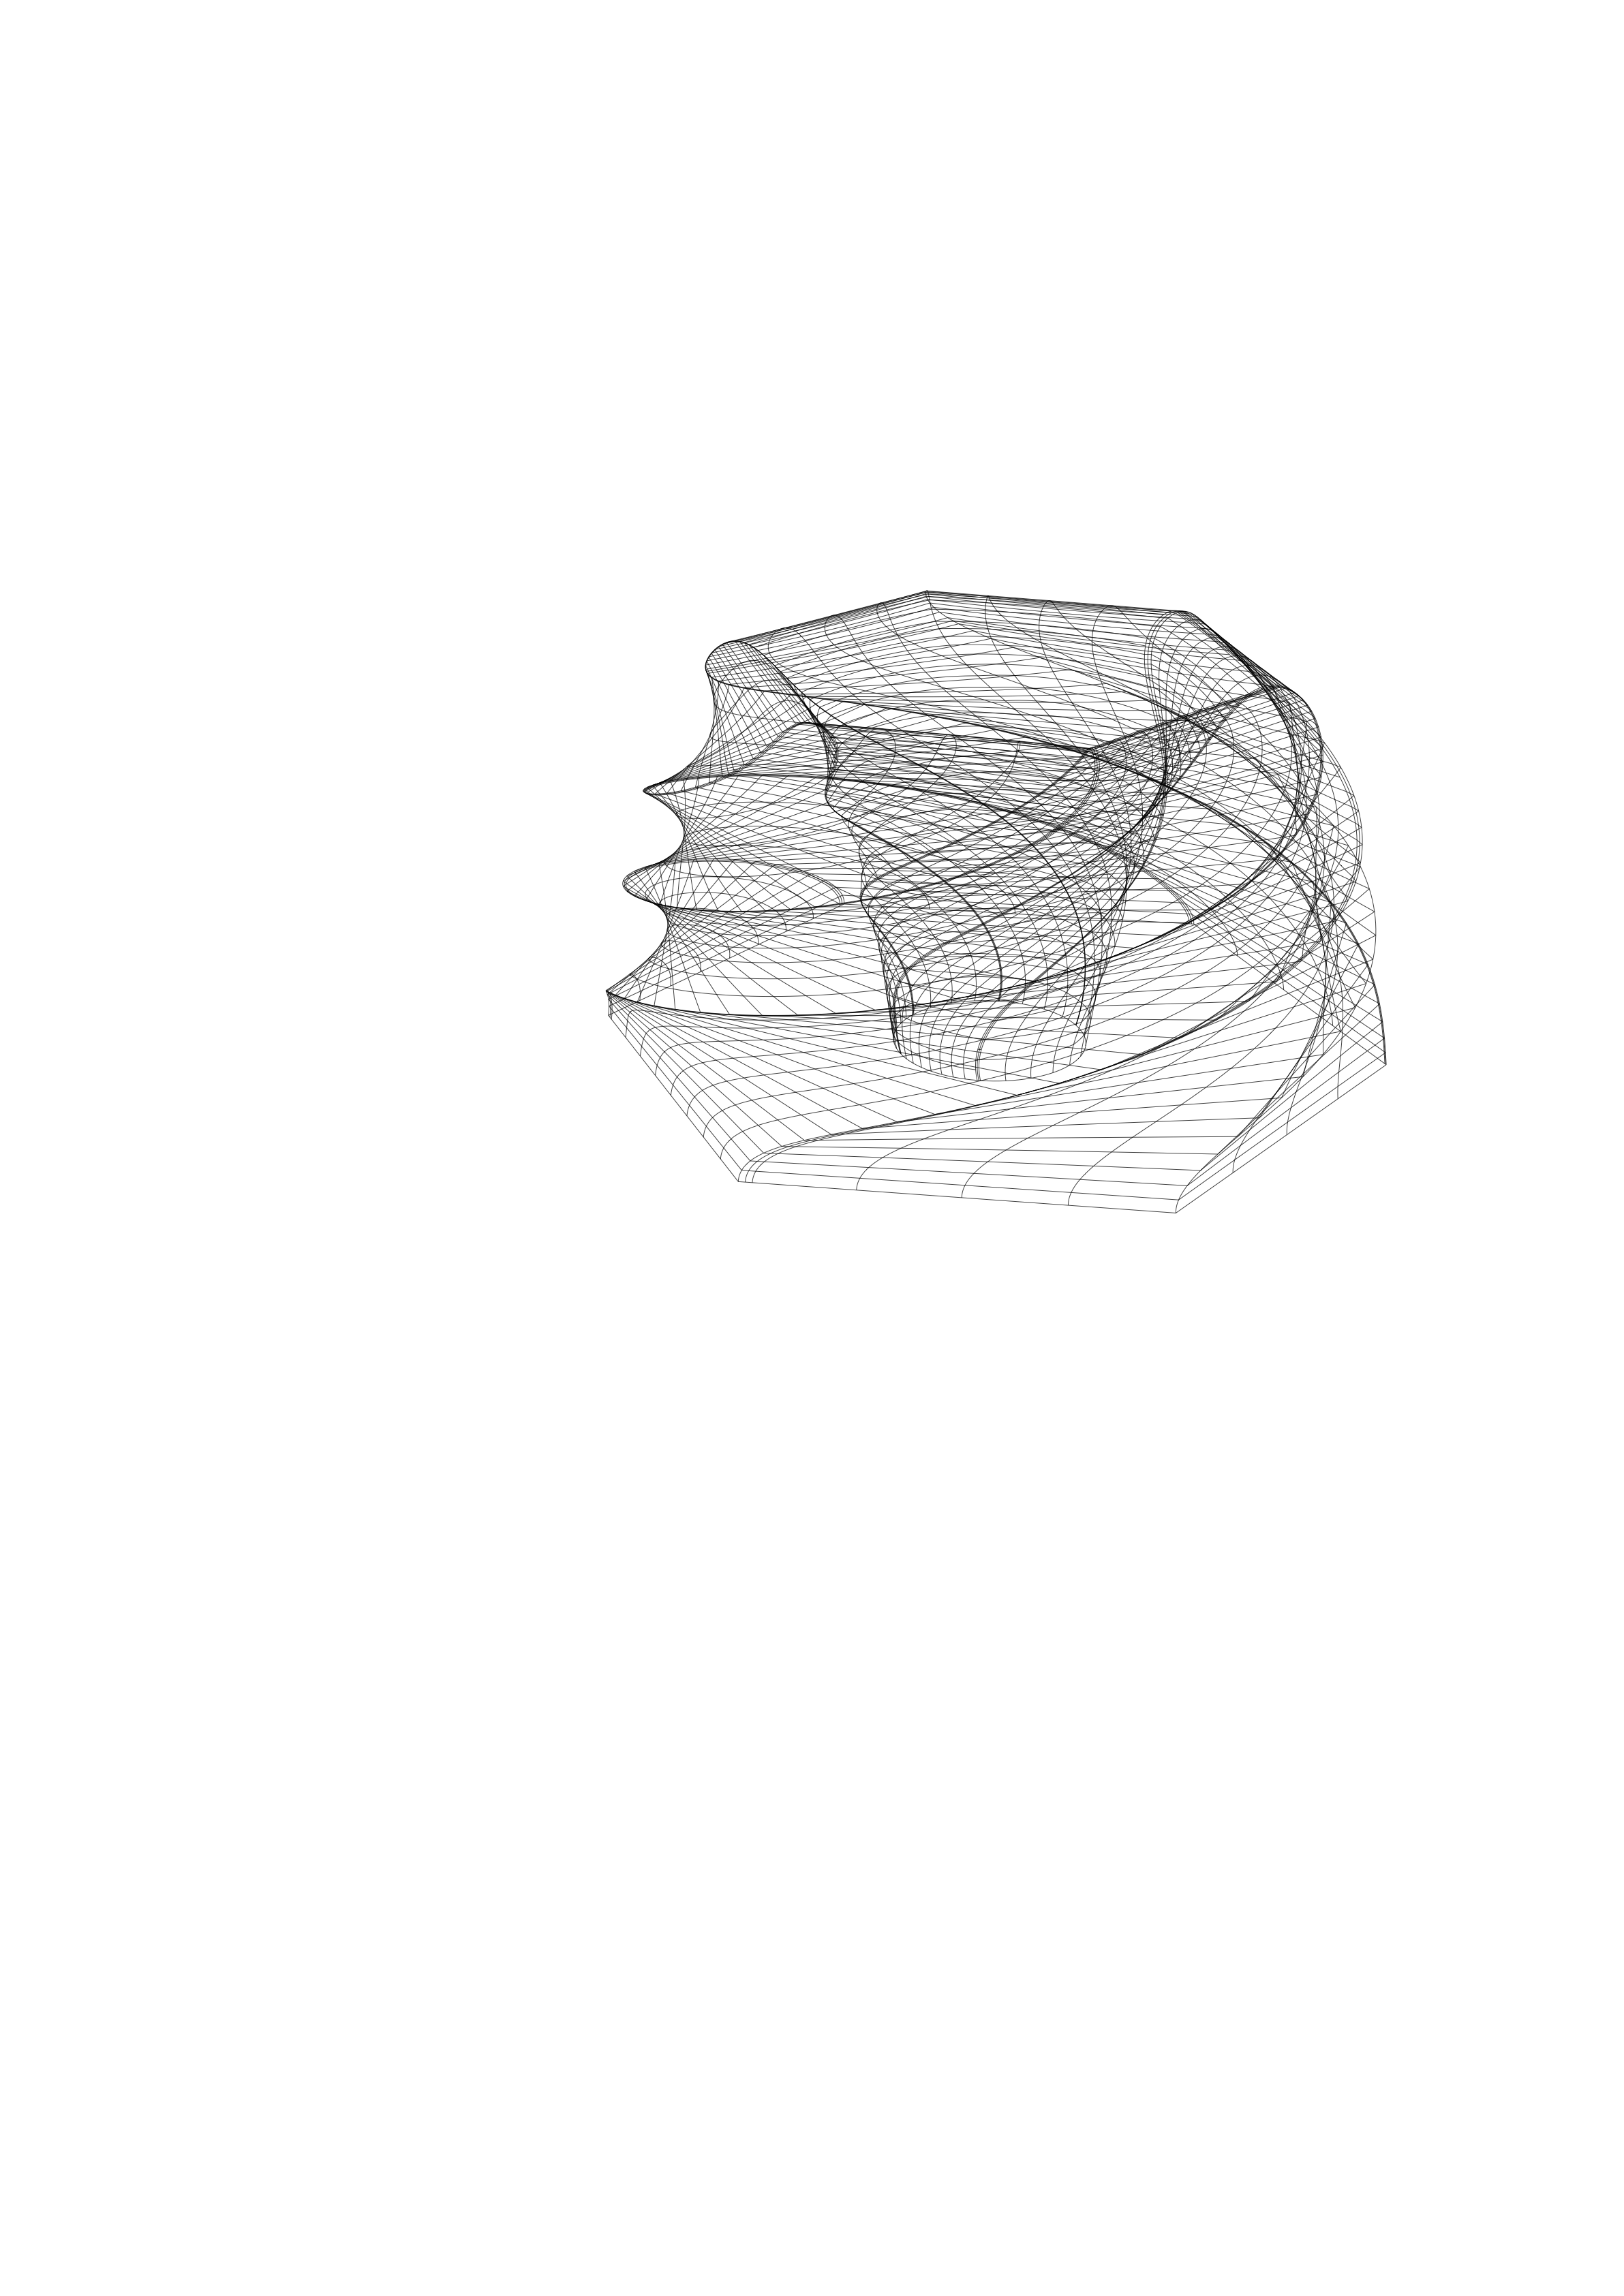
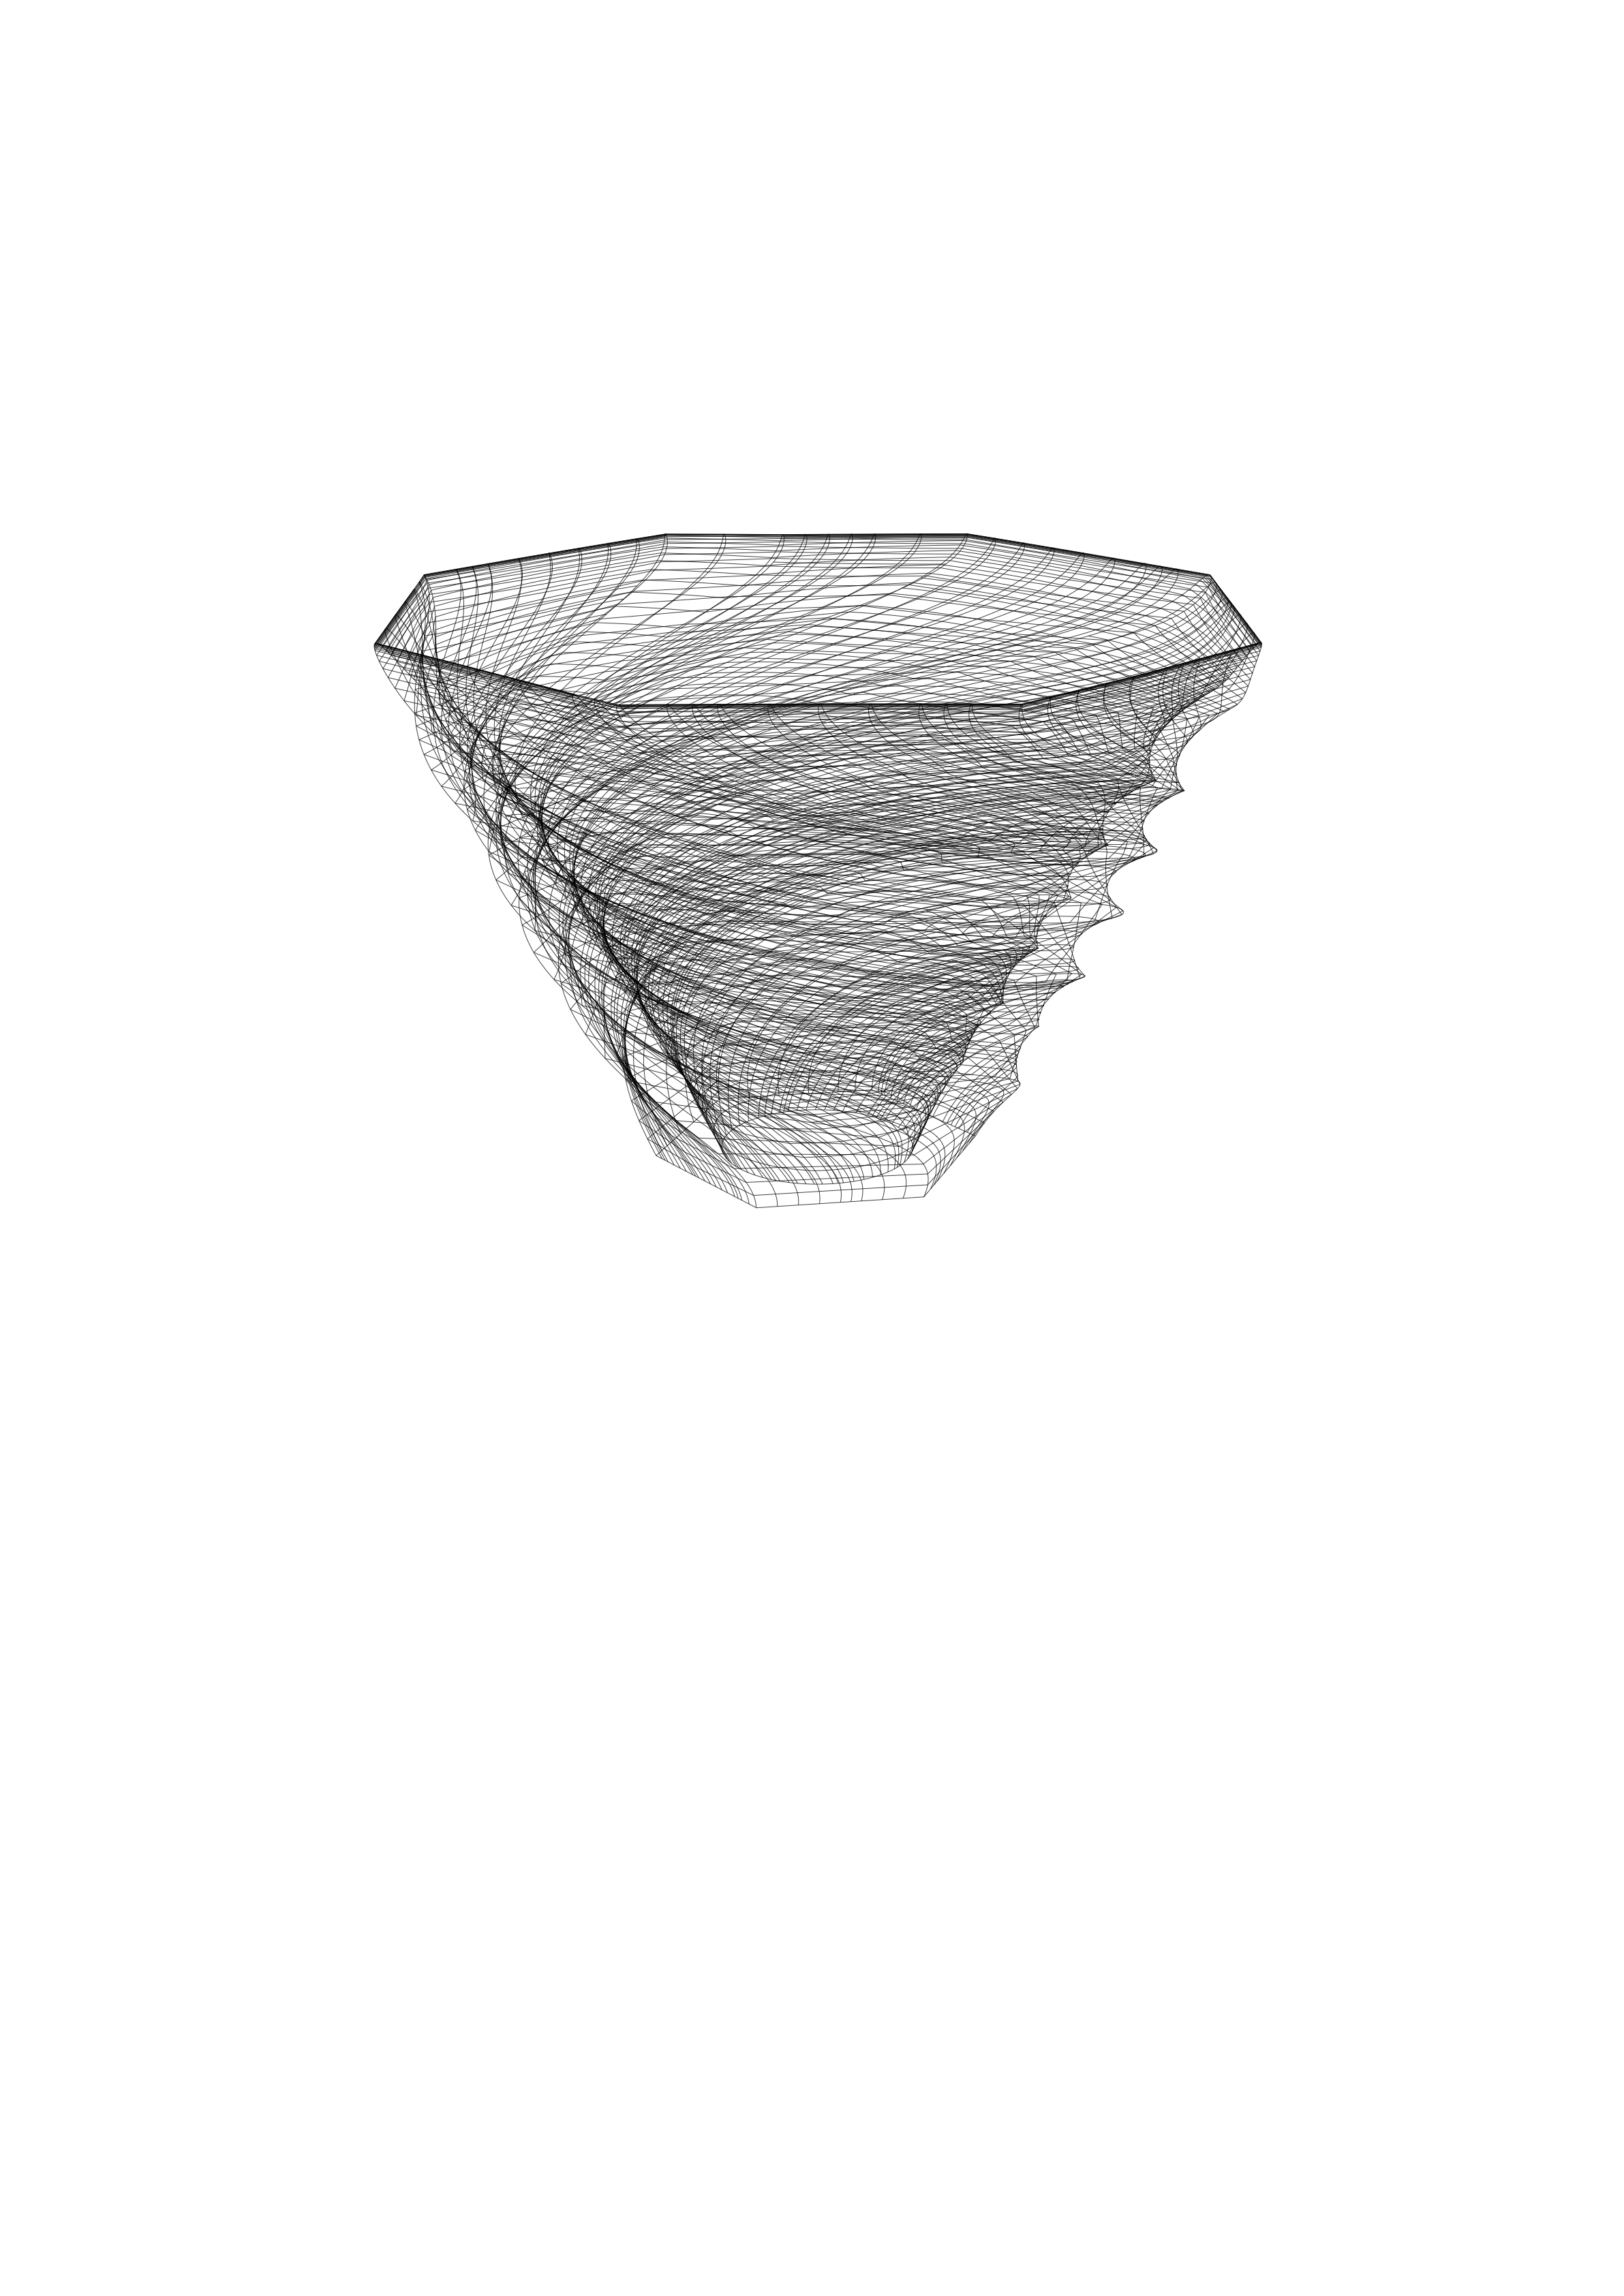
Task 2: Creating a 3D-to-2D Slicer
The creation of a 3D-to-2D slicer was by far the most difficult part of this assignment. I struggled greatly with trying to get the slices to lie flat horizontally as well as getting them to have numbers. In the end, I could not figure out how to properly lay the designs flat and spaced out without having the entire column of slices move to the spaced out portions so I had to manually separate them for printing. Additionally, this made it difficult to separate individual slices to apply the SurfaceToText component too, so my designs are lacking in this feature.
The grasshopper script for my 3D to 2D slicer can be seen here, while the flattened design code for one of the variations (variation 5 above) can be seen here.
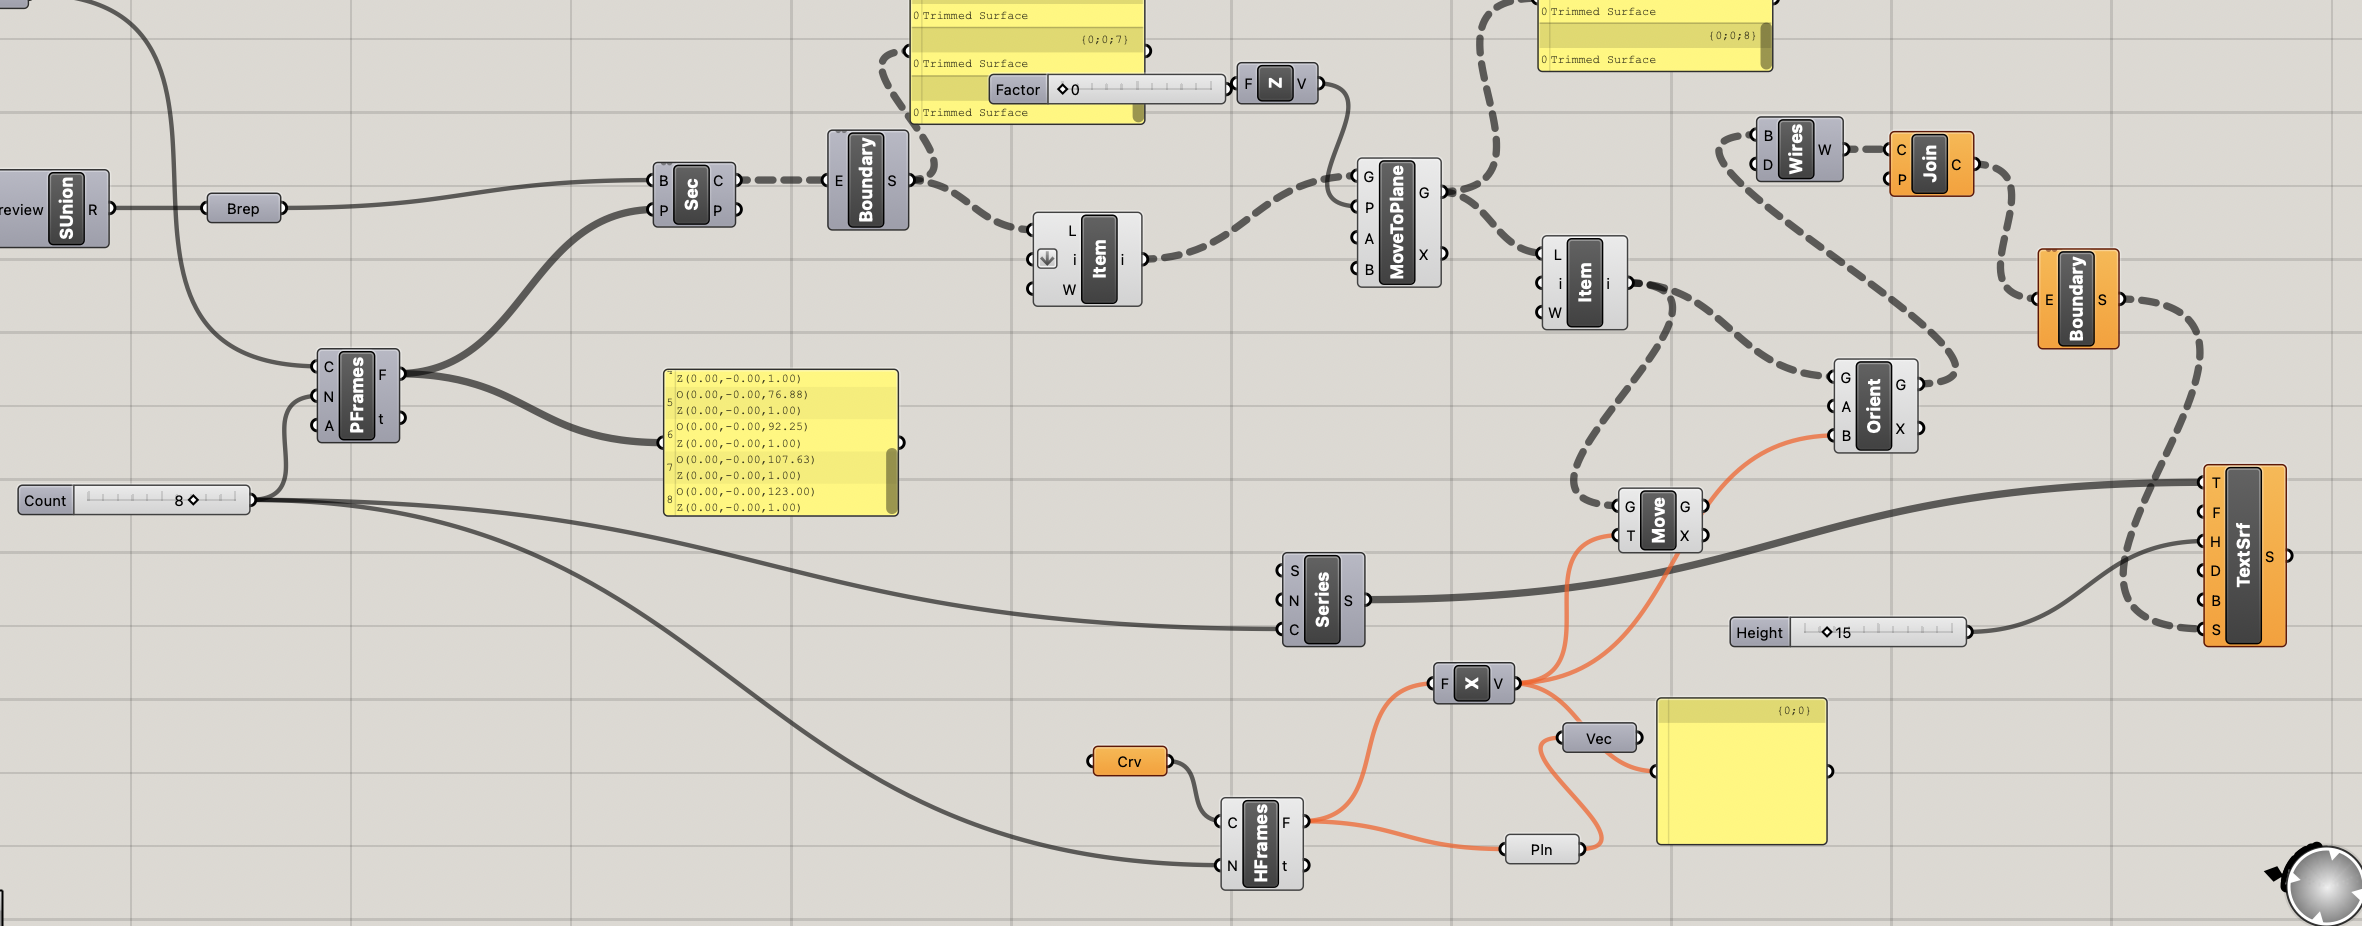
A screenshot of the portion that does the conversion can be seen below - I used the BREP Plane intersection functionality.
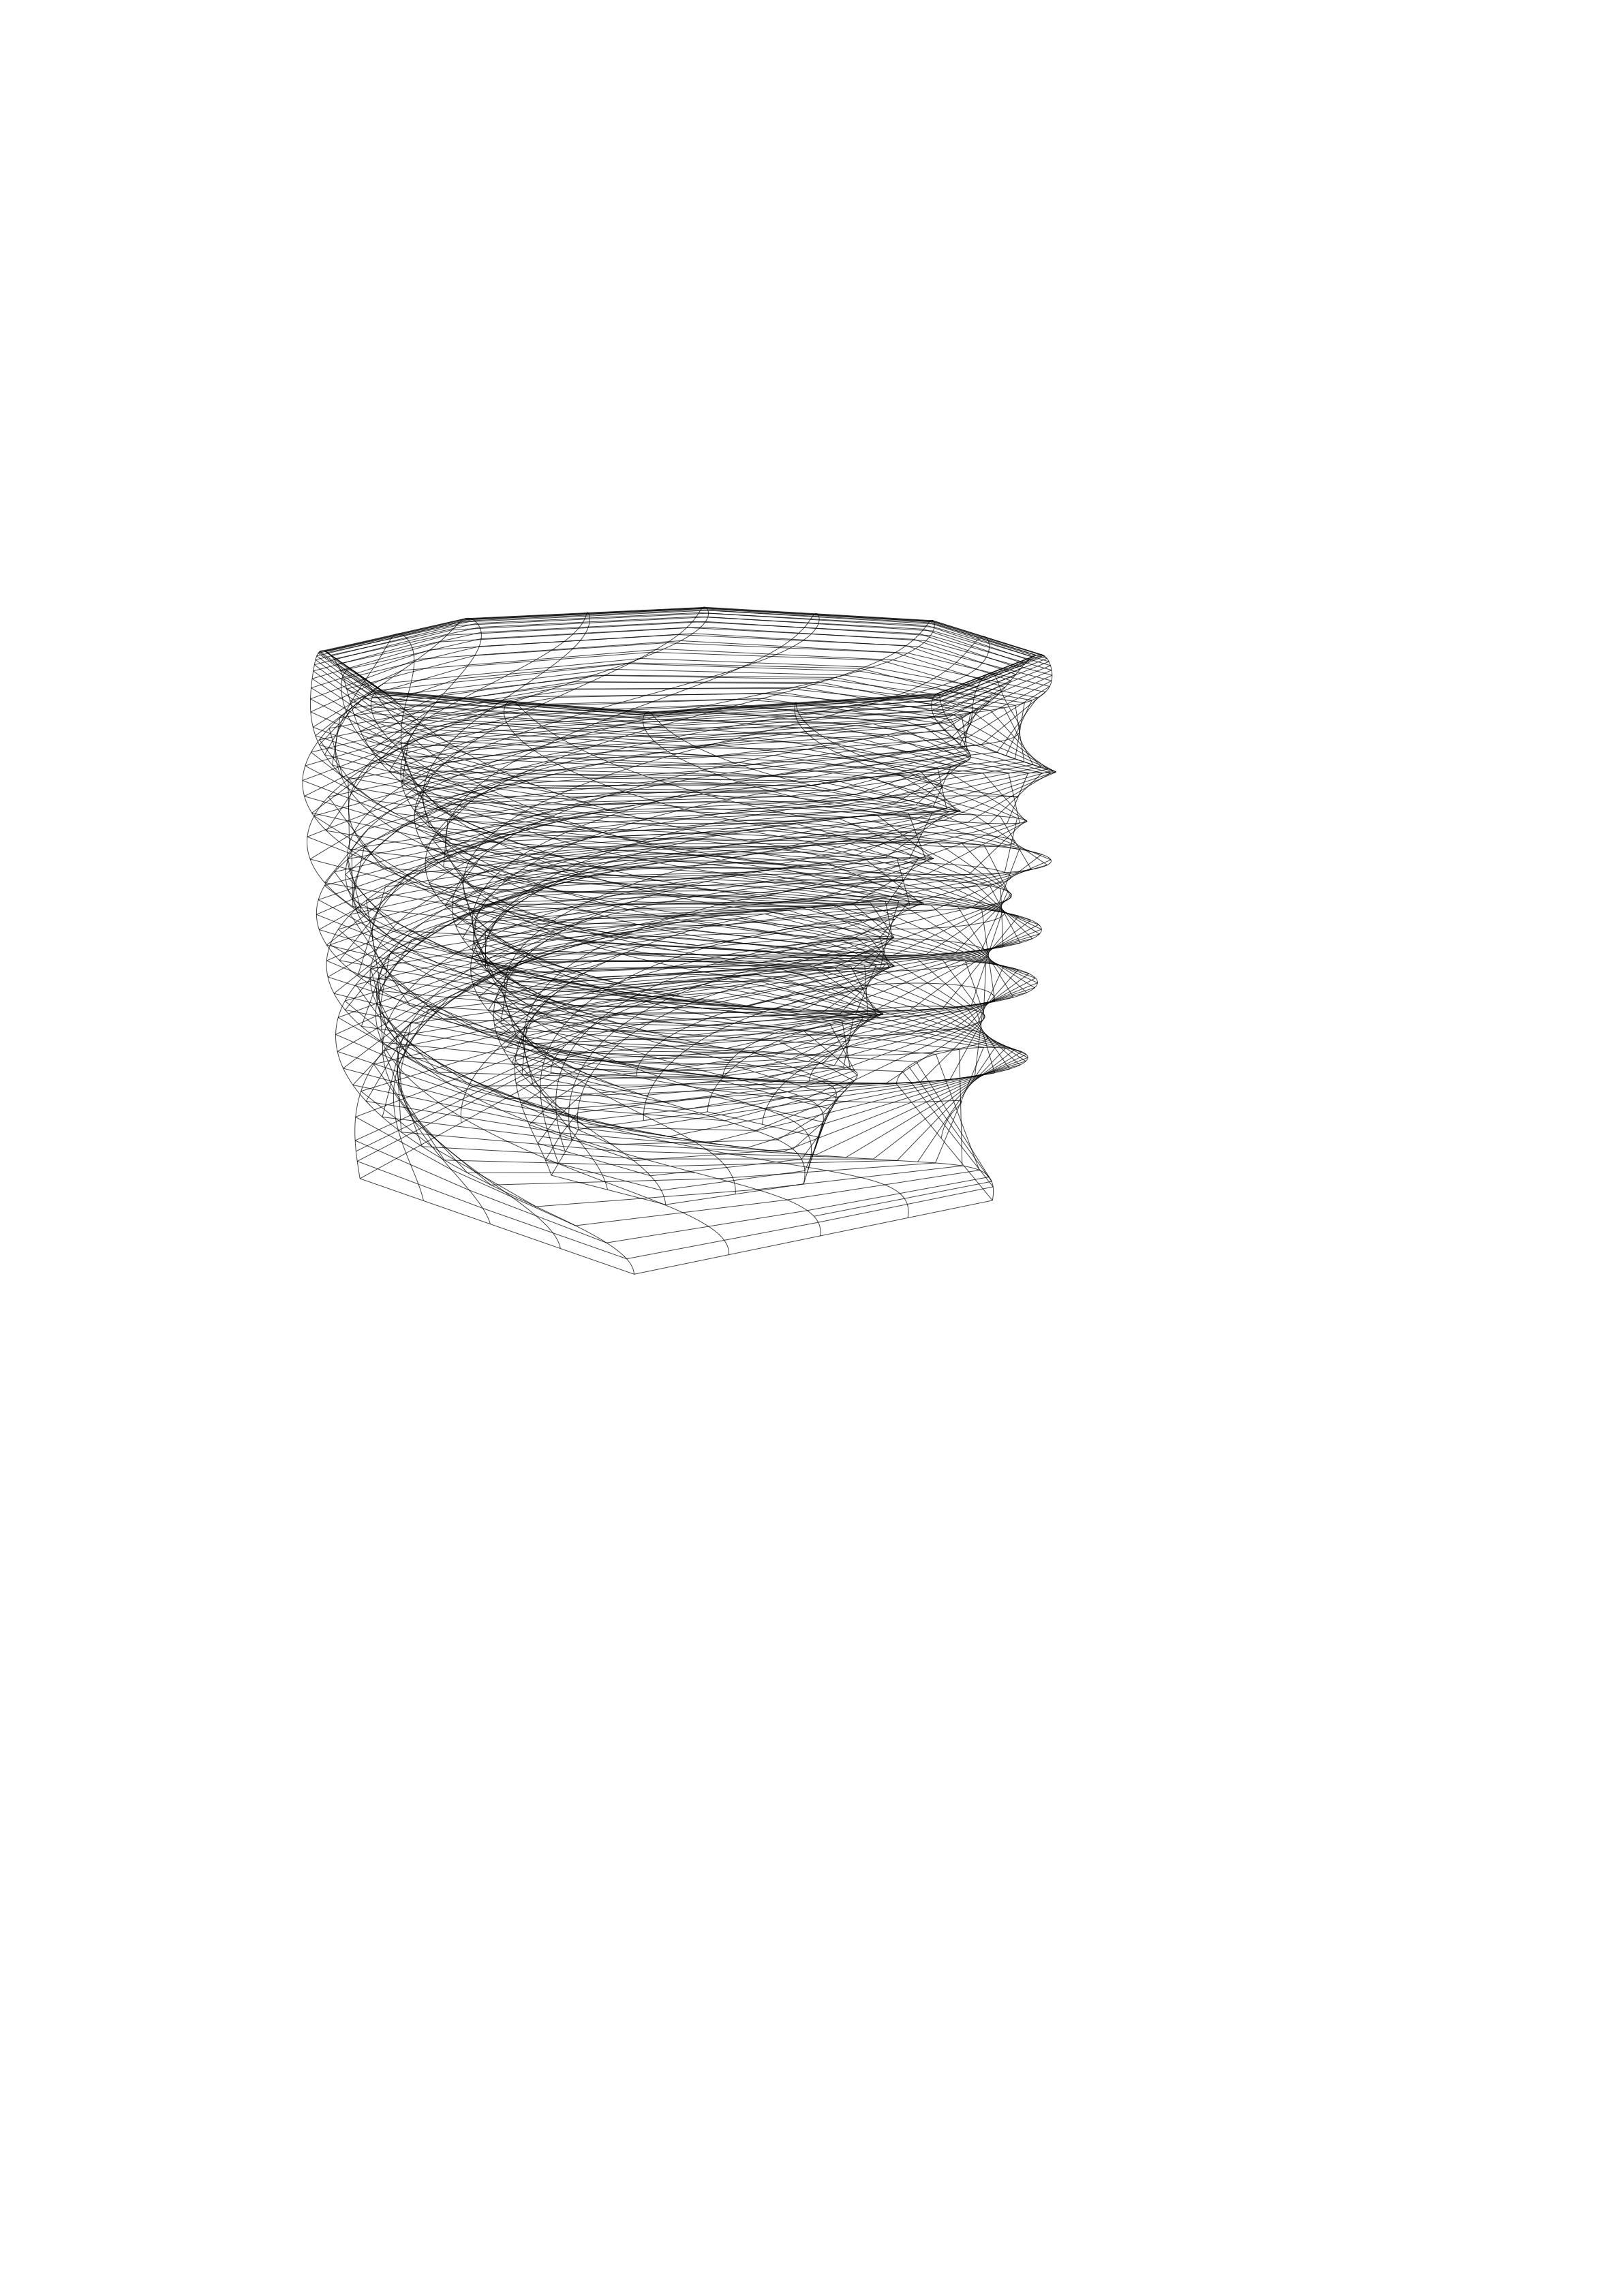
 The generated output of variation 4 is here:
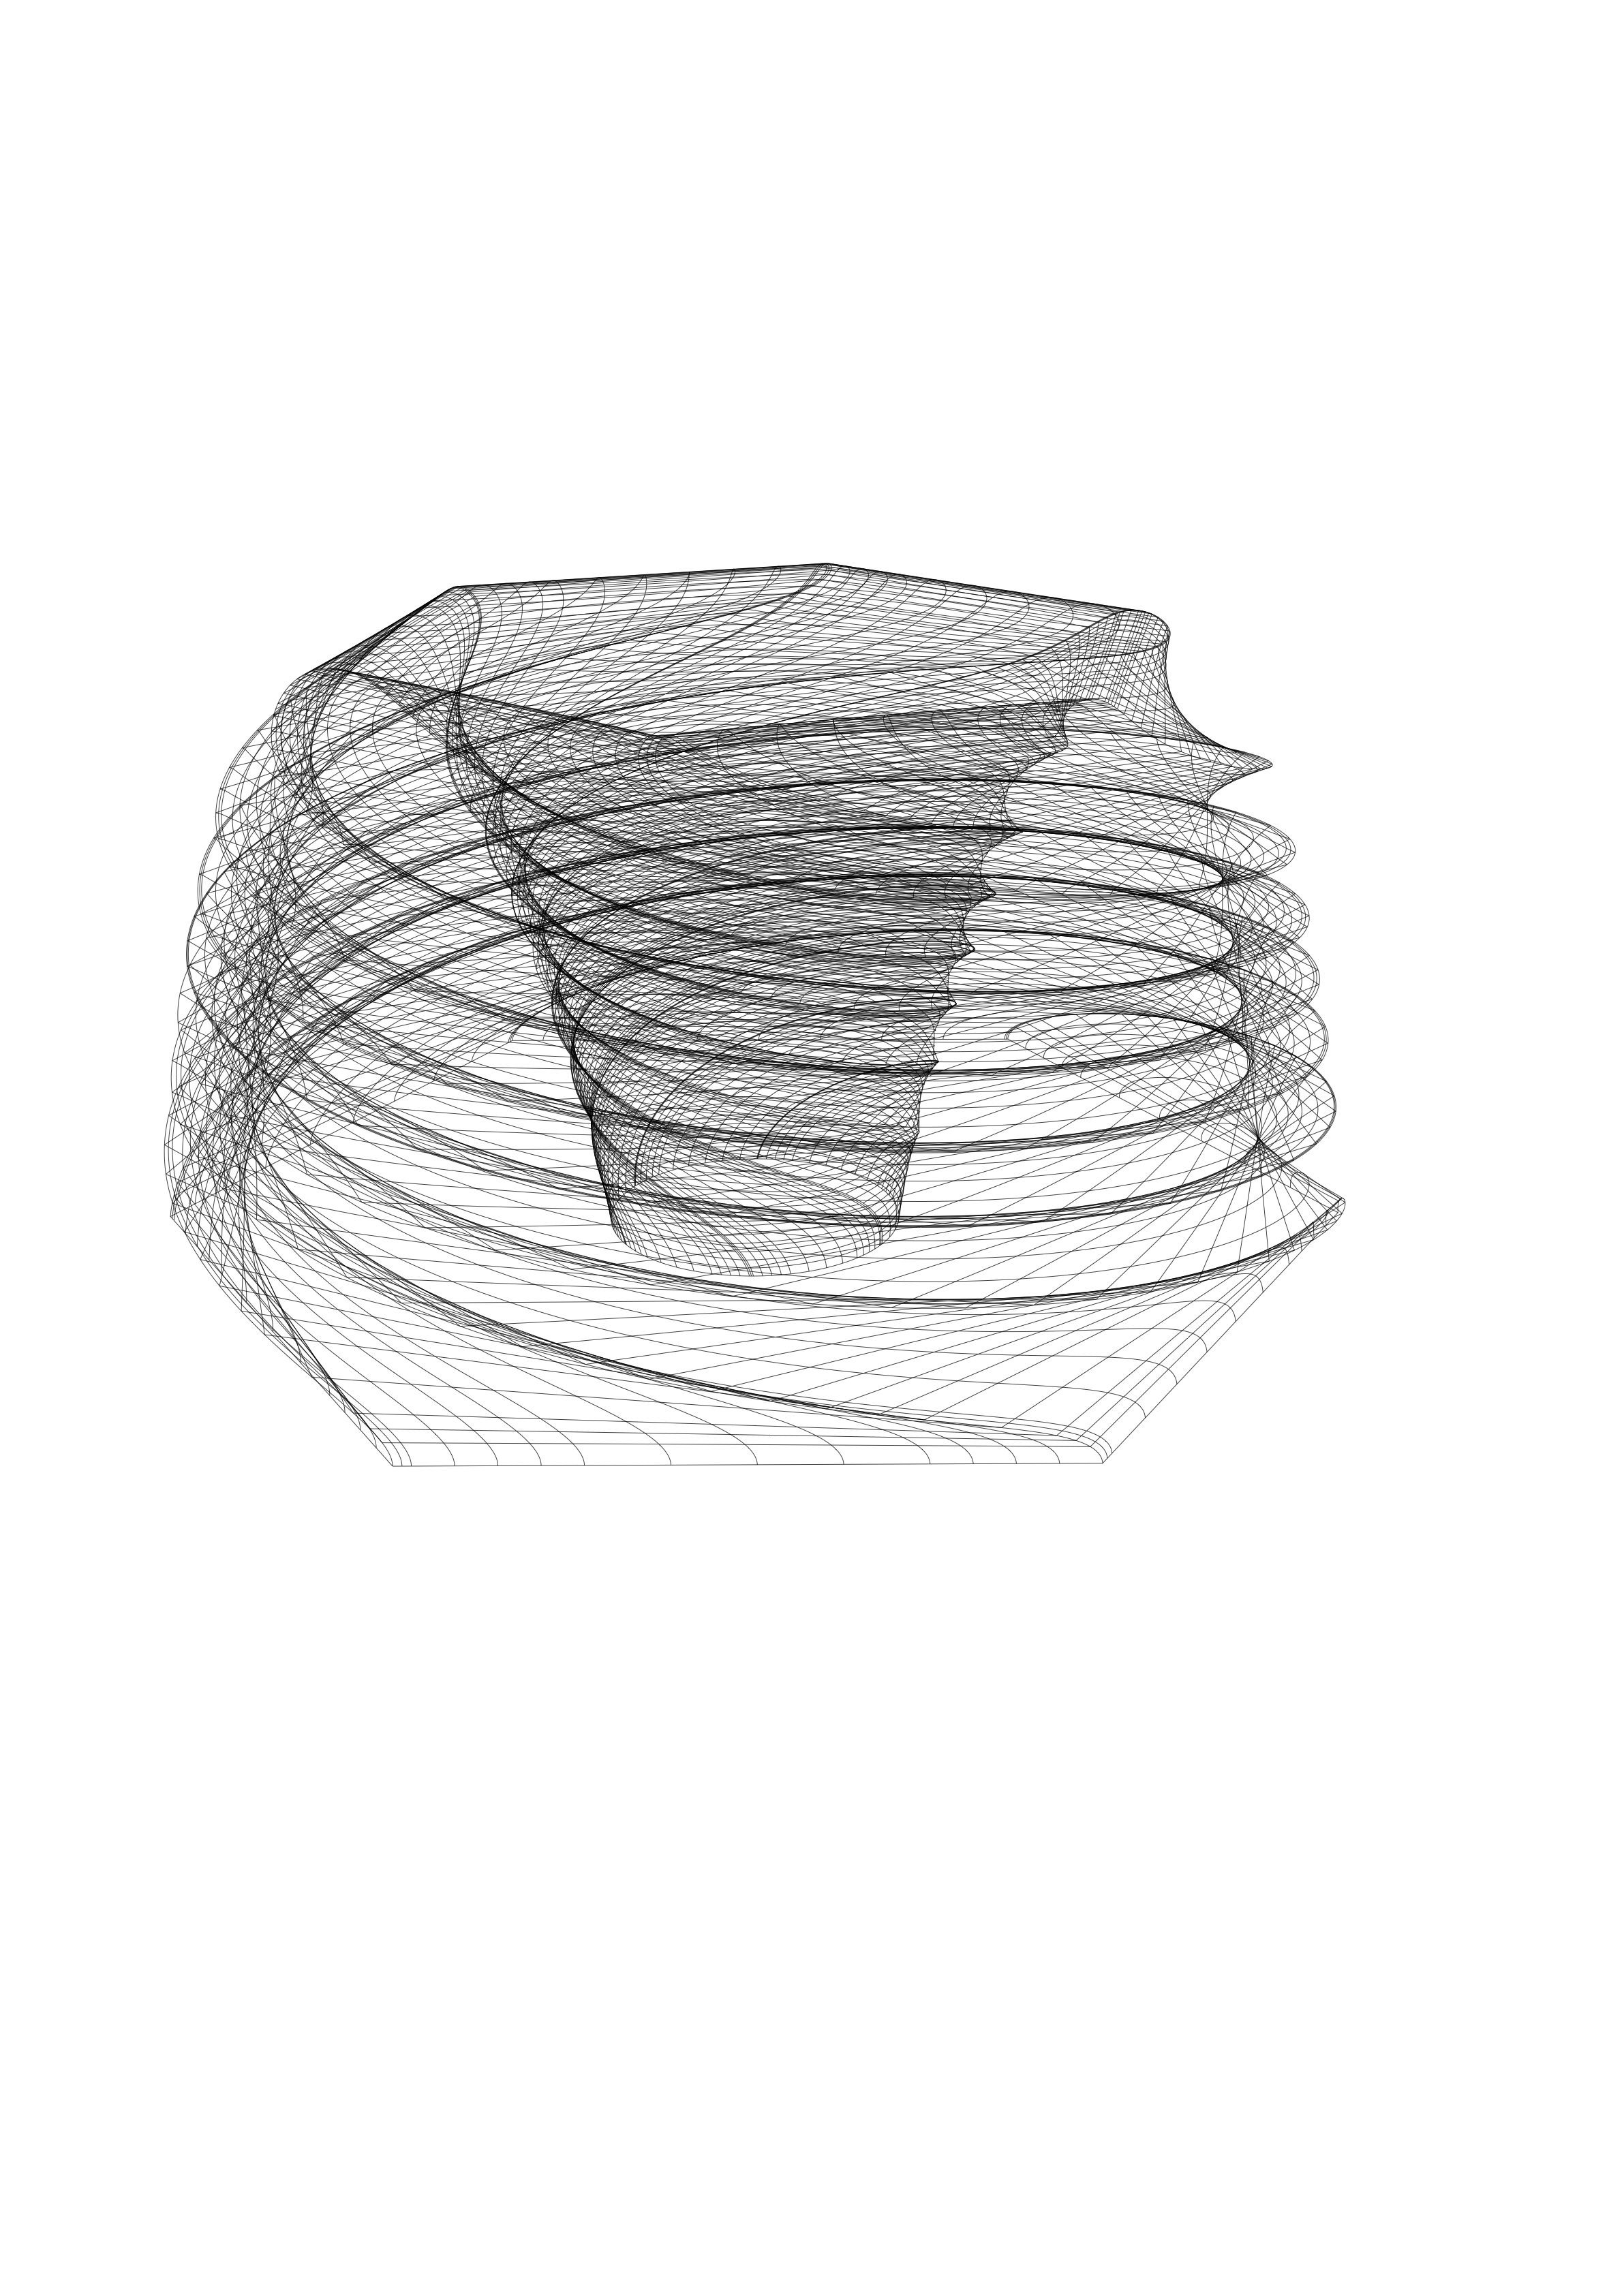
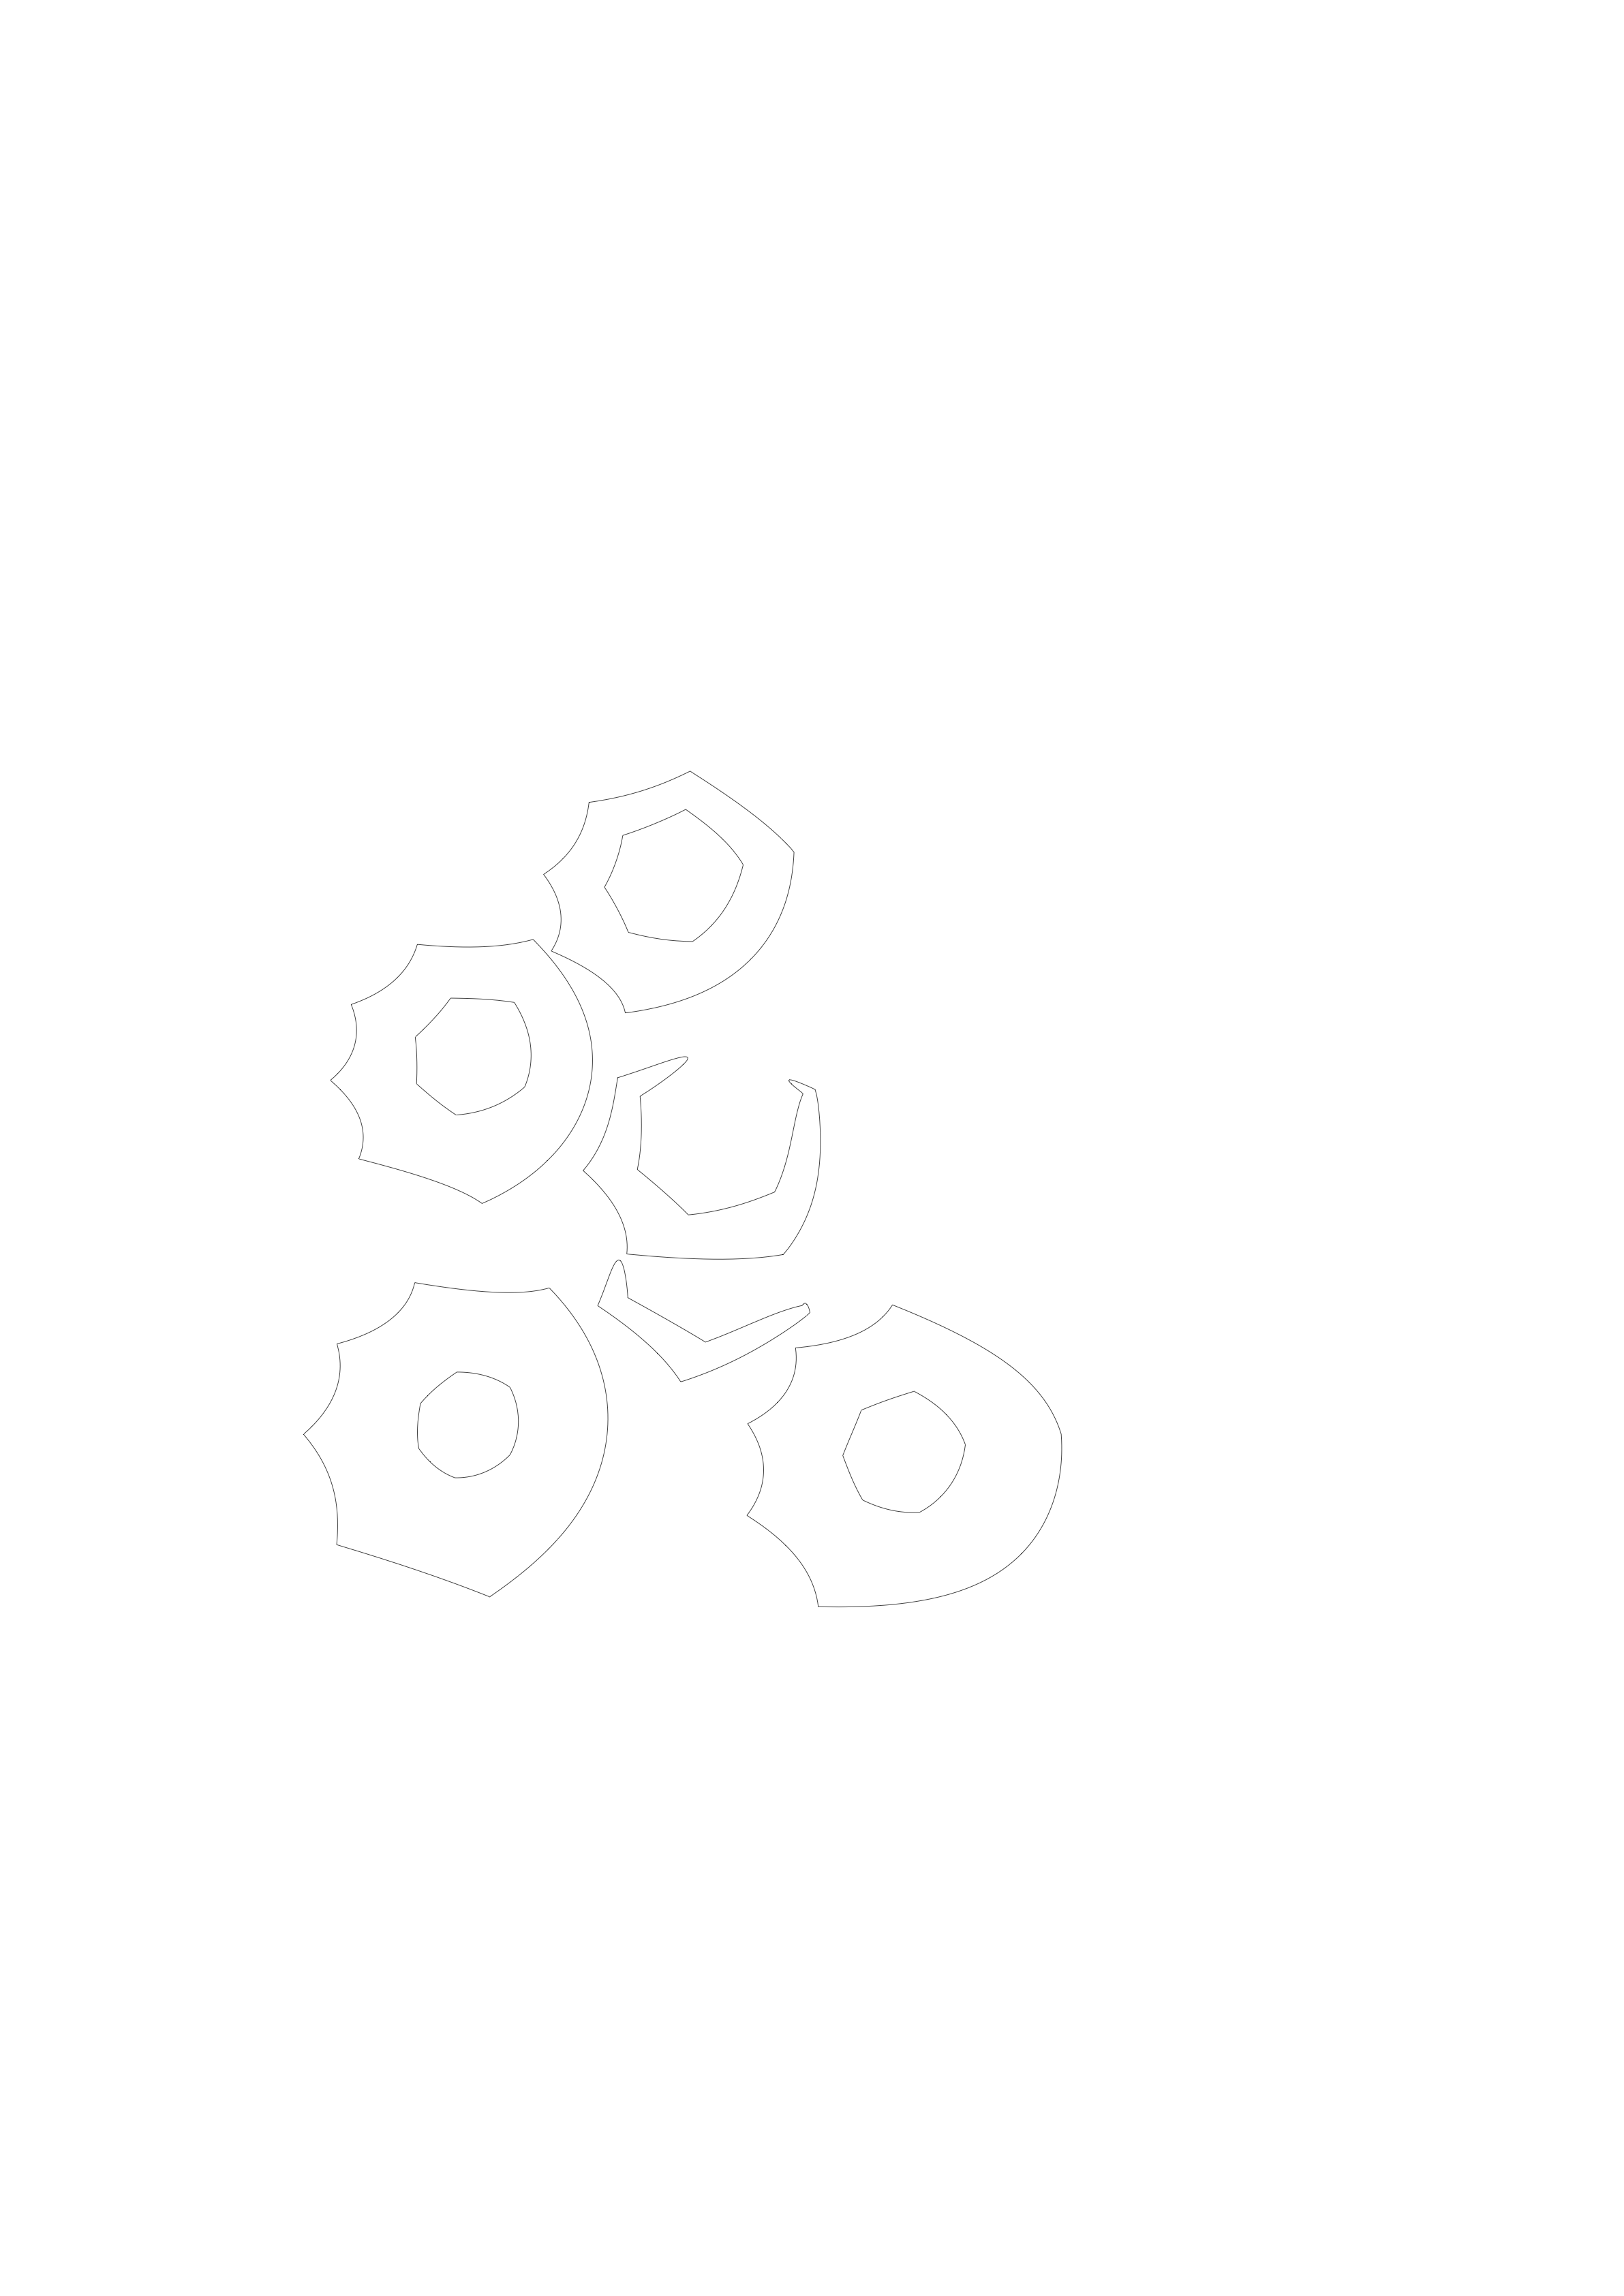 The generated output of variation 5 is here:
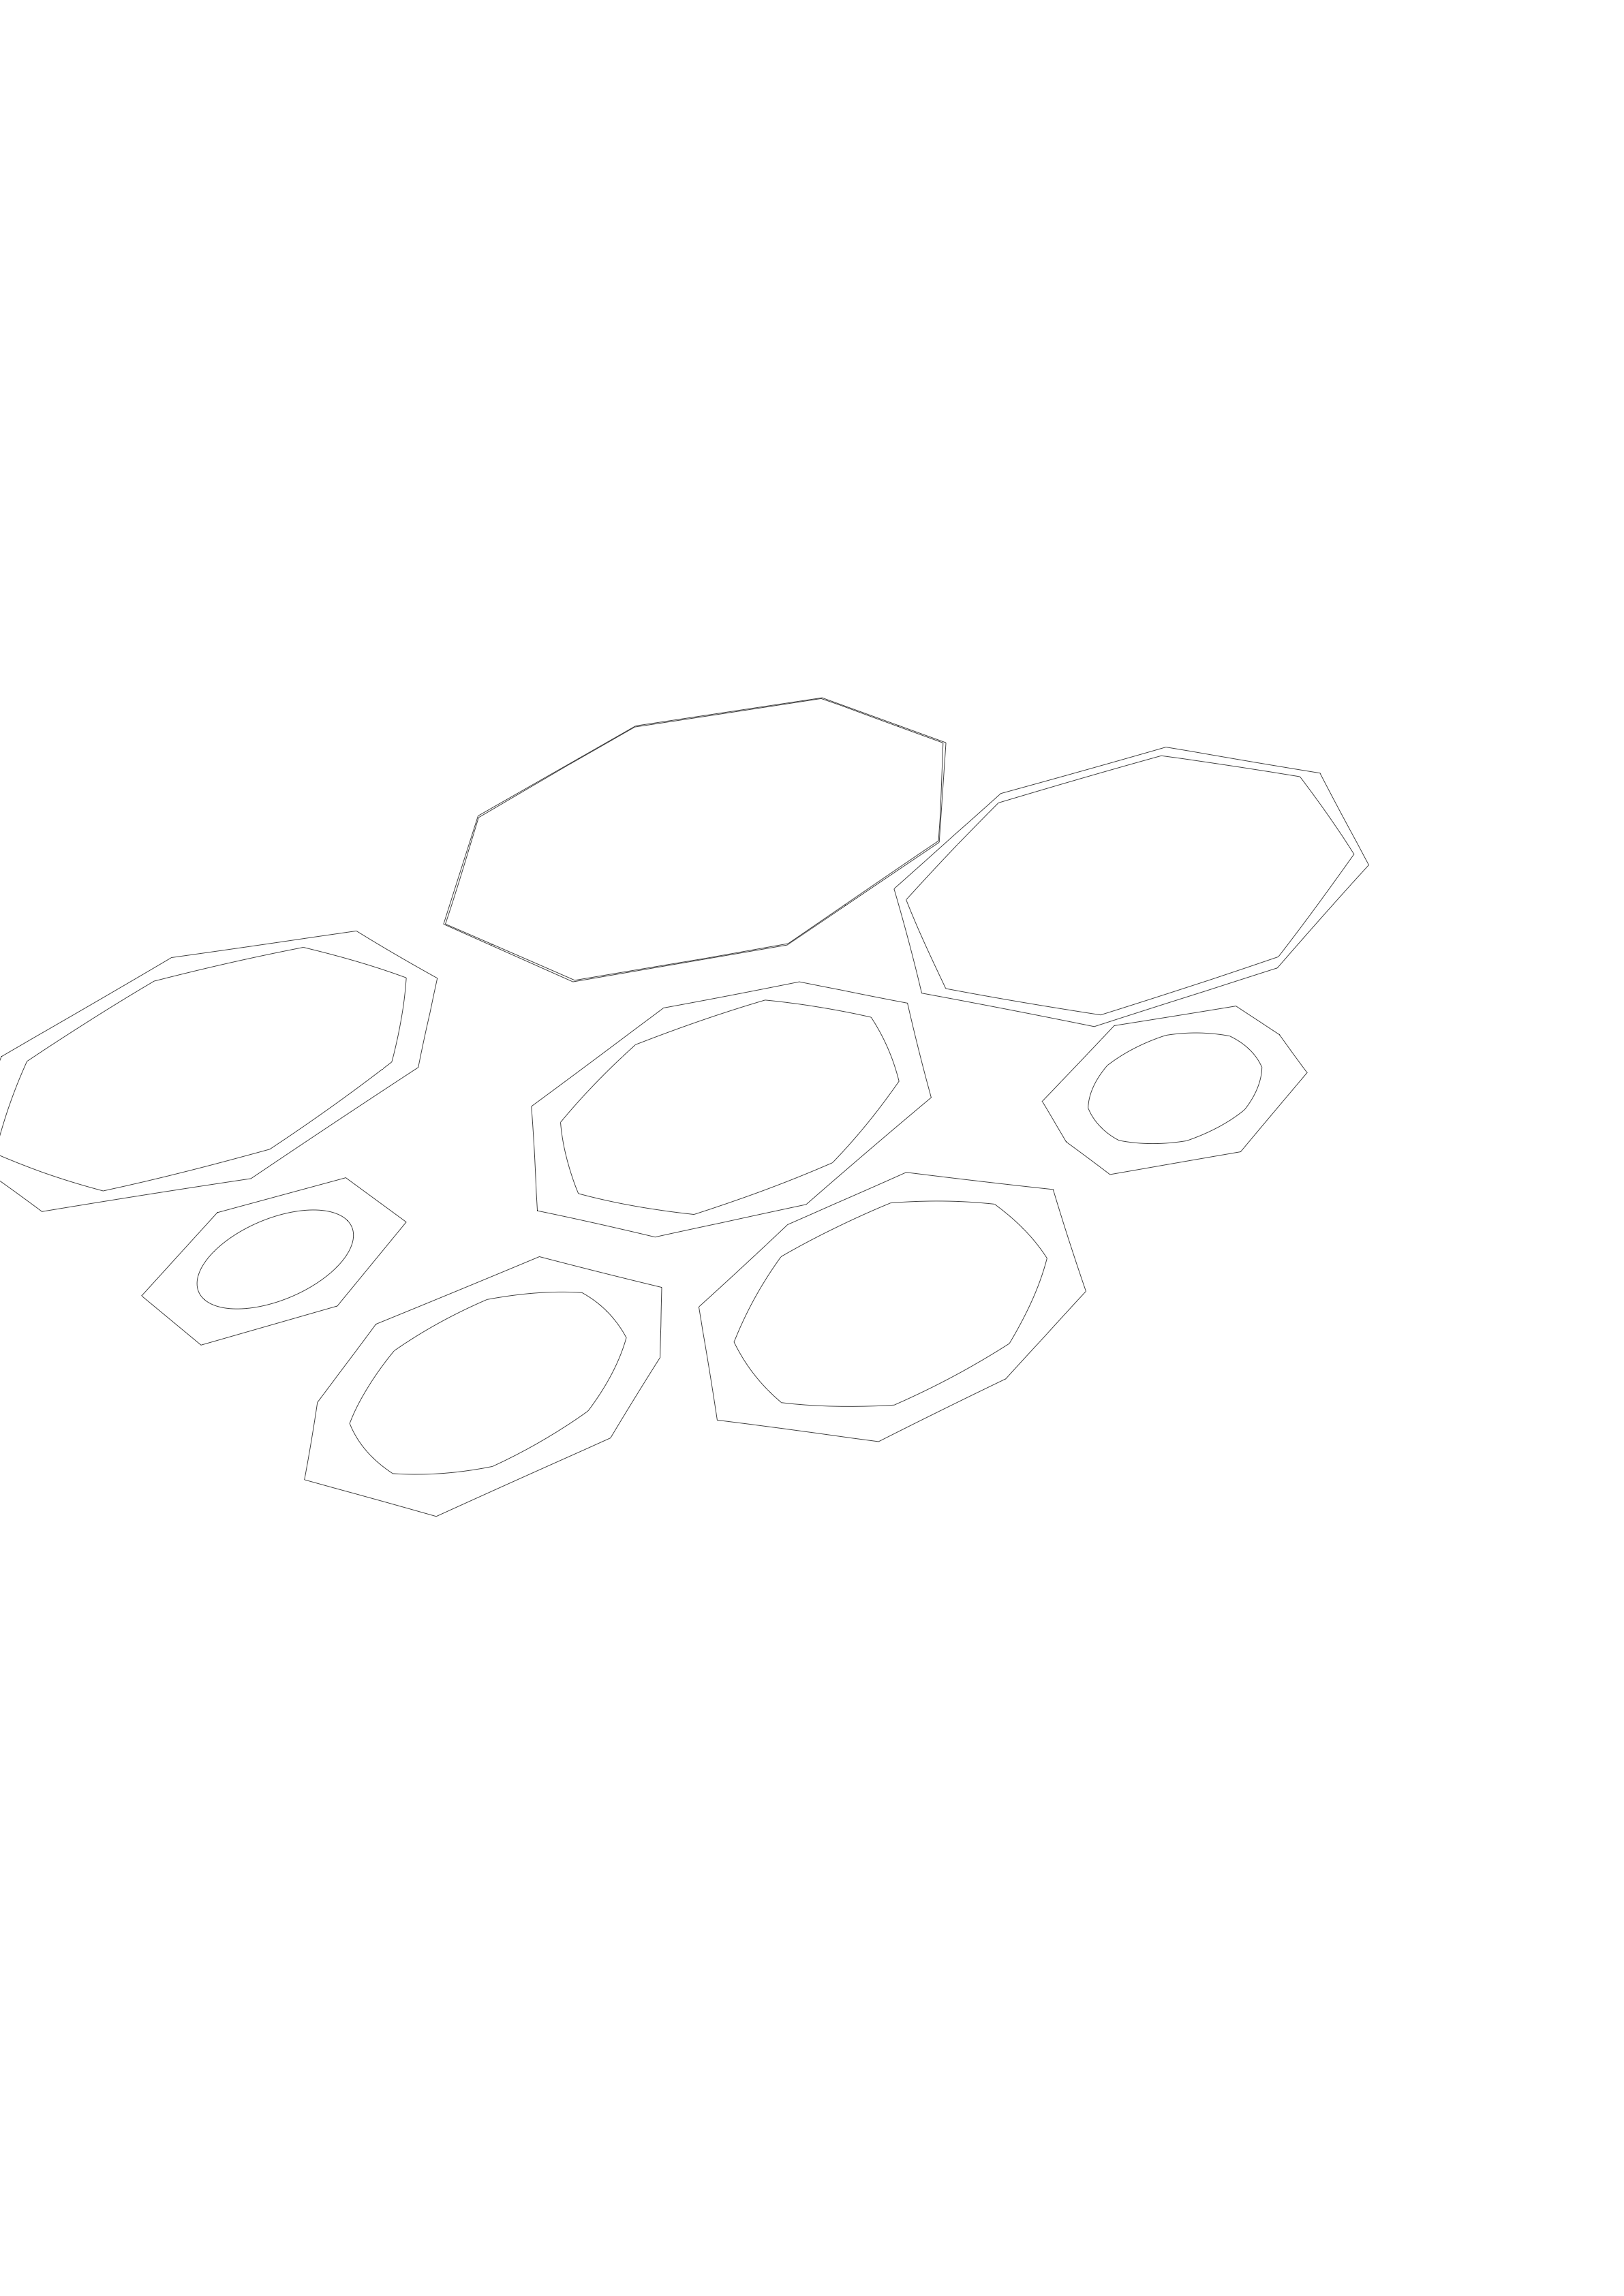
Task 3: Exporting and Fabricating
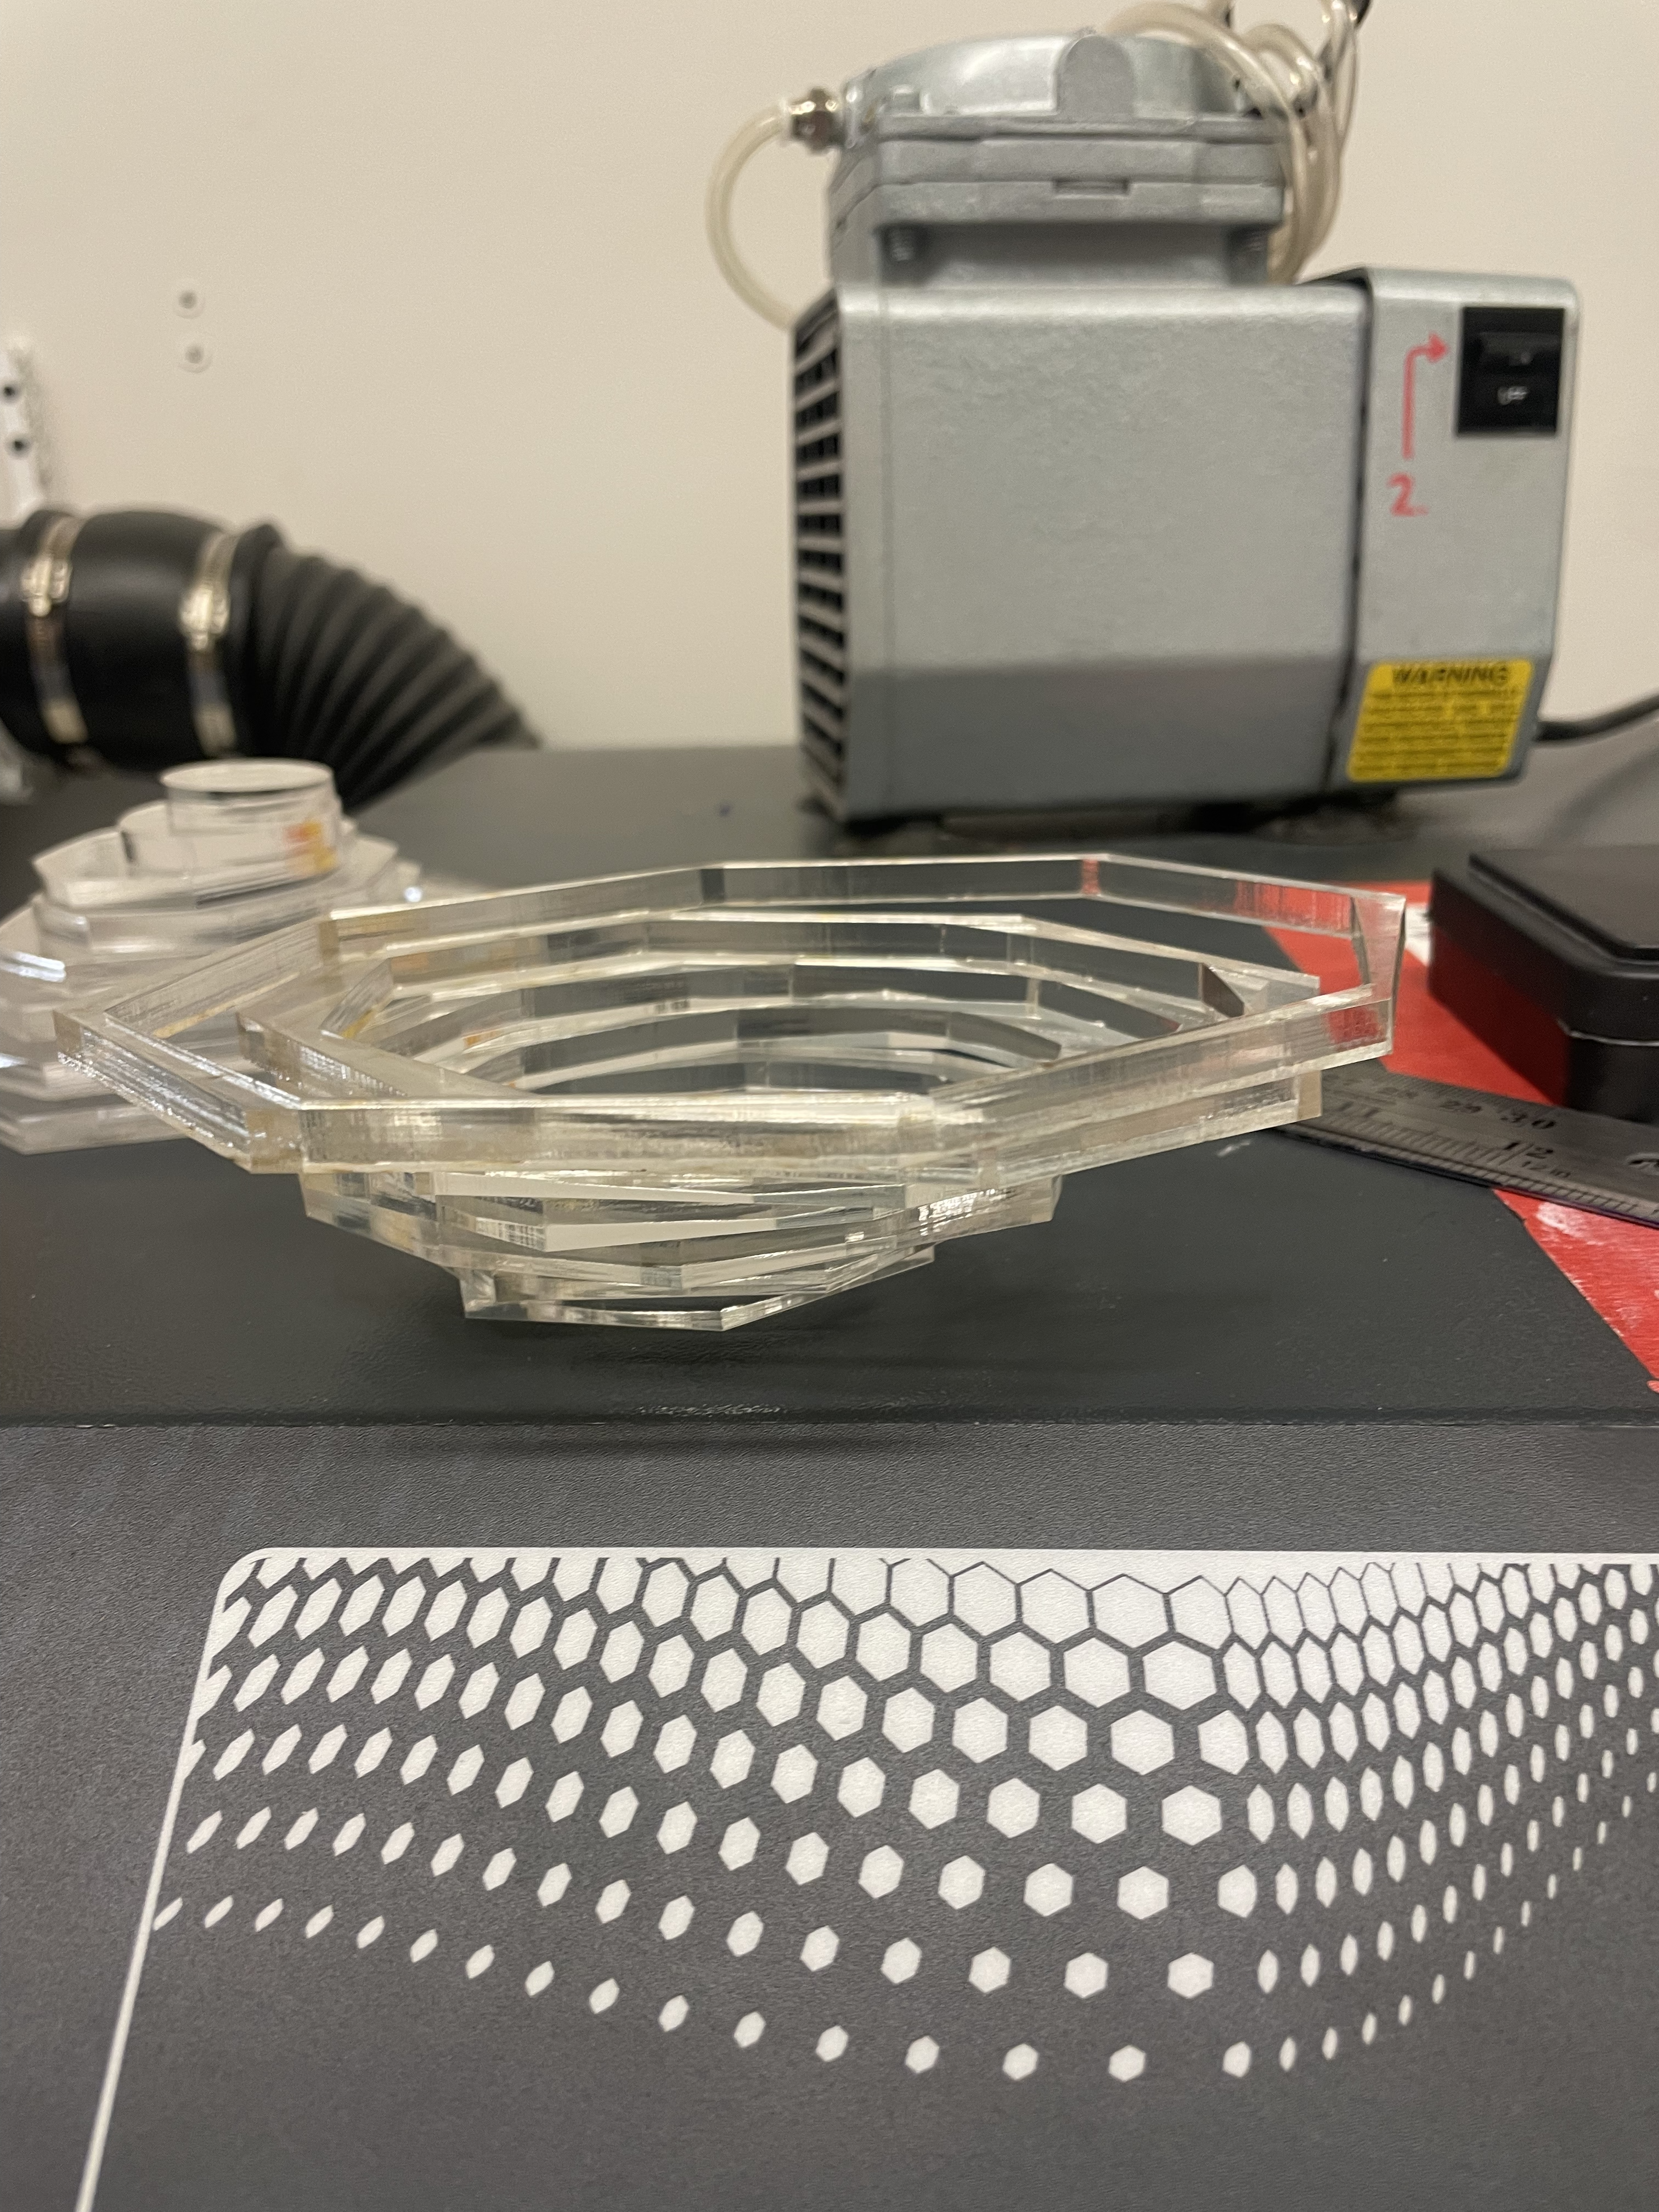
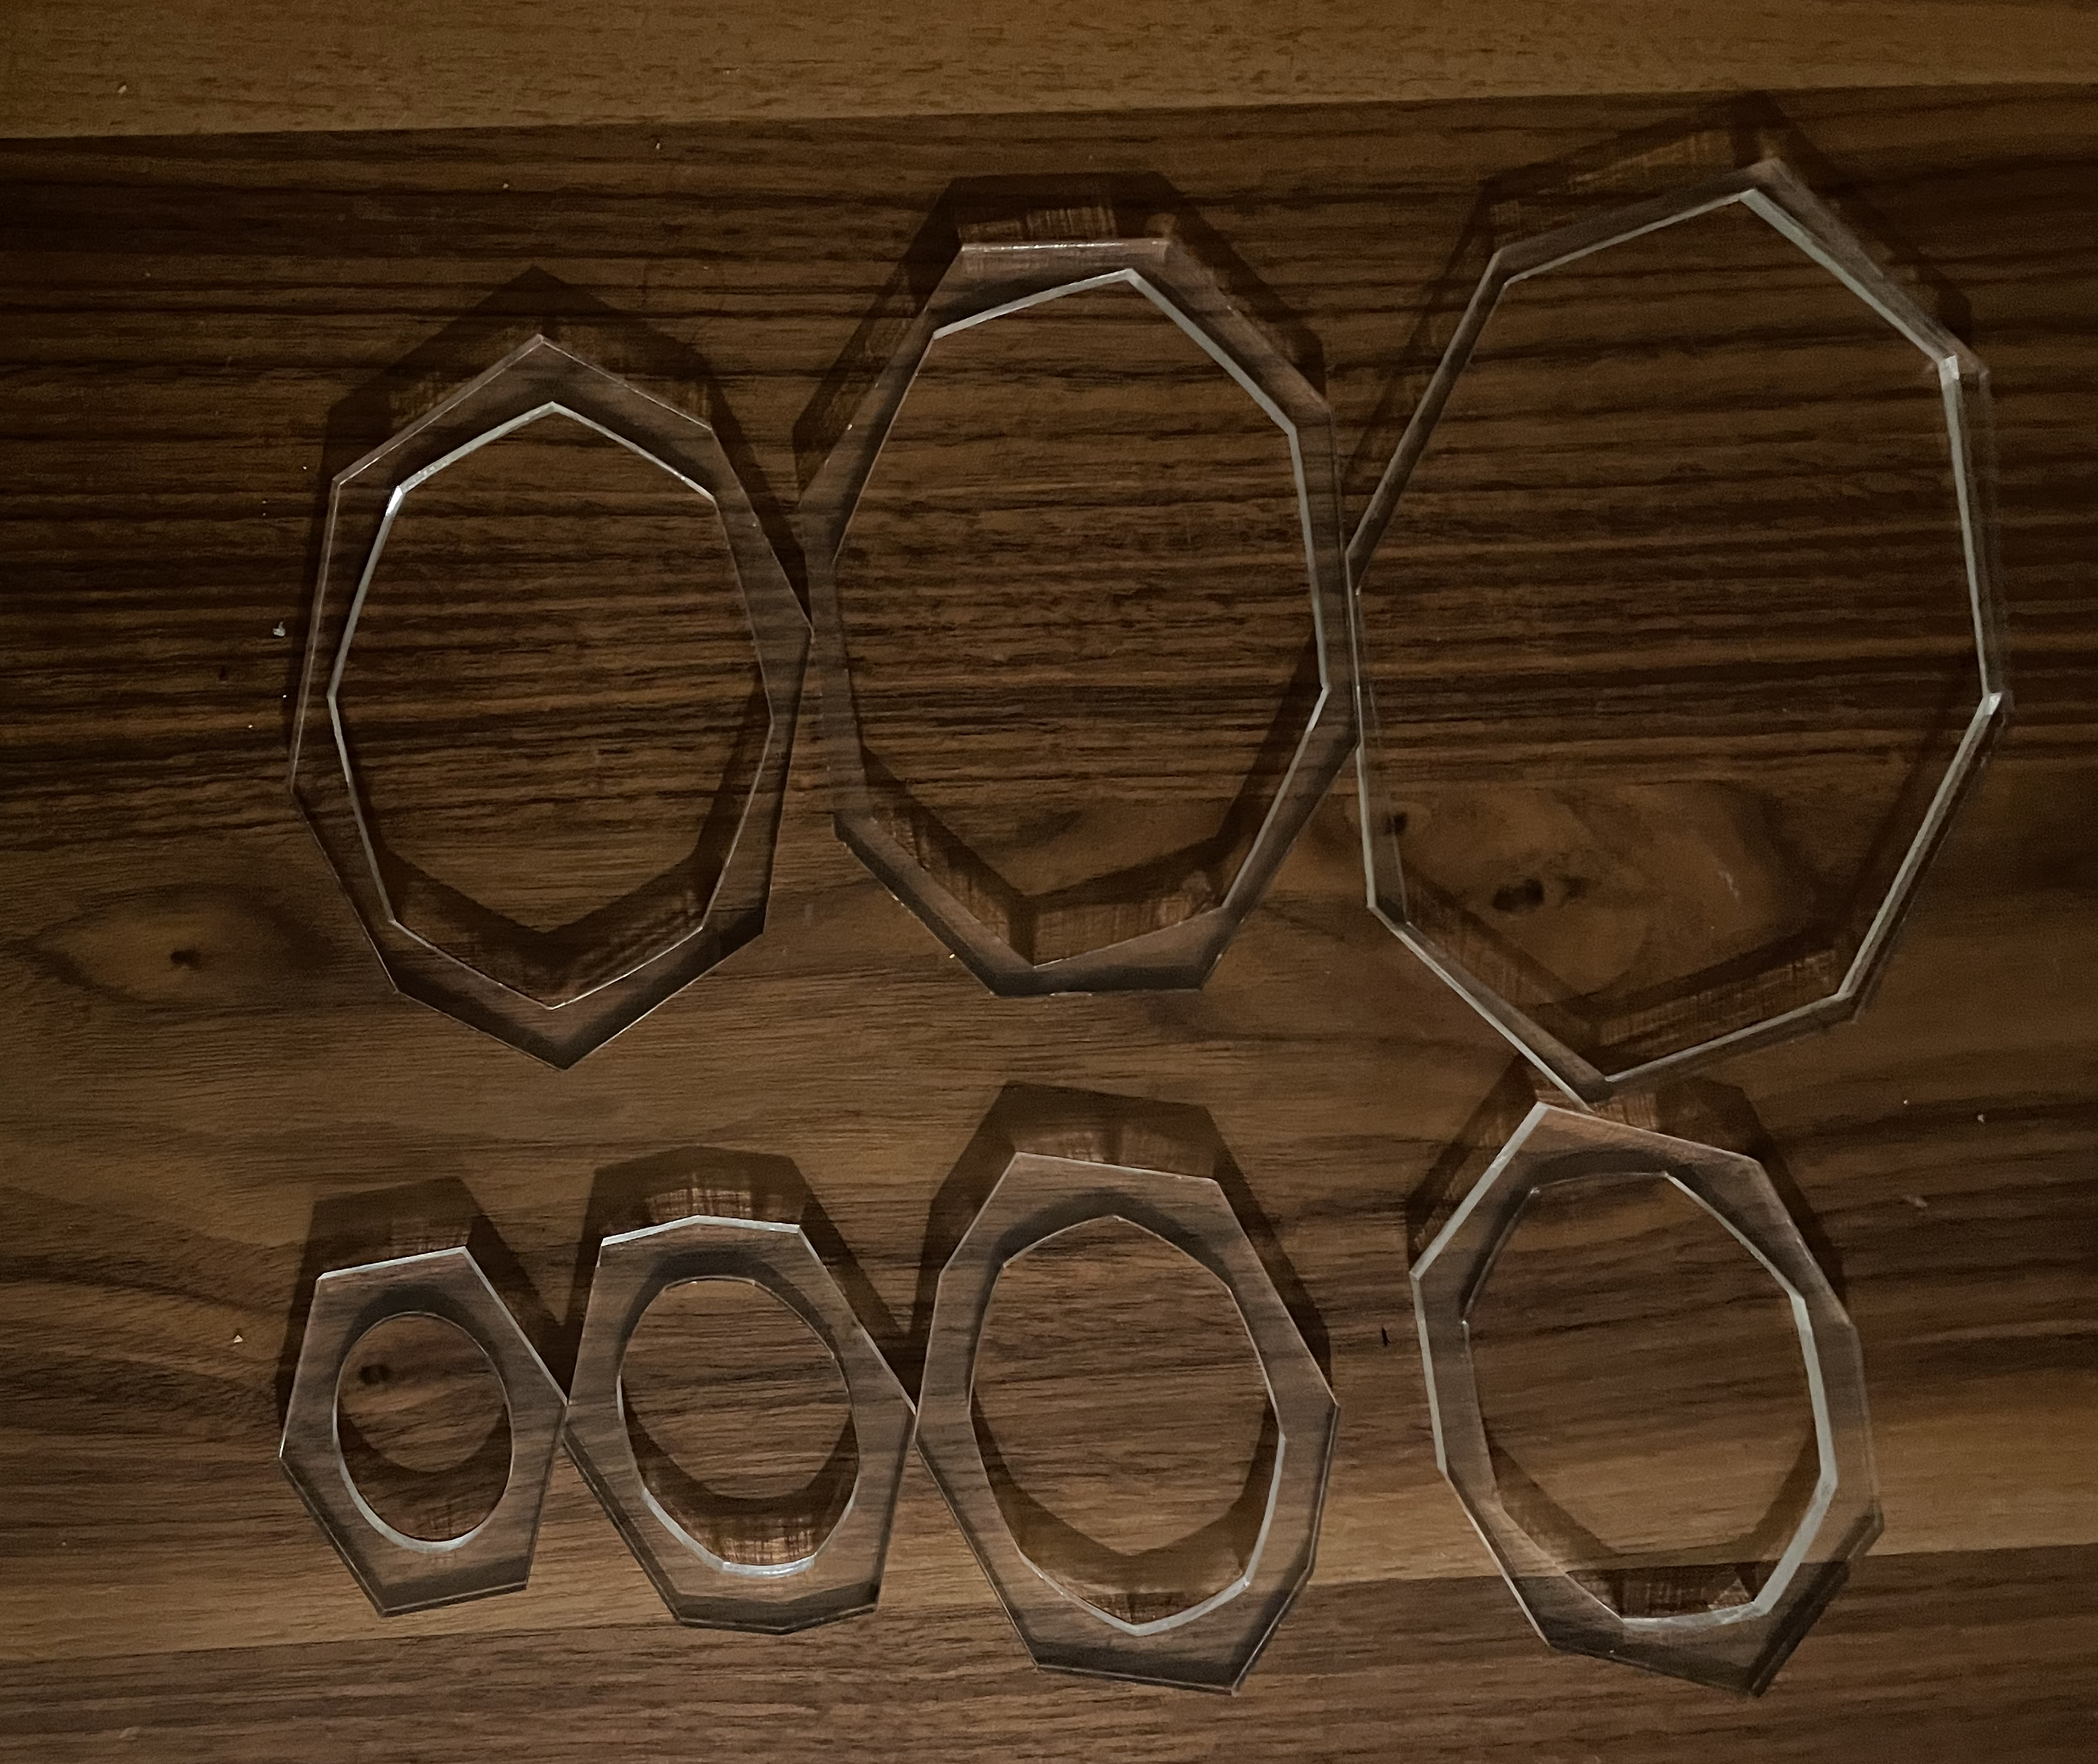
For this assignment, I used acrylic and only had time to print out one of my variations - in part due to difficulties getting any slicer working as well as having printing delays due to the laser printer having an issue with Rhino and needing to export my designs into AdobeIllustrator. Ultimately, I printed the slices from variation 5 above.
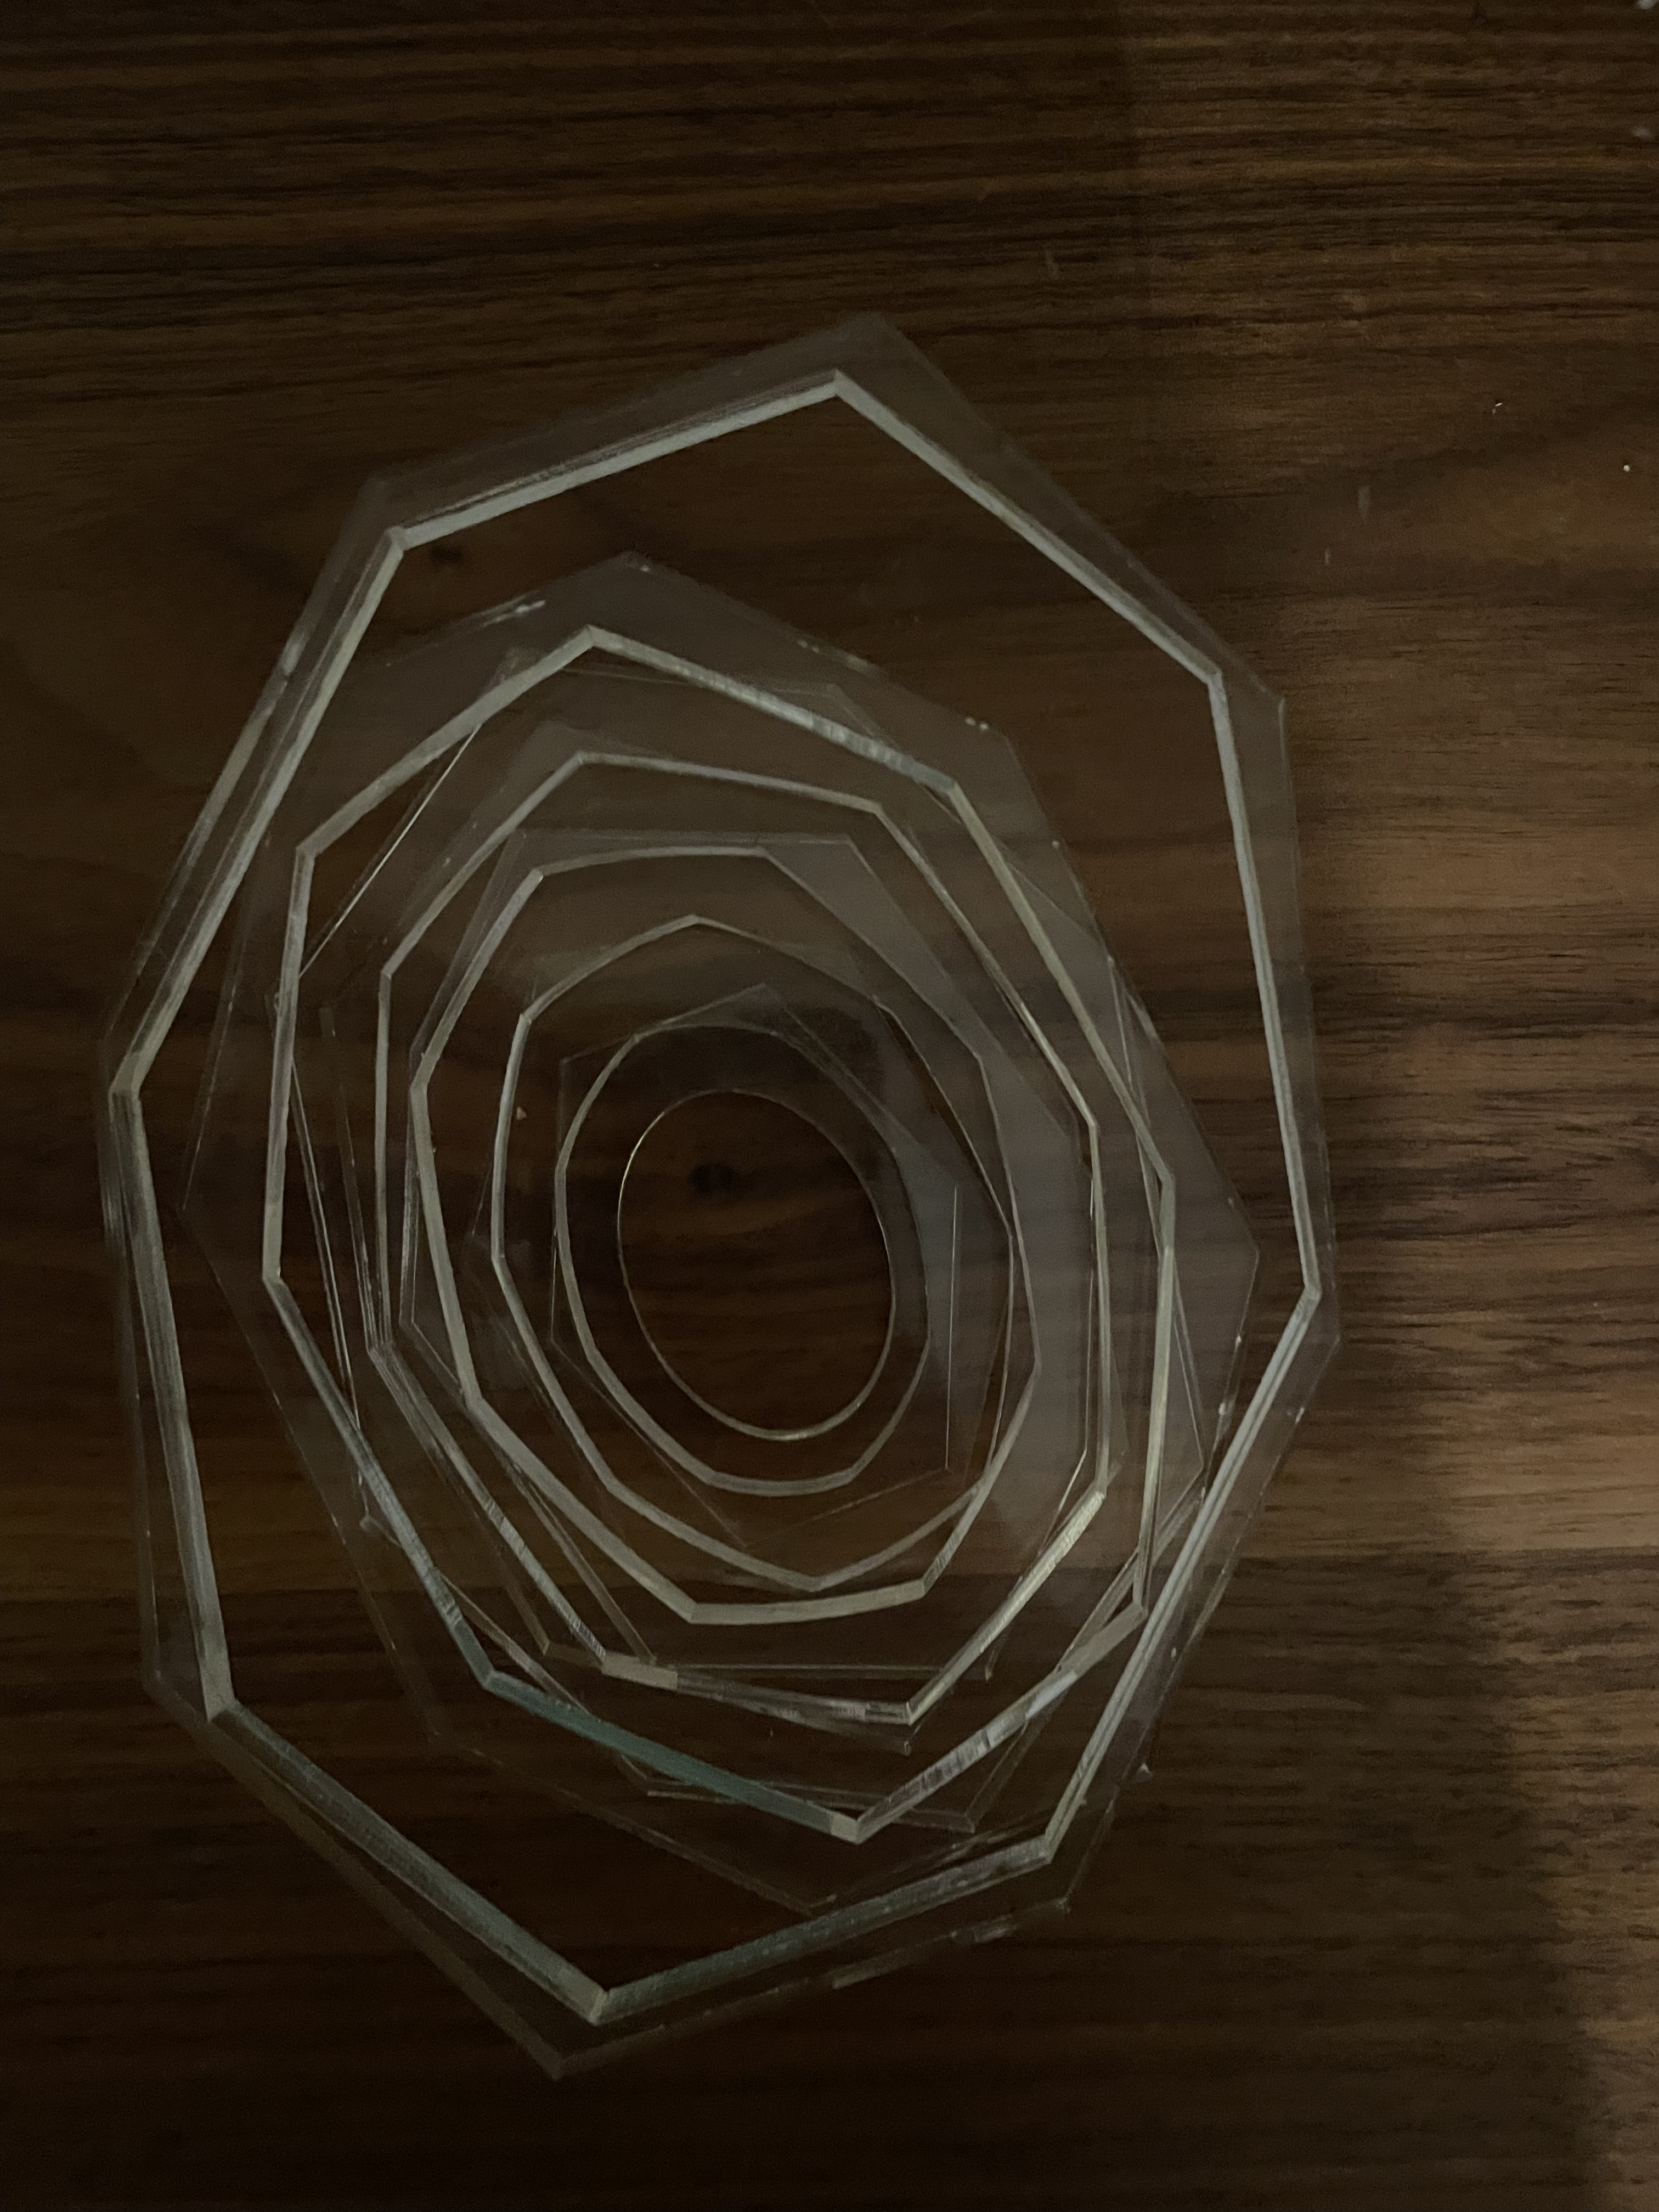
One of my intended 8 slices came out as a solid shape since the edge on the line was too thick resulting in having only 7 slices. The 7 flattened slices can be seen in the image below.
The stacked product of this slices looks like this:
