Final Project: Computational Fabrication
Project Description
The goal of my project is to allow someone to laser cut scrap wood to make a custom (parameterized) planter box. The various components include Rhino and Grasshopper programs that allow someone to model a 3D planter, break down the planter into 5 pieces (4 sides and a base) connected by finger joints, and flatten those pieces into a format for laser cutting.
Inspiration: My idea was that I wanted to be able to take old pieces of wood that would otherwise be considered junk and turn them into something more sustainable. I found a variety of resources that describe making boxes with finger joints including Makercase and cuttle.
Materials Used
- Scrap wood
- High Quality Soil from Harlequin’s Gardens
- High Quality Compost from Harlequin’s Gardens
- Small nails
- Cilantro Seeds
Methods
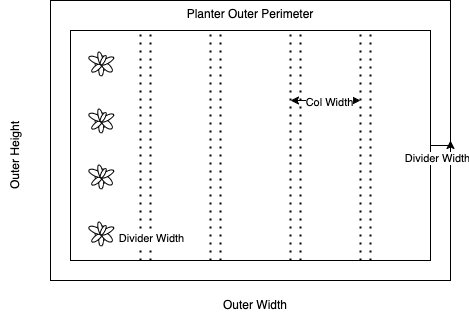 In order to design the planter box, I needed to consider the different relevant dimensions as described above. These values correspond to the adjustable parameters in my Rhino model with a focus on the base size, box depth, and the wood width. At first, I thought that I could model the box for laser cutting by using Rhino’s Box feature and subtracting the depth but this did not allow for easy access to create finger joints. The 3D Box model can be seen below:
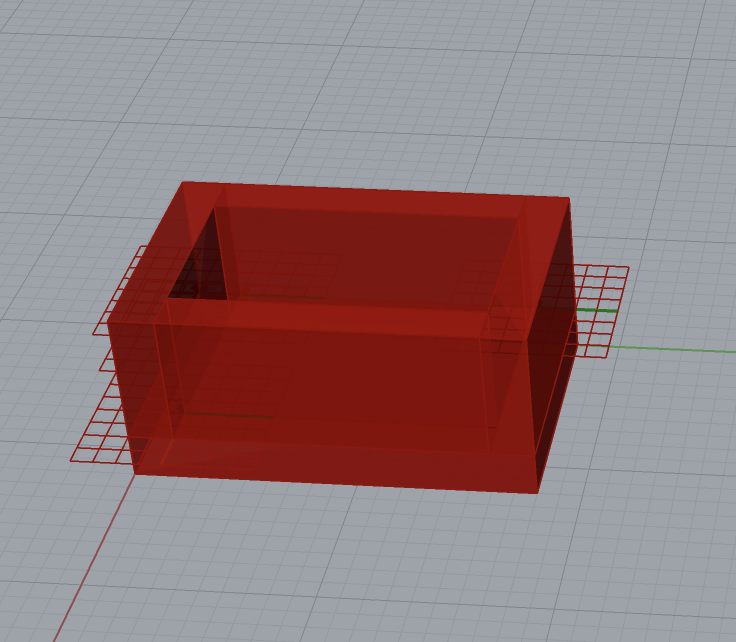 . The code for the 3D model could also be hypothetically used to 3D print a planter of the desired sizes.
Creating the Box With Finger Joints
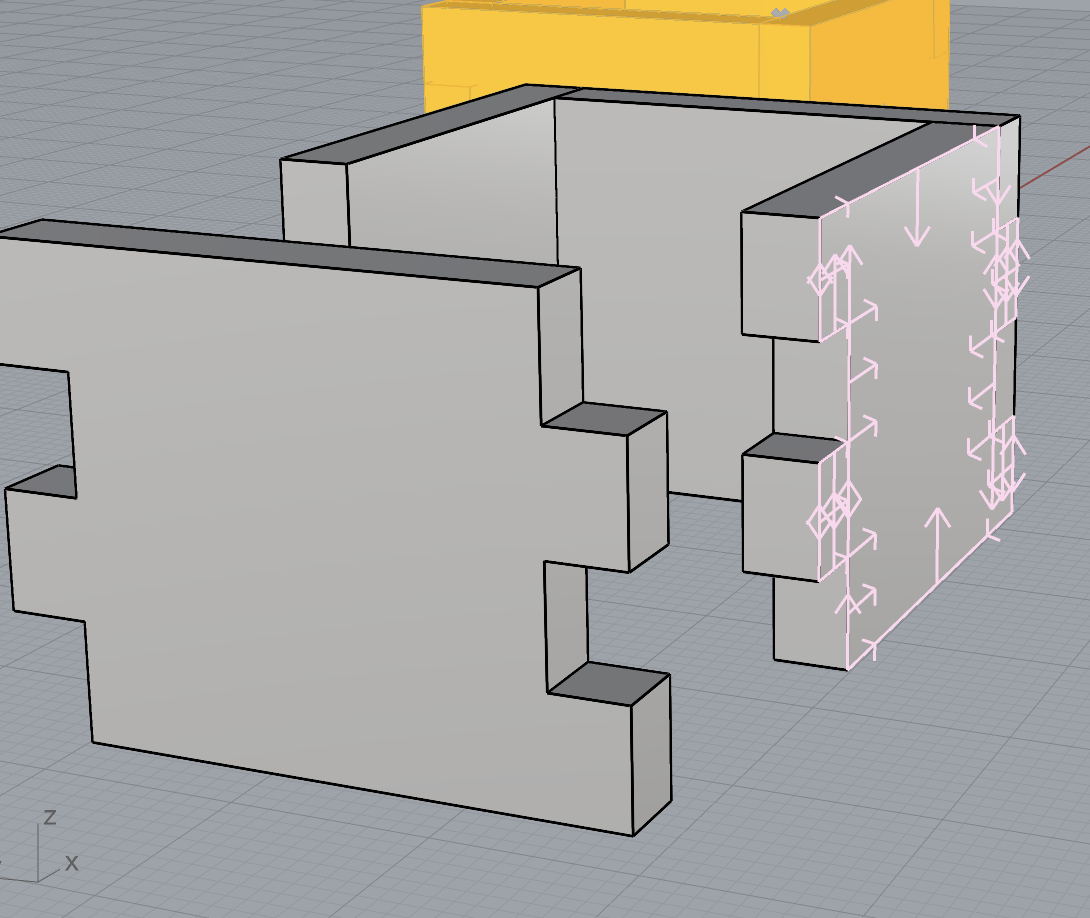
This led to me following a tutorial for creating finger joints through a process where a single panel of the box is created with finger joints (mirrored on either side of the panel) and transformed at 90 degree angles to create four sides.
An individual panel ends up looking like this:
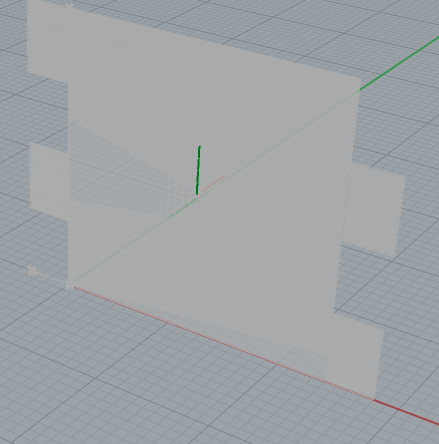 The tutorial was very helpful, but built off of Rhino 6, whereas I was using Rhino 8. This meant that some of the components used were out of date and I had to adjust appropriately. In particular, I ran into issues using the Amplitude component but was able to modify the script to work for Rhino 8 by tweaking the direction parameter to be negative.
You can see some of the intermediate issues with aligning the panels as a result here:
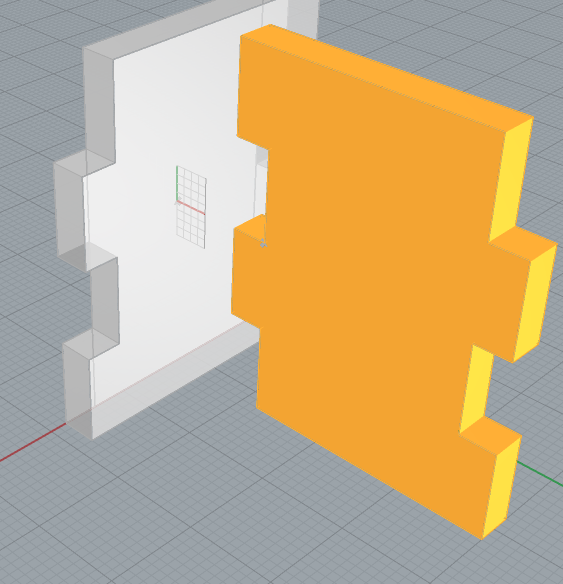

The creation of the base of the box (which does not have finger joints attached) is the last step.
Ultimately, the finger joint planter box code outputs a 3D model of the four sides with finger joints and a base. Each of these components can be examined individually. However, in order to laser cut I needed to flatten the pieces into contours and lay them out on the same plane. For this reason I created the flatten script below which can map the four side geometries to objects, project them to a surface, and lay them flat as contours. I then exported the contours to a separate Rhino file to manually rotate them to fit within a single space. This will allow me to cut all 5 pieces (4 side plus a base) from a single piece of wood. I did do some manual resizing to ensure that the final cuts could be made from the scrap wood that I had available.
Laser Cutting
Now that we have the model in place, the next step is actually cutting the wood into the appropriate shapes. Prior to cutting the wood, I sanded it down to hopefully prevent splintering during the cut process.
I also confirmed the measurements of different sizes of scrap wood to ensure the design would work. I then scaled the PDF to the dimensions of the wood to ensure there would be enough space.
Code Links
- Modeling a Box initially with Grasshopper
- Modeling a Box with Finger Joints with Grasshopper
- Rhino Model of Finger Joint Box
- Flattening the Box for Laser Cutting - Grasshopper
- Flattened Layers for Printing in Rhino
Box Assembly
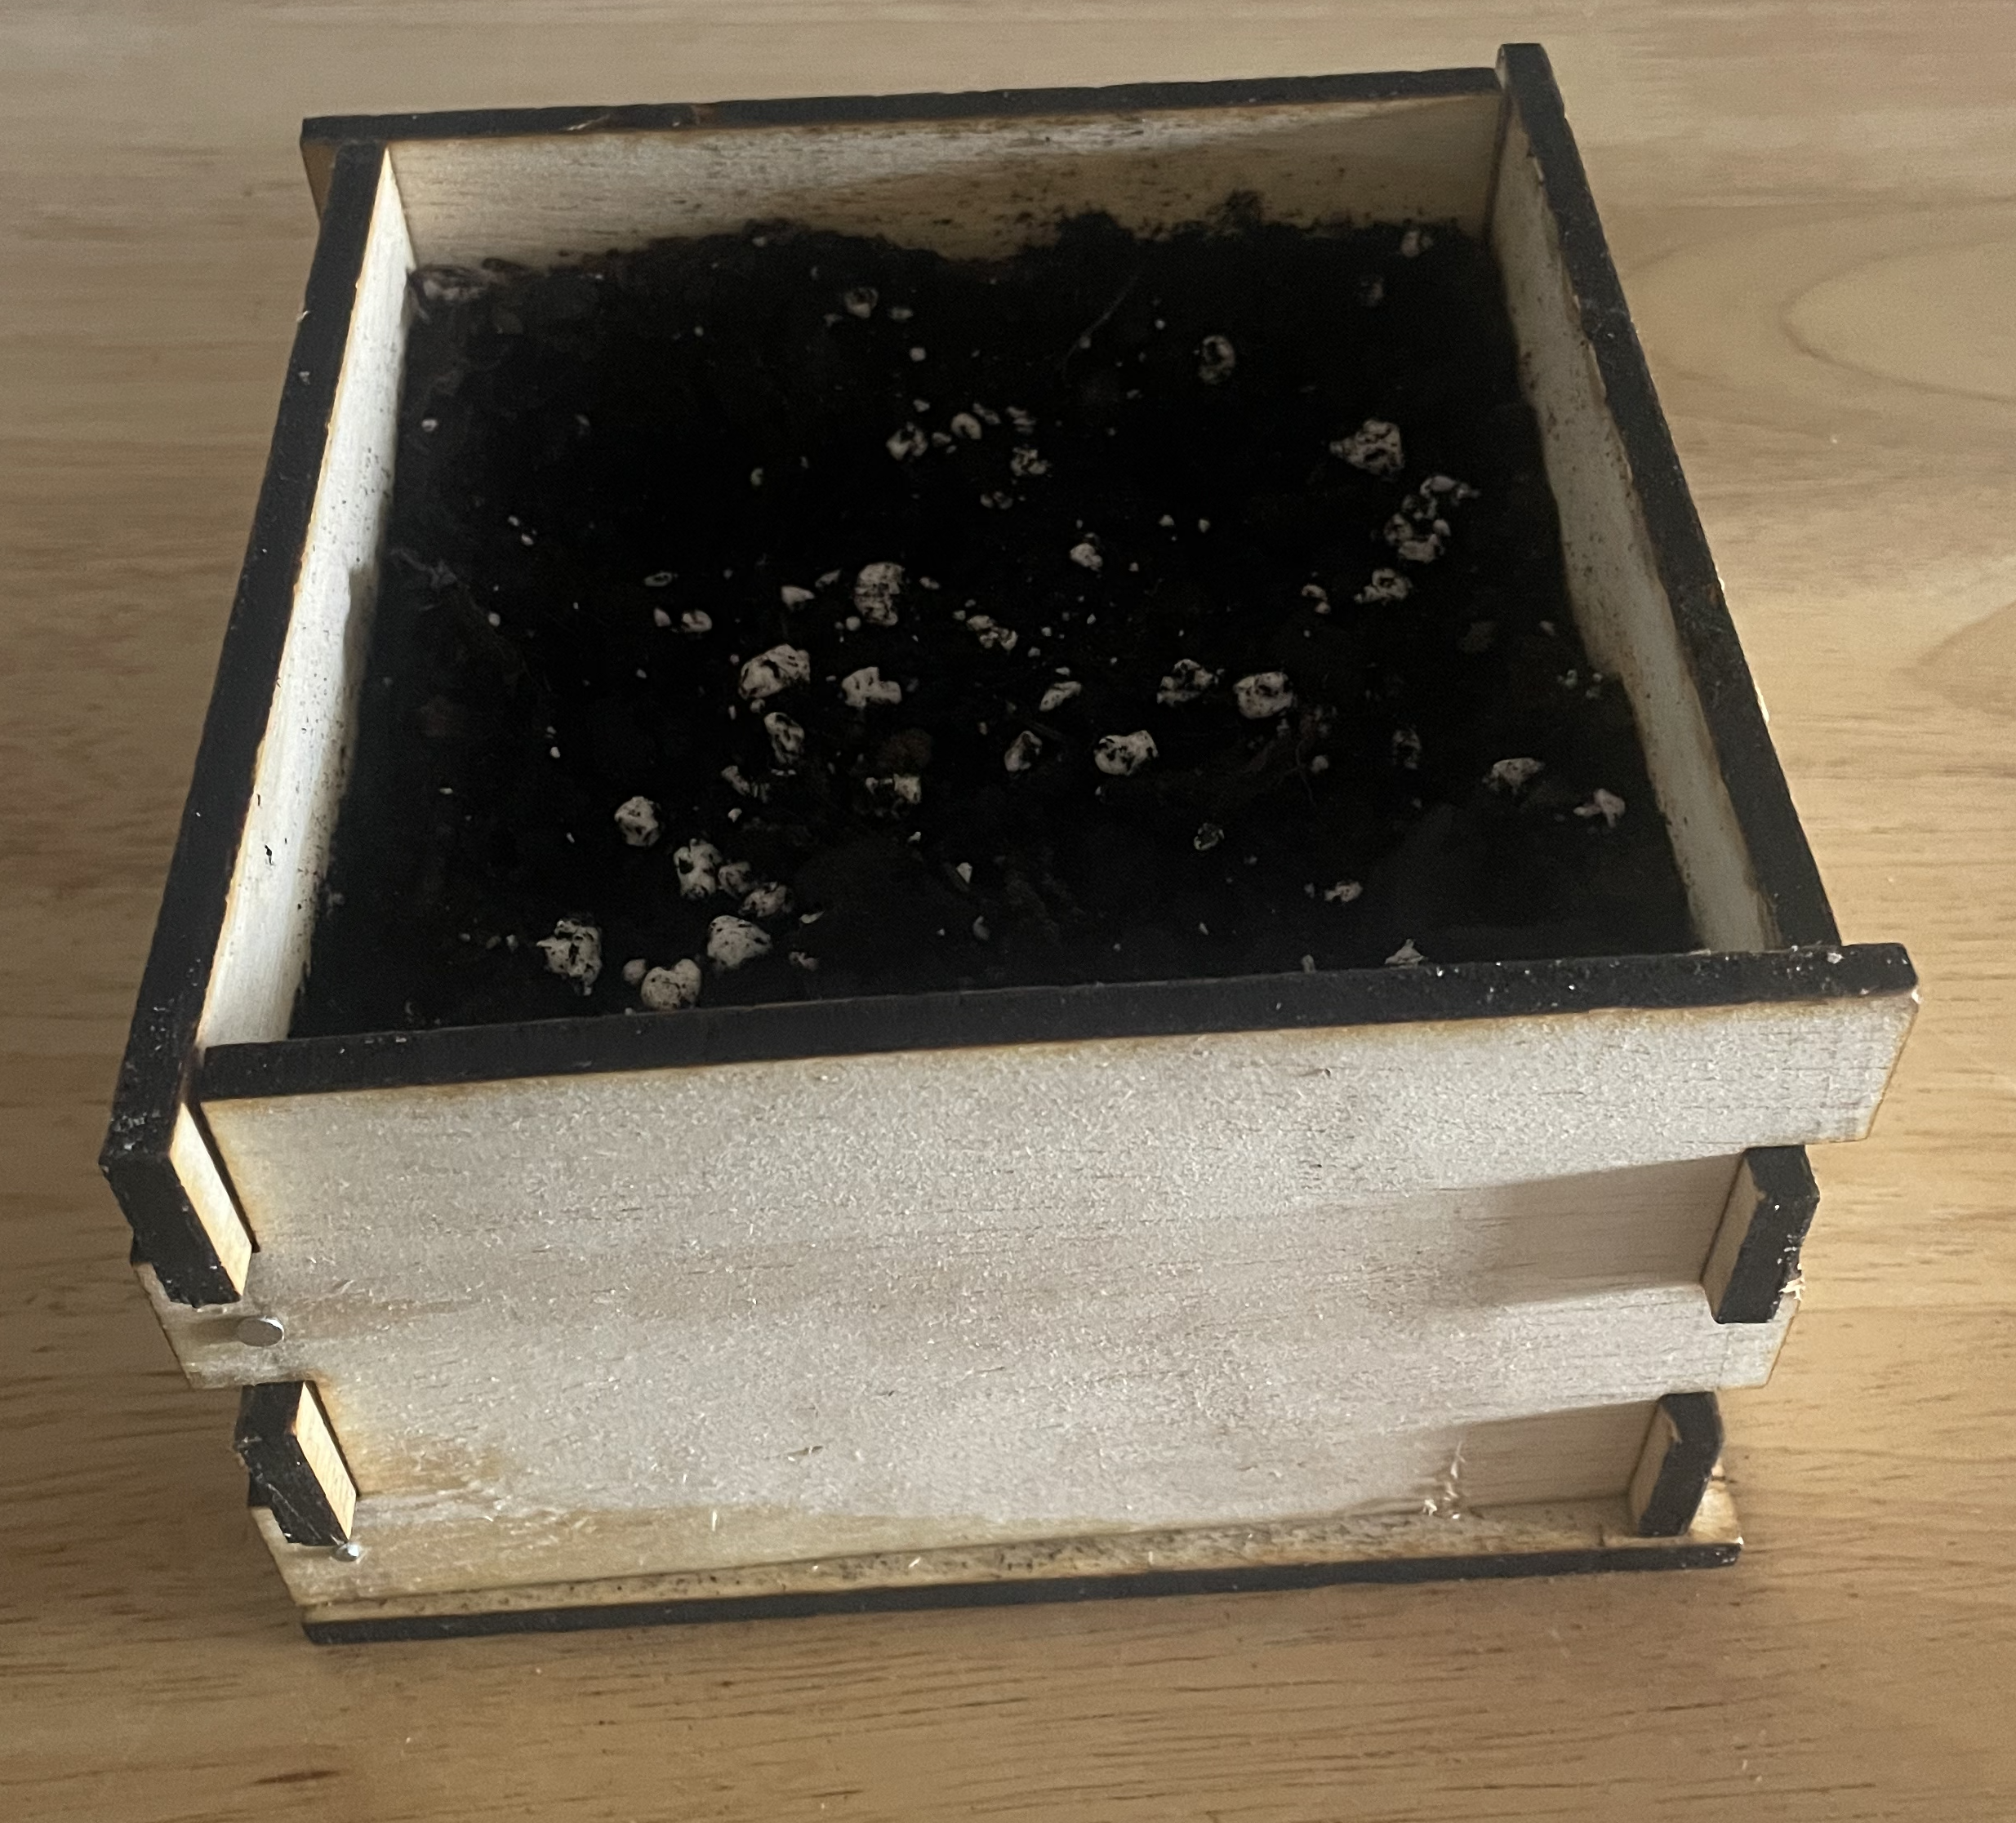
With the box pieces cut out with the laser, I then set to assembling the sides. This involved using a 1/16” drill bit to drill small holes into the key joints and then hammering in nails to connect each of the sides. This was slightly more difficult since the edges were not aligned flat as I originally hoped due to the adjustment in the wood width. However, the finger joints still worked out great. Once the four sides were attached, I then drilled drainage holes into the base (something that should be done with a laser cutter in the future) and then nailed the base to the rest of the box. Finally I filled it with soil, a small bit of compost, and planted 4 cilantro seeds.
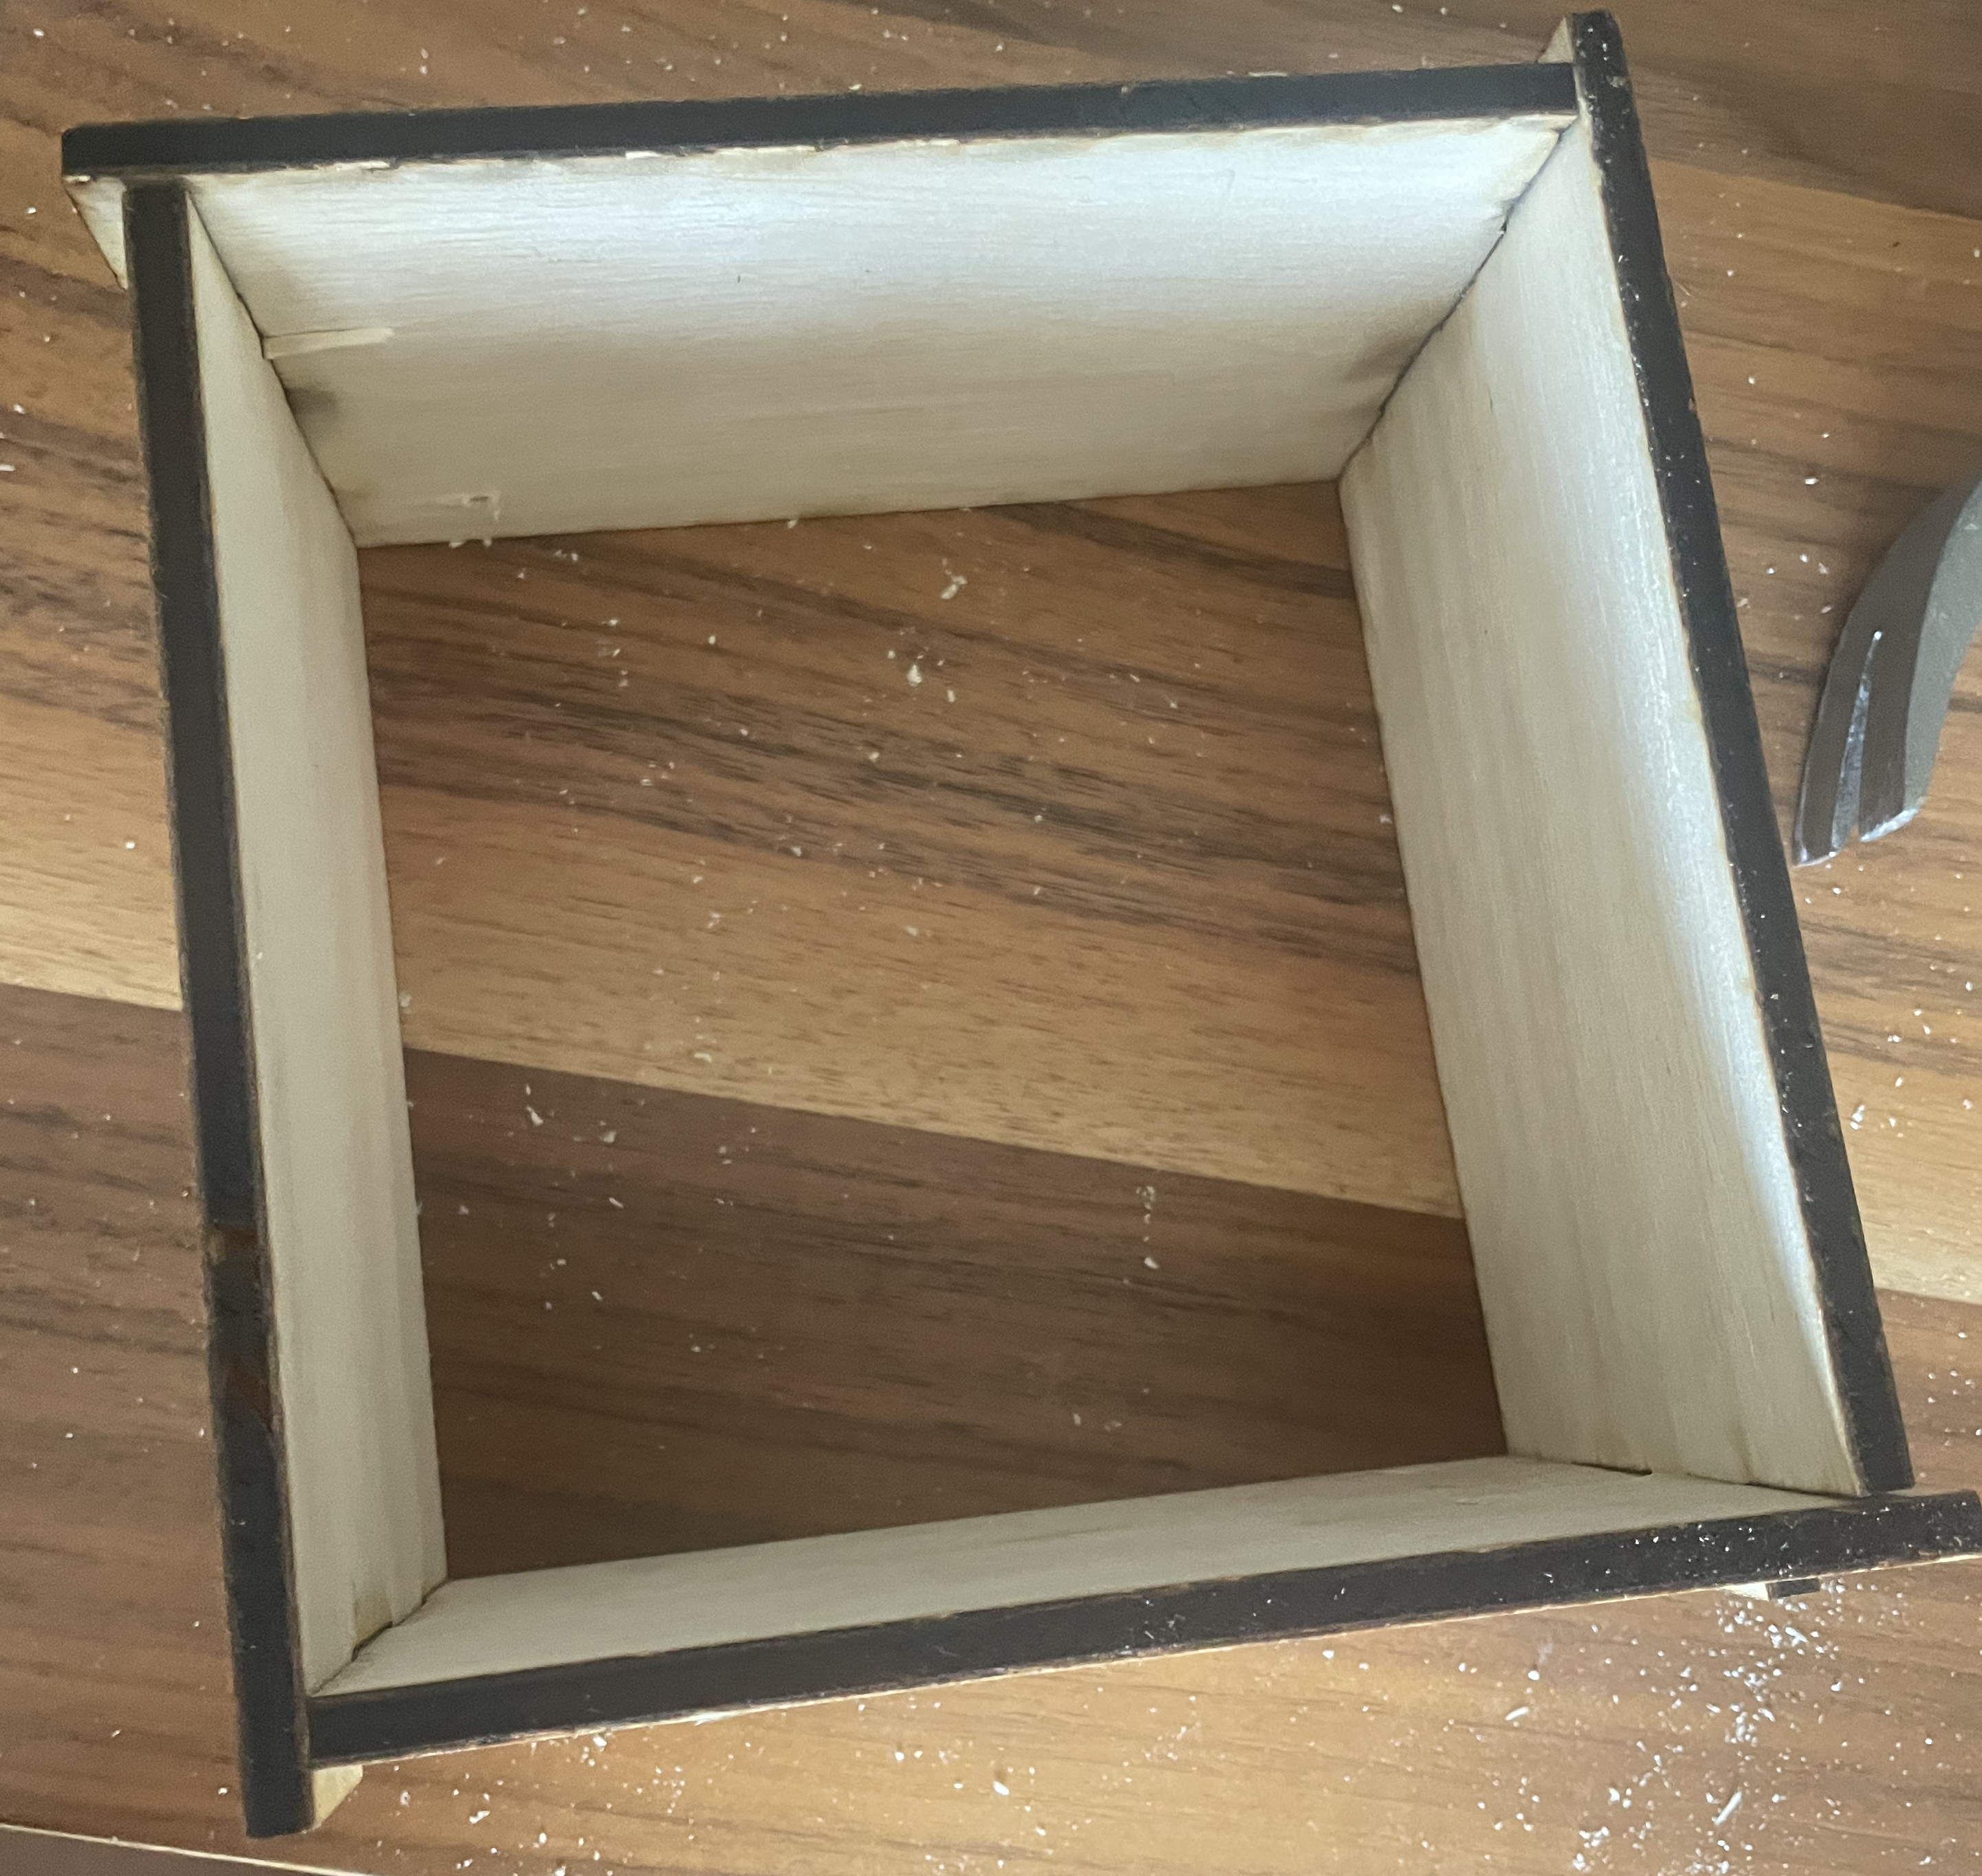
We can see the top down view of the four sides below - and the fact that the joints are slightly over instead of perfectly aligned.
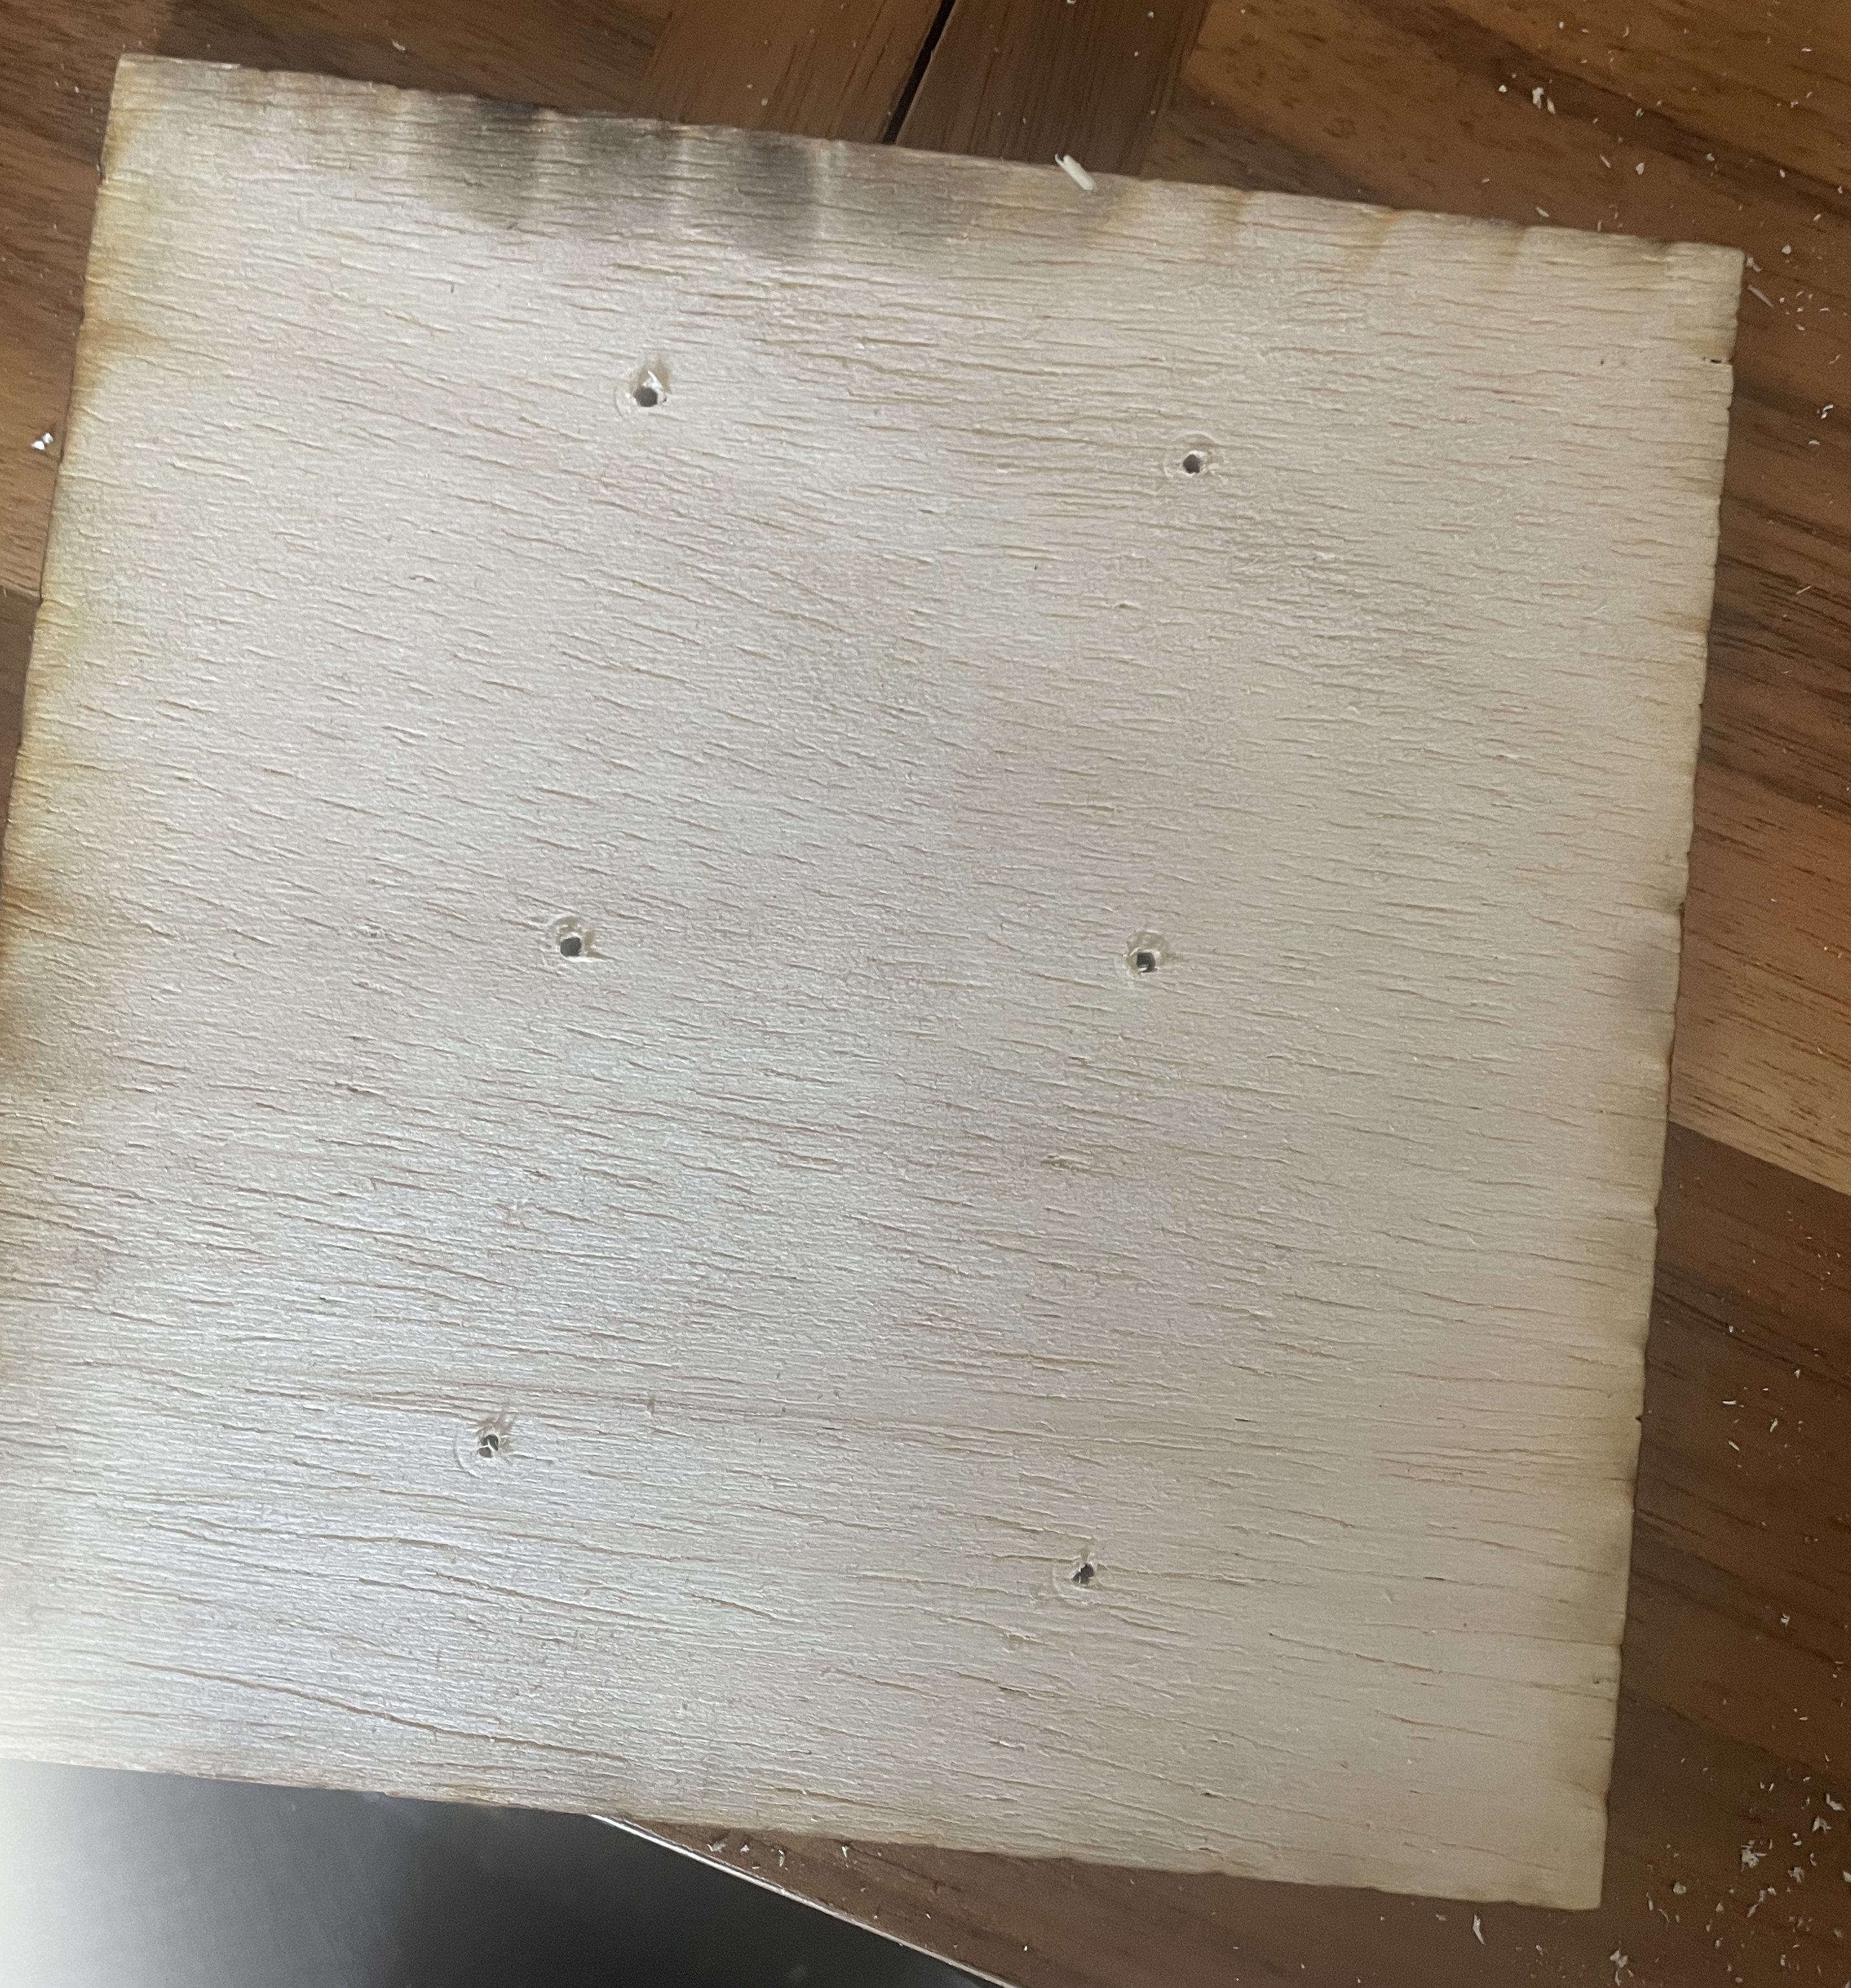
I manually drilled holes into the bottom for drainiage.
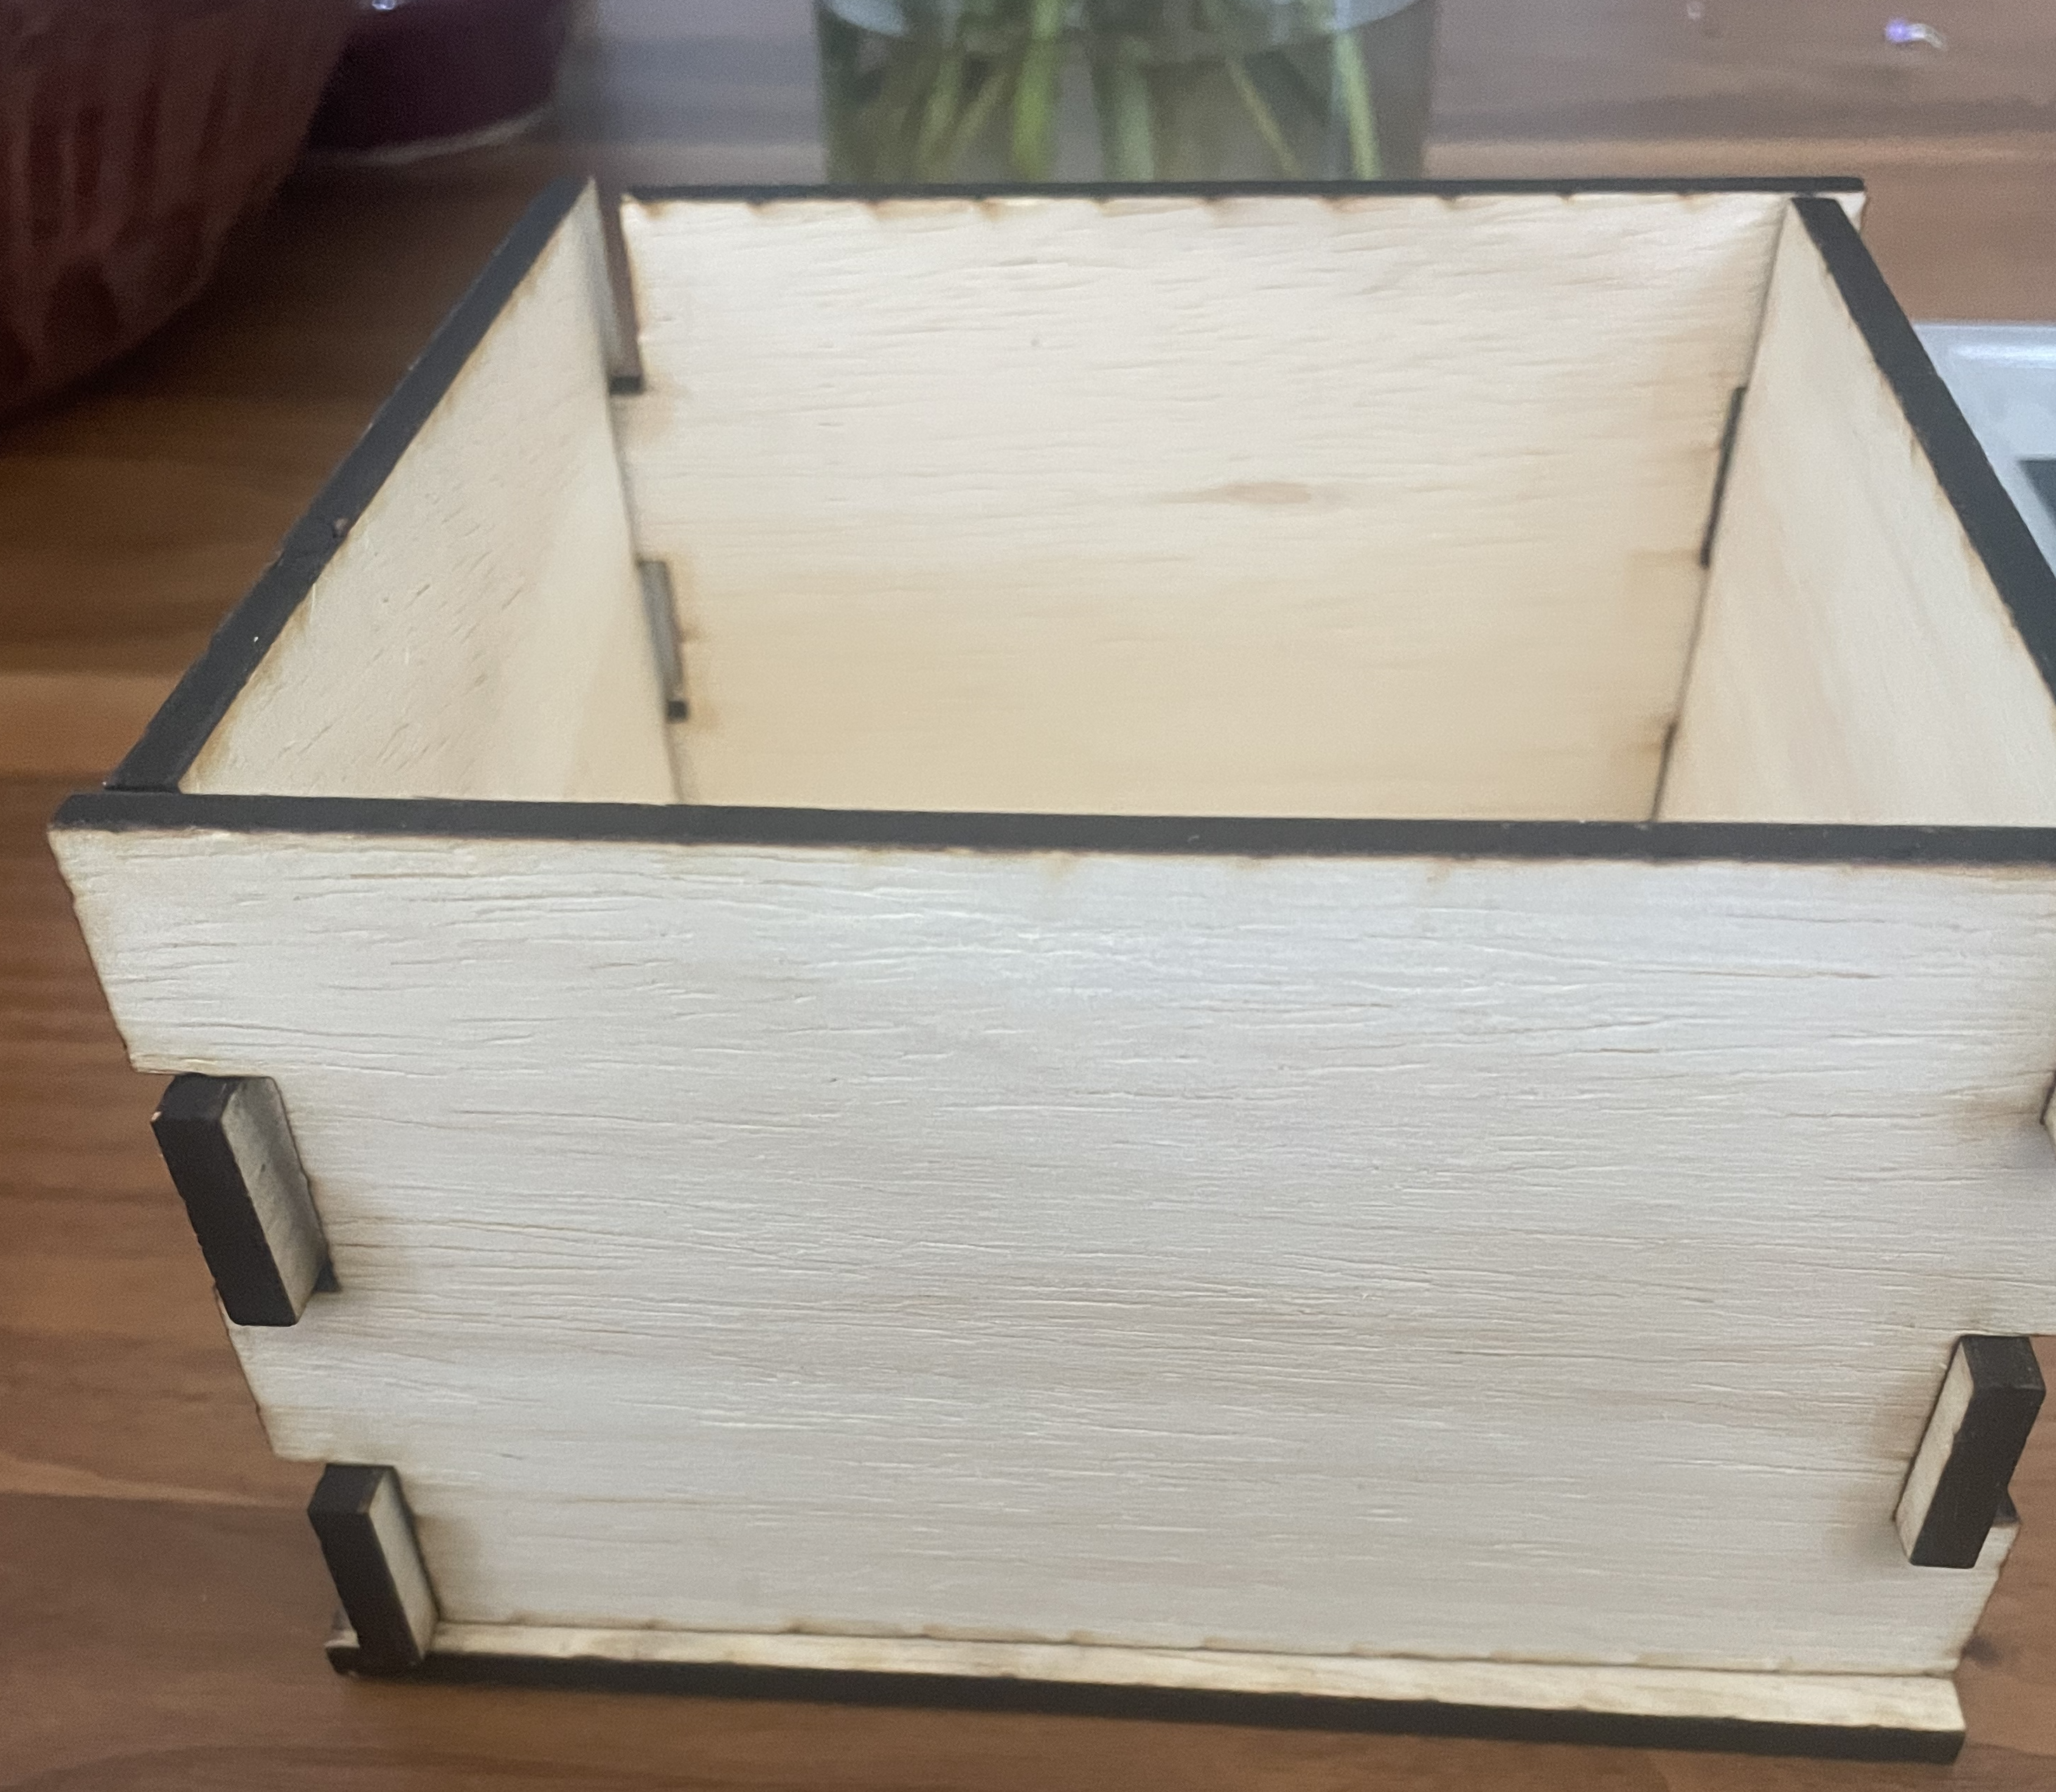
The unfilled box before nails went in.
Finally, with the box assembled I could put everything together and fill it with soil and plants.
Reflection
There were many things I would have adjusted given more time. One of which was a better understanding of the materials. Originally, I planned to use scrap plywood for my planter boxes and discovered when I went to laser cut the pieces that the pieces were too thick. However, I had adjusted my parameters for this thickness so the final box has edges that are slightly over the width (although still look nice enough). Additionally, since the wood is now significantly thinner when i went to nail the sides together it was extremely difficult to get the nails aligned correctly (or a drill) leading to splits in the wood. My original plan also included having drainage holes built into the base. Just creatin ghte box with joints took long enough that I didn’t manage to do this but I think it would be fairly straightforward. With more time, I think it could also be fun to etch a design into the sides of the wood with the laser cutter - maybe even something indicating the type of plant that is inside.
Additionally, with more time I would have 3D printed the 3D model of the planter - and perhaps tried out more interesting shapes than just the 4 sided box.
References/Plugins
The most helpful resource I used was this tutorial:
- “Laser Cut Box with box/finger Joints and fully Parametric Rhinoceros and Grasshopper.” YouTube, uploaded by DCO Parametric, 2 February 2201, https://www.youtube.com/watch?v=lOxVizYlMW8 from DCO Parametric..